201
WEB FUNCTIONS IN THE MACHINE
BASIC SETTINGS FOR NETWORK SCAN
(FOR THE ADMINISTRATOR)
To use the Network Scan function, setting from the Web page is required.
Click the menu frame and configure the required settings. A password is required to access this screen.
These settings should only be configured by the network administrator.
1
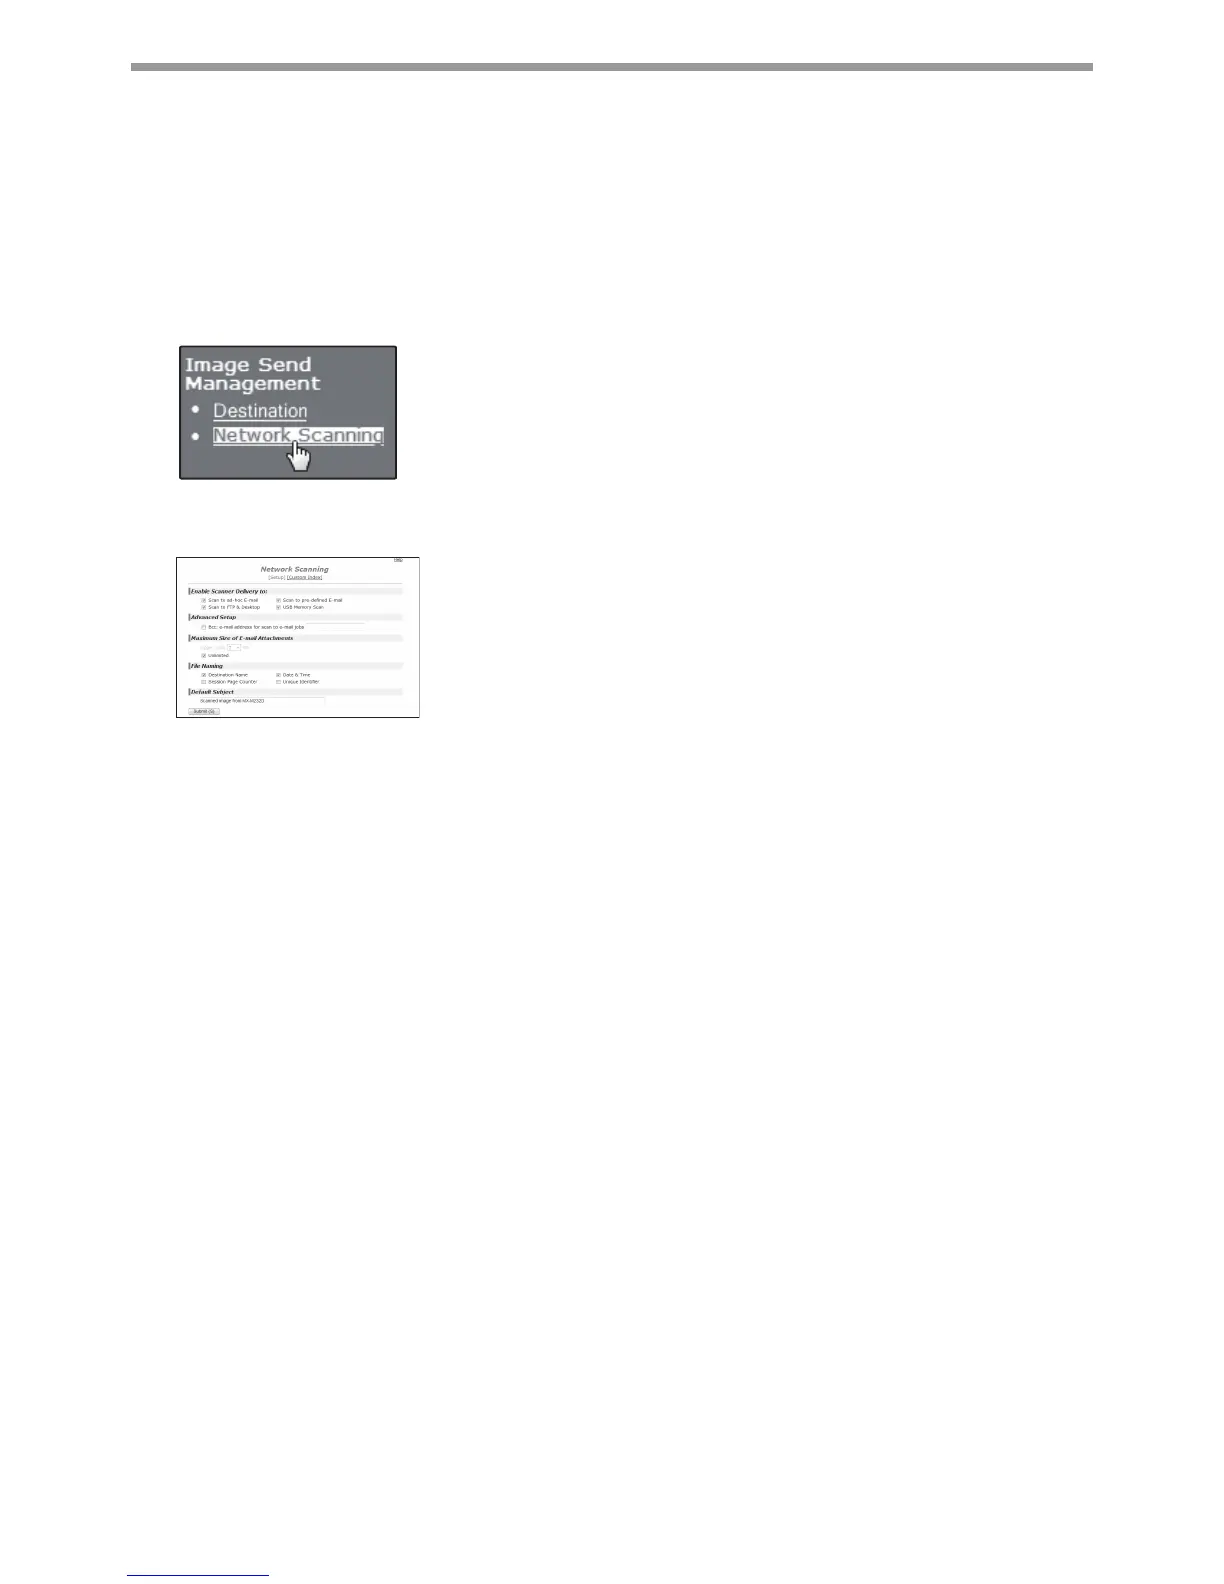
Click [Network Scanning] in the menu frame.
The Network Scanning setup page appears.
2
Select the scanner mode.
In the "Enable Scanner Delivery to:" field, click the checkbox so that a
checkmark appears in the checkbox.
3
Select the method for assigning a file name to a scanned image.
Select the method for assigning a file name to a scanned image. In "File Naming", click the items that you wish
to use in the file name. "Date & Time" is initially selected.
4
Click [Submit].
After entering the settings, be sure to click [Submit] to store them.