MX-M264U MX-FN23 (FINISHER) 7 – 3
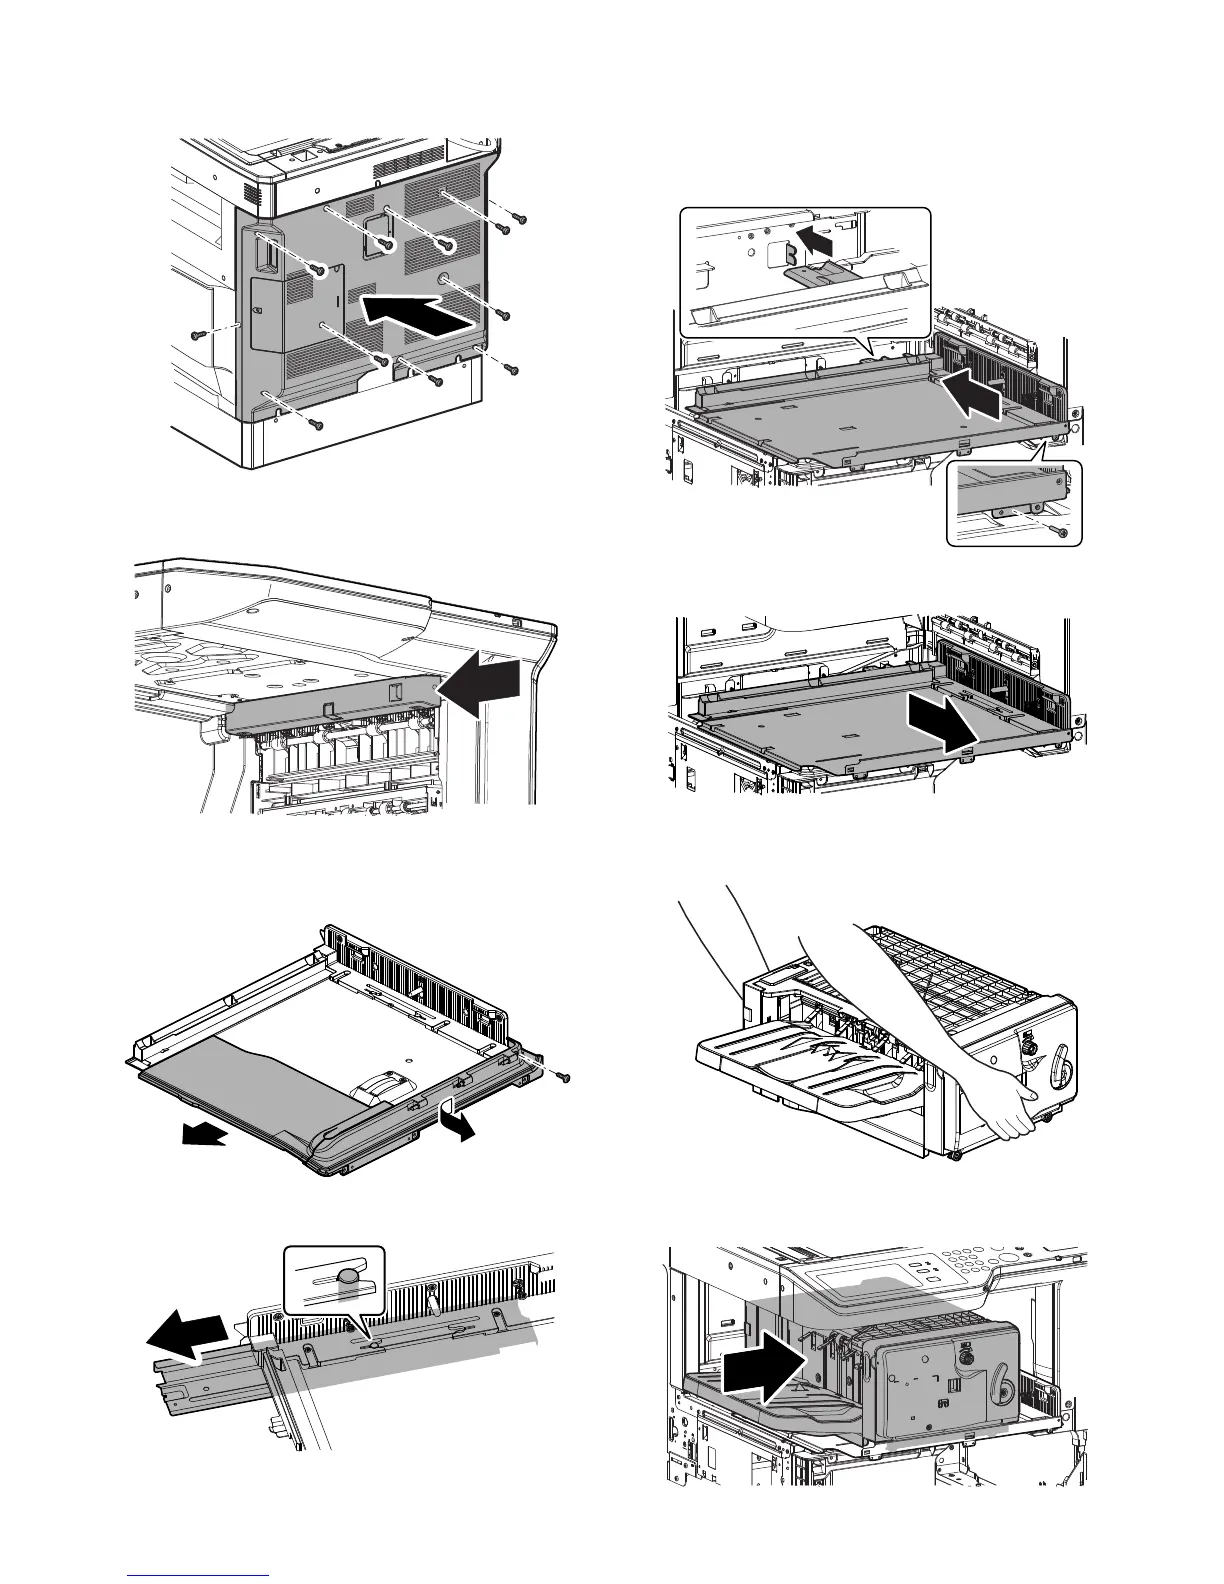
11) Install the rear cabinet to the original position, and fix it with
screw.
12) Attach the rail dummy cover to the guide rail by sliding it along
the guide rail in the arrow direction as shown in the figure.
13) Remove round-head screw from the connection unit which is
packed with the finisher, and remove the front cabinet lower
and the connection cabinet temporarily.
14) Slide the rail under the connection unit to the lock position.
15) Engage the finisher connection plate with the notch in the stay
at the right bottom of the machine.
Slide the connection plate to the bottom, and attach M3 screw
as shown. (Use the screw bundled to the package.)
MEMO: Press the right side of the connection plate.
16) After attaching the screw, pull the connection plate toward you.
MEMO: When holding the finisher, hold the front frame side
and the rear frame side.
17) Insert the finisher along the connection plate rail from the left
side of the machine until it locks.