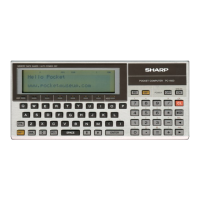
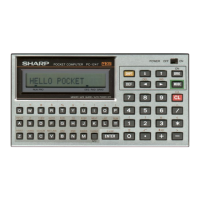
PC-1600
2. Remove the eleven screws (see figure) and remove the
key PWB (with the FPC PWB) from the top cabinet.
Screw
Fig.8-4
NOTE:
00
not drop the rubber connector and rubber
spring sheet that are used to hold the soft key.
If the electrically conductive part of the rubber
connector were to be contaminated, it could
be a cause of a failure after the assembly of the
unit.
3.
Generally, the FPC PWB should not be used again once
removed from the key PWB because the soldered pattern
might separate from the board.
Since the key PWB is bonded to the FPC PWB, to
remove, hold the shadowed portion at (A) with a double
tack tape and warm the area with a hair dryer; then
separate this portion from the solder using a soldering
pencil.
'l/.l7D./T iT./T./TiT.iT/.lIIII/17/ItTtTt.T/.ll./lJ 0
zaa
OlZ/ll./VOO
zazraa»
D D
D
\ 1- --_. -----
----------
(Al
Fig.8-5
-16-
NOTE: This job is required for the reuse of the key
PWB.
4. How to solder the FPC PWB with the key PWB
(1
I
Apply a thin layer of solder over the soldered portion
of the FPC PWB.
(2) Cut away
1.5
to 2.0 millimeters of the tip of the FPC
PWB using a knife or scissors, in order to check
whether the solder melted at the exposed portion ®
of the key PWB will function when heating at
(4).
(3)
Remove the backing paper of the double tack tape
bonded on the back of the FPC and temporarily fit the
FPC PWB to the key PWB.
(41 Using a soldering pencil heated to 260°
±
5°C and a
pair of tweezers, hold the FPC with the tweezers
because the FPC may separate when heated from
above. After removing the pencll, hold the FPC with
the tweezers for five seconds more.
1.5-2.0mm
Fr===9
1.5-2.0mm
-~=t
FPC
unit
FPC
unit
Fig.8-6