5-2. AC adaptor (EA-160)
The following is abrief specification.
• Primary side input rating
l00VAC, 50/60Hz, 20VA (Japan use)
• Secondary side outpur
Rated voltage: 8.4VDC
Rated current: lA
Peak current: 2A
Overcurrent protection: About 2.5A
(Output short protection)
v
8.4V
1---------...
Abt.500mA
Abt.2.5A
Regulator type: Chopper
• Size of case and weight
67.2 mm (W) x 115.2 mm
(0)
x 53.5 mm (H) excluding
the stand of 1 mm high.
695 9
6. Service precautions
• All cornponents must be closely installed on the board.
• Observe the following torque in tightening the tapping
screw. Too much force may damage such as cabinet. For
the type of the screw to be used, refer to Parts Guide.
Screw location number
Tightening torque (kg-cm)
(SeeParts Guide).
A
2.0 kg • cm
B 2.5 kg· cm
C
3.0 kg • cm
Marking in Parts Guide
The svrnbol (A to C) is attached to the lower right side
of the parts number.
Ex: 4A
-
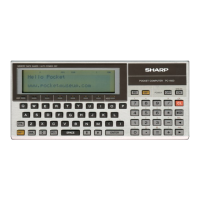
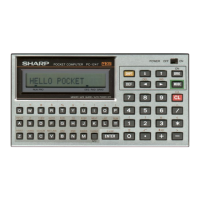
PC-1600
• Consumption current
VP =6V
Consumption
Note
current
PC-1600
Max.5OmA
RS·232C not
in operation
Printer Gate array (LR38045)
Max.3.25mA
at 1.3MHz
ROM (SC27C256)
Max.3.20mA
At 400KHz
Driver (LB1247)
Max.l00mA
When 45° dotted line
Max. S03mA
is printed
When print ASCII
Max.638mA
character
When "555 ...." Max.605mA
printed
When the carriage is Max.242mA
is returning
45° dotted line
Max. 959.45mA
( ASC II character
Max.794.45mA'I
"555 ...... " Max.761.45mAI
NOTE: Printing character standard "2"
• Maximum printing time
(i) When printing 45° dotted line: 28 minutes
(ii) When printing ASCII character: 34 minutes
(iii) When printing "555 ....": 35 minutes
*
Rechargeable battery capacity : 500mAH (at full
charge)
**
Maximum printable characters: About 10,000
characters (at print speed of 5 CPS)
***
Maximum printable lines: About 240 lines (at the
print speed of 5 CPS, with one second considered
for a carriage return after printing 40 character
positions on a line)
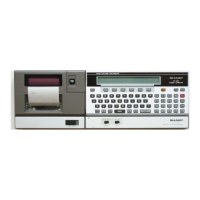
6-1. Removal of the FPC PWB
To remove the FPC PWB from the main PWB, heat the
surface of the FPC PWB from above using the soldering
pencil,
then lift up the FPC PWB from the main PWB. The
job may be slightly difficult as both sides of solder are
secured with the double tack tape.
FPC. PWB
-I':A-