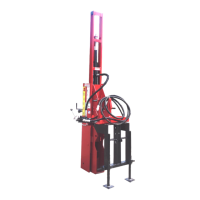
7. Squeeze control valve safety lever (G7) and
push control valve lever (G5) to release the
drive ram and create impact.
(G5) Control Valve Lever. (G7) Control Valve Safety
Lever.
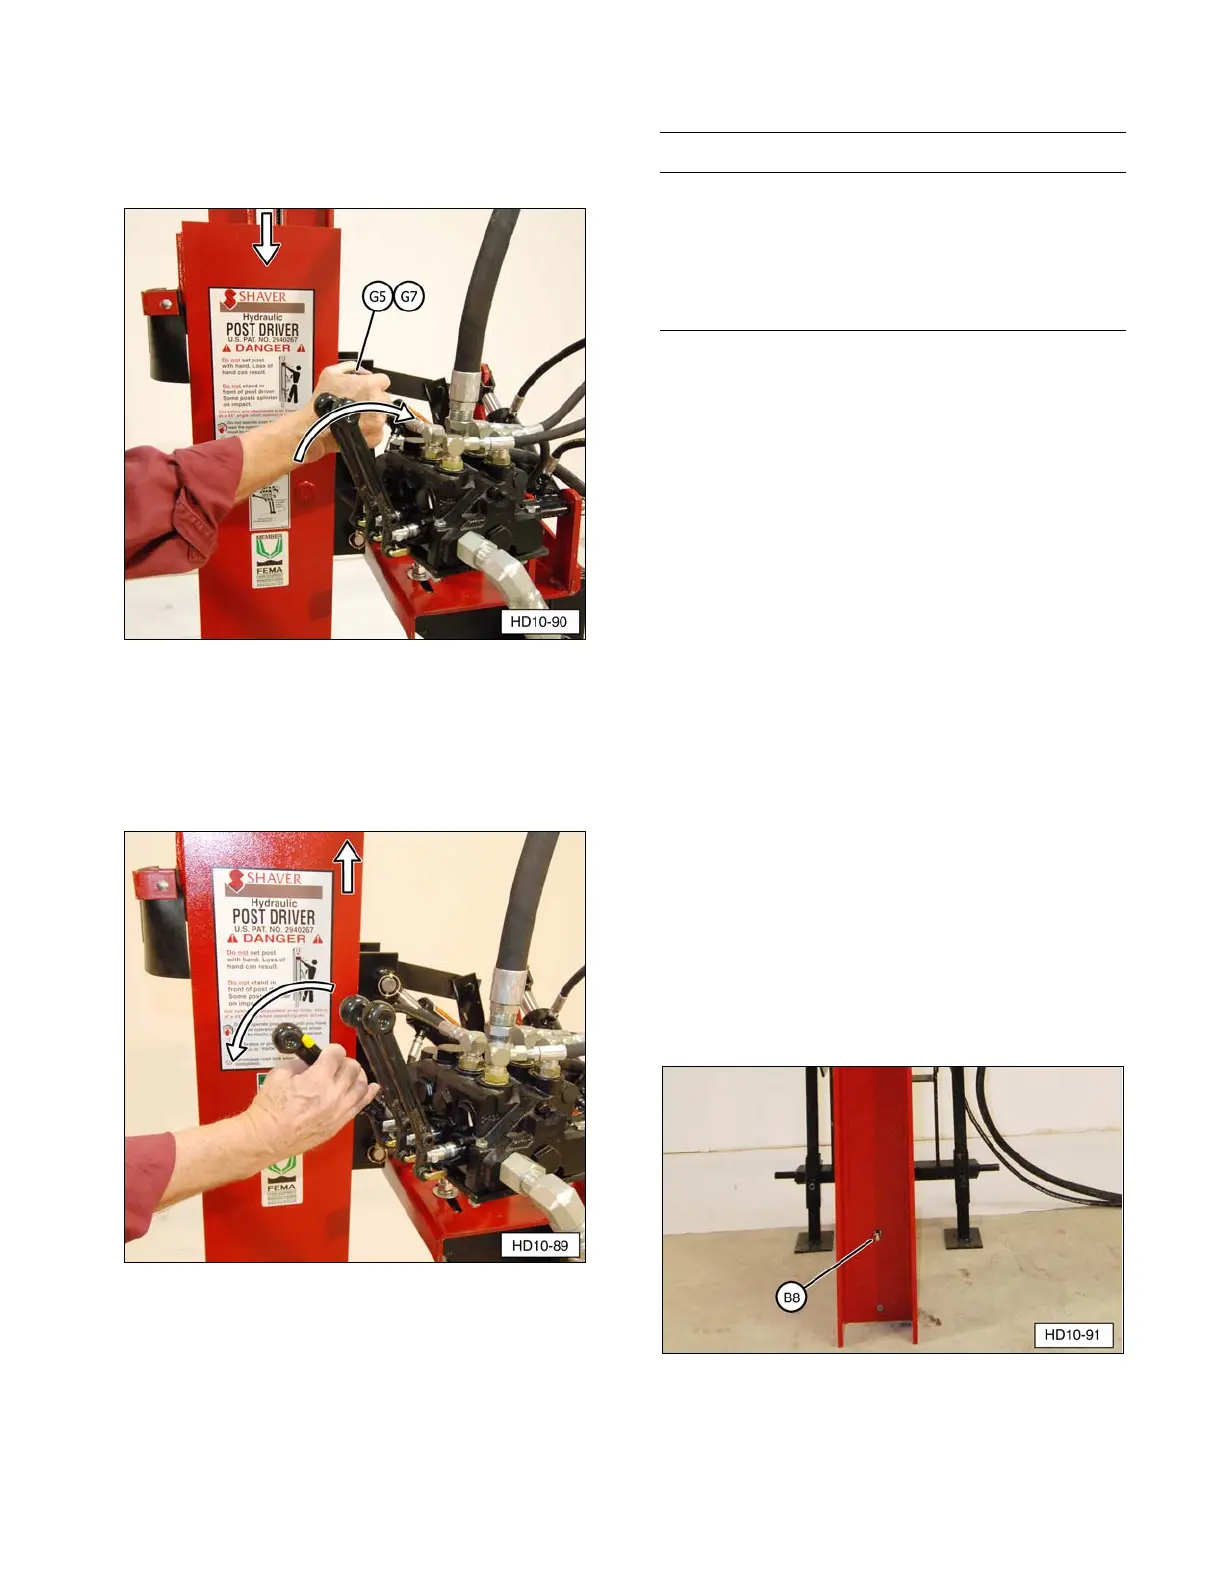
8. Pull control valve safety lever and handle to
raise drive ram again. Continue this
process, as needed, to drive the post to the
desired depth.
IMPORTANT NOTICE
Posts will drive into the ground much straighter
using shorter strokes. Use caution when driving
small diameter wood and steel posts. Maximum
impact is not necessary with these smaller
diameter posts and can cause damage
(splintering or breakage) of posts.
NOTE: If the post stops going down or is
crooked after a few impacts, stop and move
the post to a different location. Conditions
such as thick sod, rocks, or tree roots can
cause splintered or broken posts.
9. Once a post is driven to the desired depth
or the drive ram contacts the ground,
release the hydraulic control lever.
10. Open safety arm frame (I2).
11. Raise the Post Driver and move to the next
location to begin driving a new post.
12. If traveling more than 100 feet, install road
lock pin in lower “transport” position. The
Post Driver can now be moved to the next
work site or the storage location.
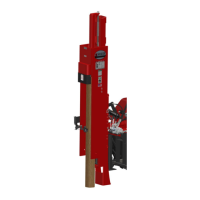
Dismounitng Post Driver
1. Install road lock pin (B8) in upper “storage”
position. The Post Driver should be stored
on a hard level surface.
2. Lower the drive ram until it is on the
ground.
27