Shure Incorporated
11/43
•
1.
◦
◦
◦
◦
2.
3.
◦
◦
Adjust your processor's matrix mixer routes.
If you want to auto route an online room, turn on online room editing in File > Designer preferences.
Note: Changes to an online room may cause audio to briefly drop out.
Refer to Designer's Troubleshooting section for help with routing.
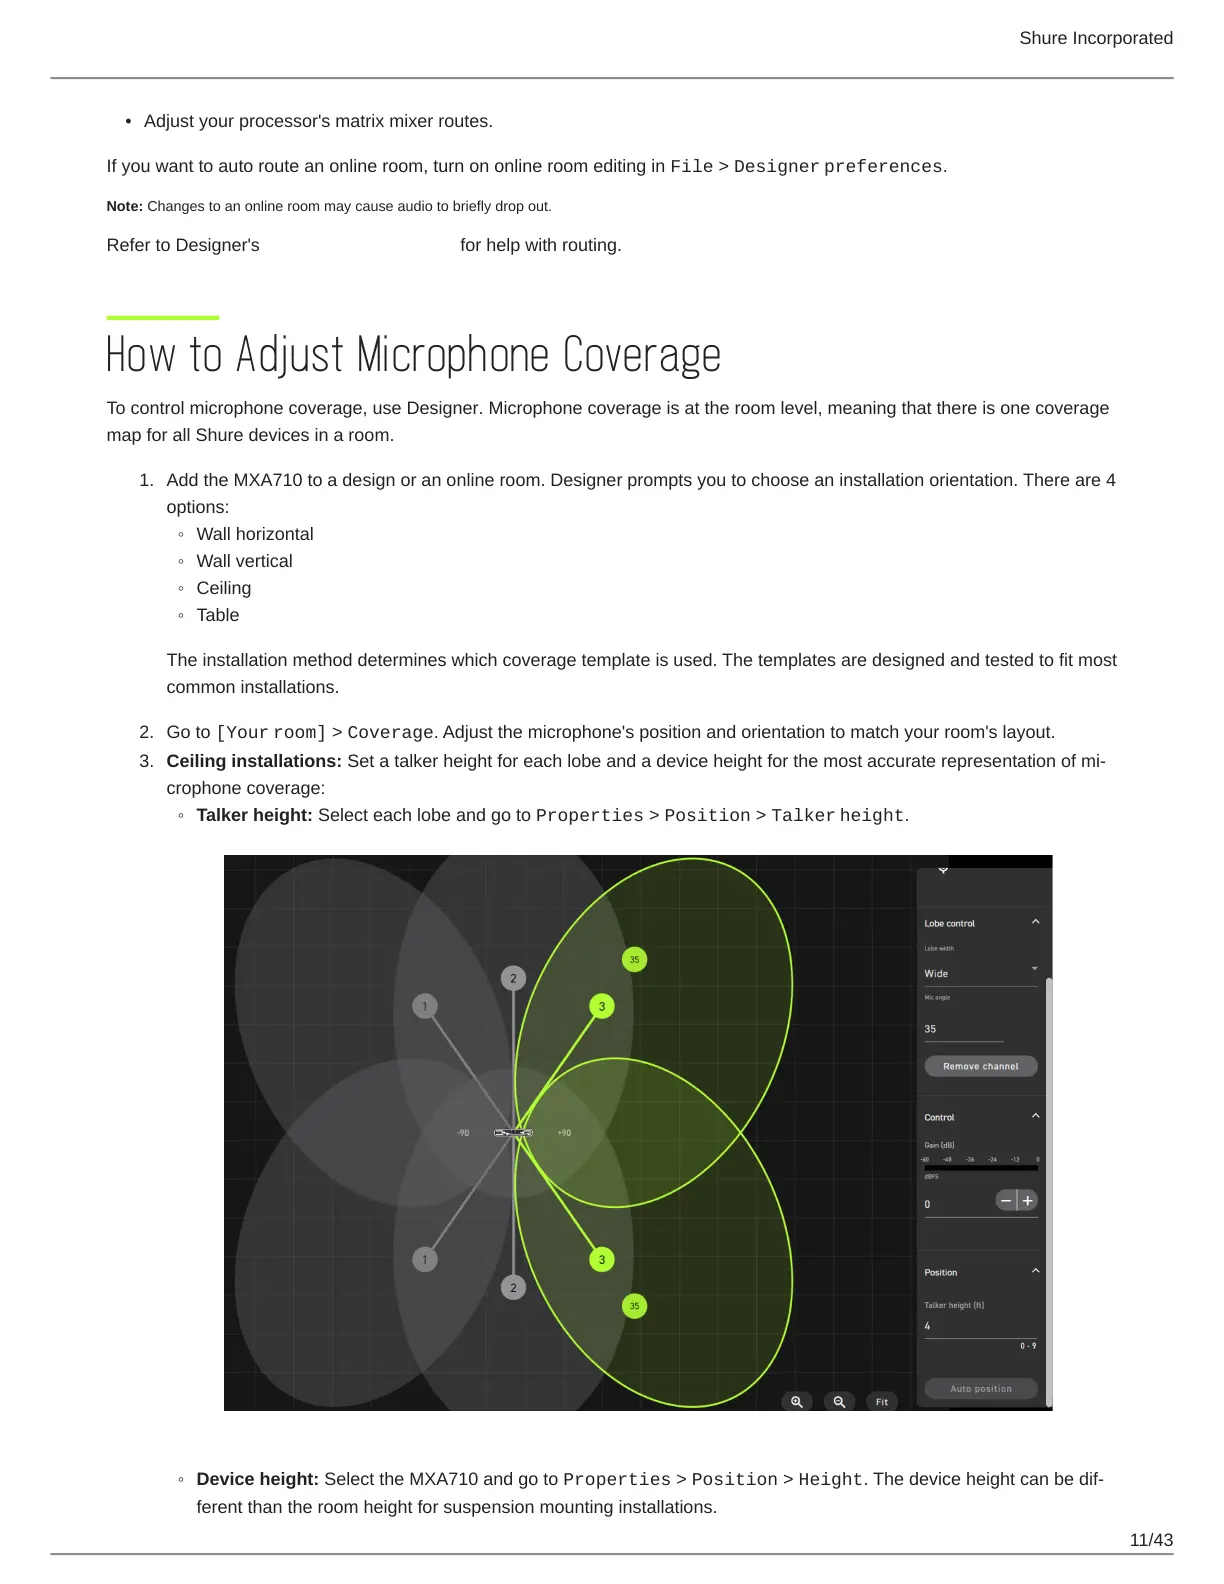
How to Adjust Microphone Coverage
To control microphone coverage, use Designer. Microphone coverage is at the room level, meaning that there is one coverage
map for all Shure devices in a room.
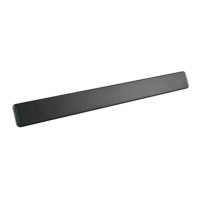
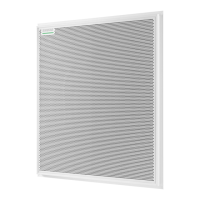
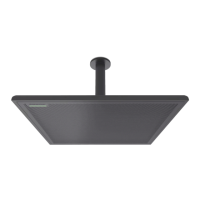
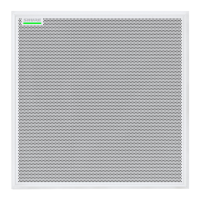
Add the MXA710 to a design or an online room. Designer prompts you to choose an installation orientation. There are 4
options:
Wall horizontal
Wall vertical
Ceiling
Table
The installation method determines which coverage template is used. The templates are designed and tested to fit most
common installations.
Go to [Your room] > Coverage. Adjust the microphone's position and orientation to match your room's layout.
Ceiling installations: Set a talker height for each lobe and a device height for the most accurate representation of mi
crophone coverage:
Talker height: Select each lobe and go to Properties > Position > Talker height.
Device height: Select the MXA710 and go to Properties > Position > Height. The device height can be dif
ferent than the room height for suspension mounting installations.