Shure Incorporated
5/43
•
•
•
•
1.
2.
3.
4.
1.
◦
◦
This example uses:
Cat5e or better Ethernet cable (shielded cable recommended)
Network switch that provides Power over Ethernet (PoE)
Shure Designer software (download at shure.com/designer)
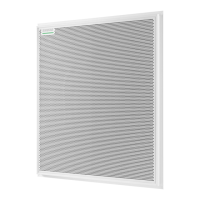
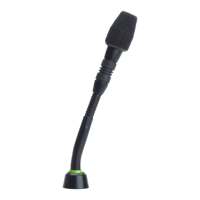
ANIUSB-MATRIX
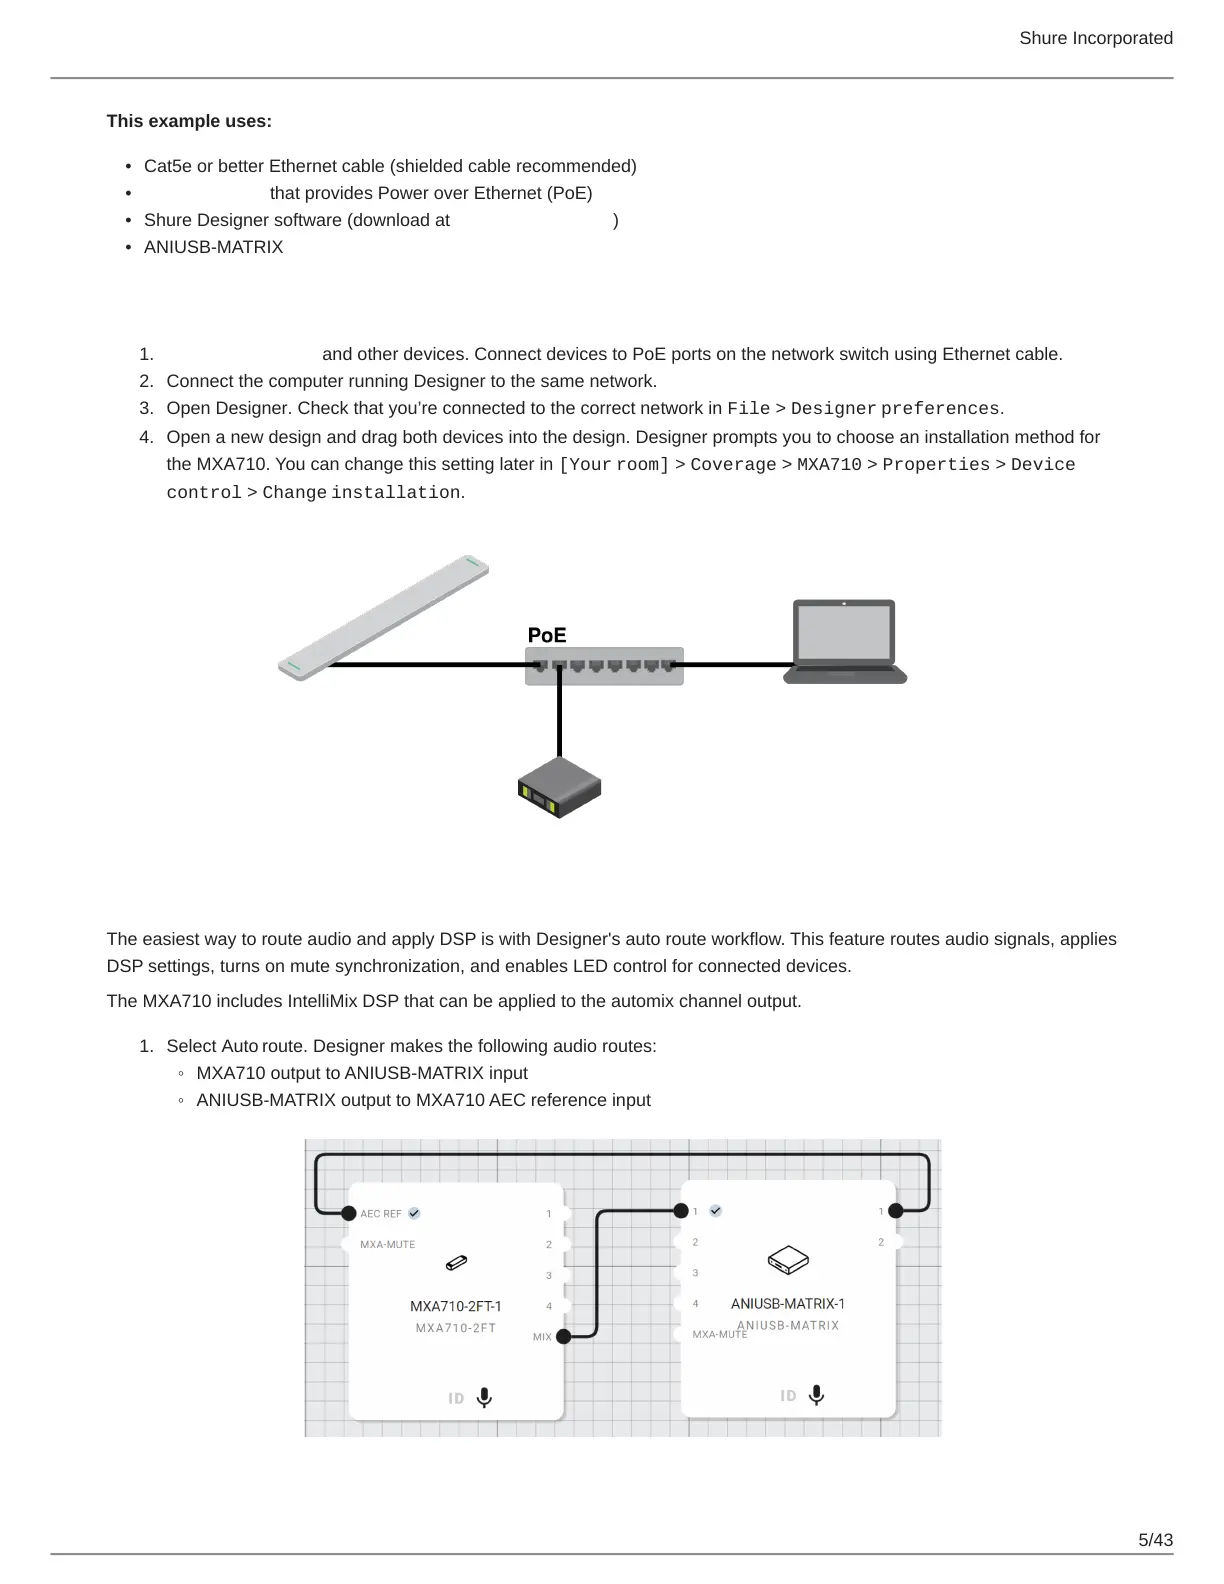
Step 1: Install and Connect
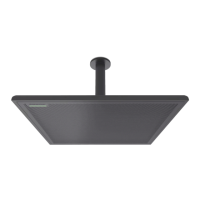
Install the MXA710 and other devices. Connect devices to PoE ports on the network switch using Ethernet cable.
Connect the computer running Designer to the same network.
Open Designer. Check that you’re connected to the correct network in File > Designer preferences.
Open a new design and drag both devices into the design. Designer prompts you to choose an installation method for
the MXA710. You can change this setting later in [Your room] > Coverage > MXA710 > Properties > Device
control > Change installation.
Step 2: Route Audio and Apply DSP
The easiest way to route audio and apply DSP is with Designer's auto route workflow. This feature routes audio signals, applies
DSP settings, turns on mute synchronization, and enables LED control for connected devices.
The MXA710 includes IntelliMix DSP that can be applied to the automix channel output.
Select Auto route. Designer makes the following audio routes:
MXA710 output to ANIUSB-MATRIX input
ANIUSB-MATRIX output to MXA710 AEC reference input