Shure Incorporated
18/43
◦
◦
•
•
•
•
•
•
•
•
•
•
Ceiling
Table
Measure your space and make sure that all talkers will fit in the microphone's coverage area.
Coverage also depends on your room's acoustics, construction, and materials. Take these into consideration when plan
ning coverage.
Don't place the microphone behind obstructions. Keep the microphone's grille at least 36 inches away from any occupan
cy sensors.
Plan for any future coverage needs.
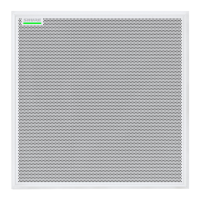
Ways to Install the MXA710
Accessory Install location Other hardware required?
Wall-mounting bracket Wall Drywall mounting screws and anchors
Display mount kit Attach to display mount
Peerless Universal Sound Bar Kit,
Chief Thinstall Center Channel Speaker
Adapter, or other similar adapter with
VESA MIS-B compatibility
Suspended Cable Ceiling
Braided metal cable
Hardware to attach cable to ceiling or
A710-TB Tile Bridge
A710-TB Tile Bridge Drop ceiling tile No
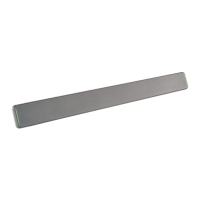
A710-FM Flush Mount Table, wall, or hard ceiling No
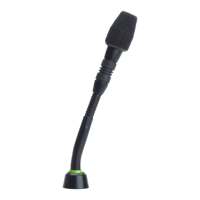
A710-MSA Mic Stand Accessory Mic stand Mic stand
A710-DS Desk Stand Credenza or other flat surface No
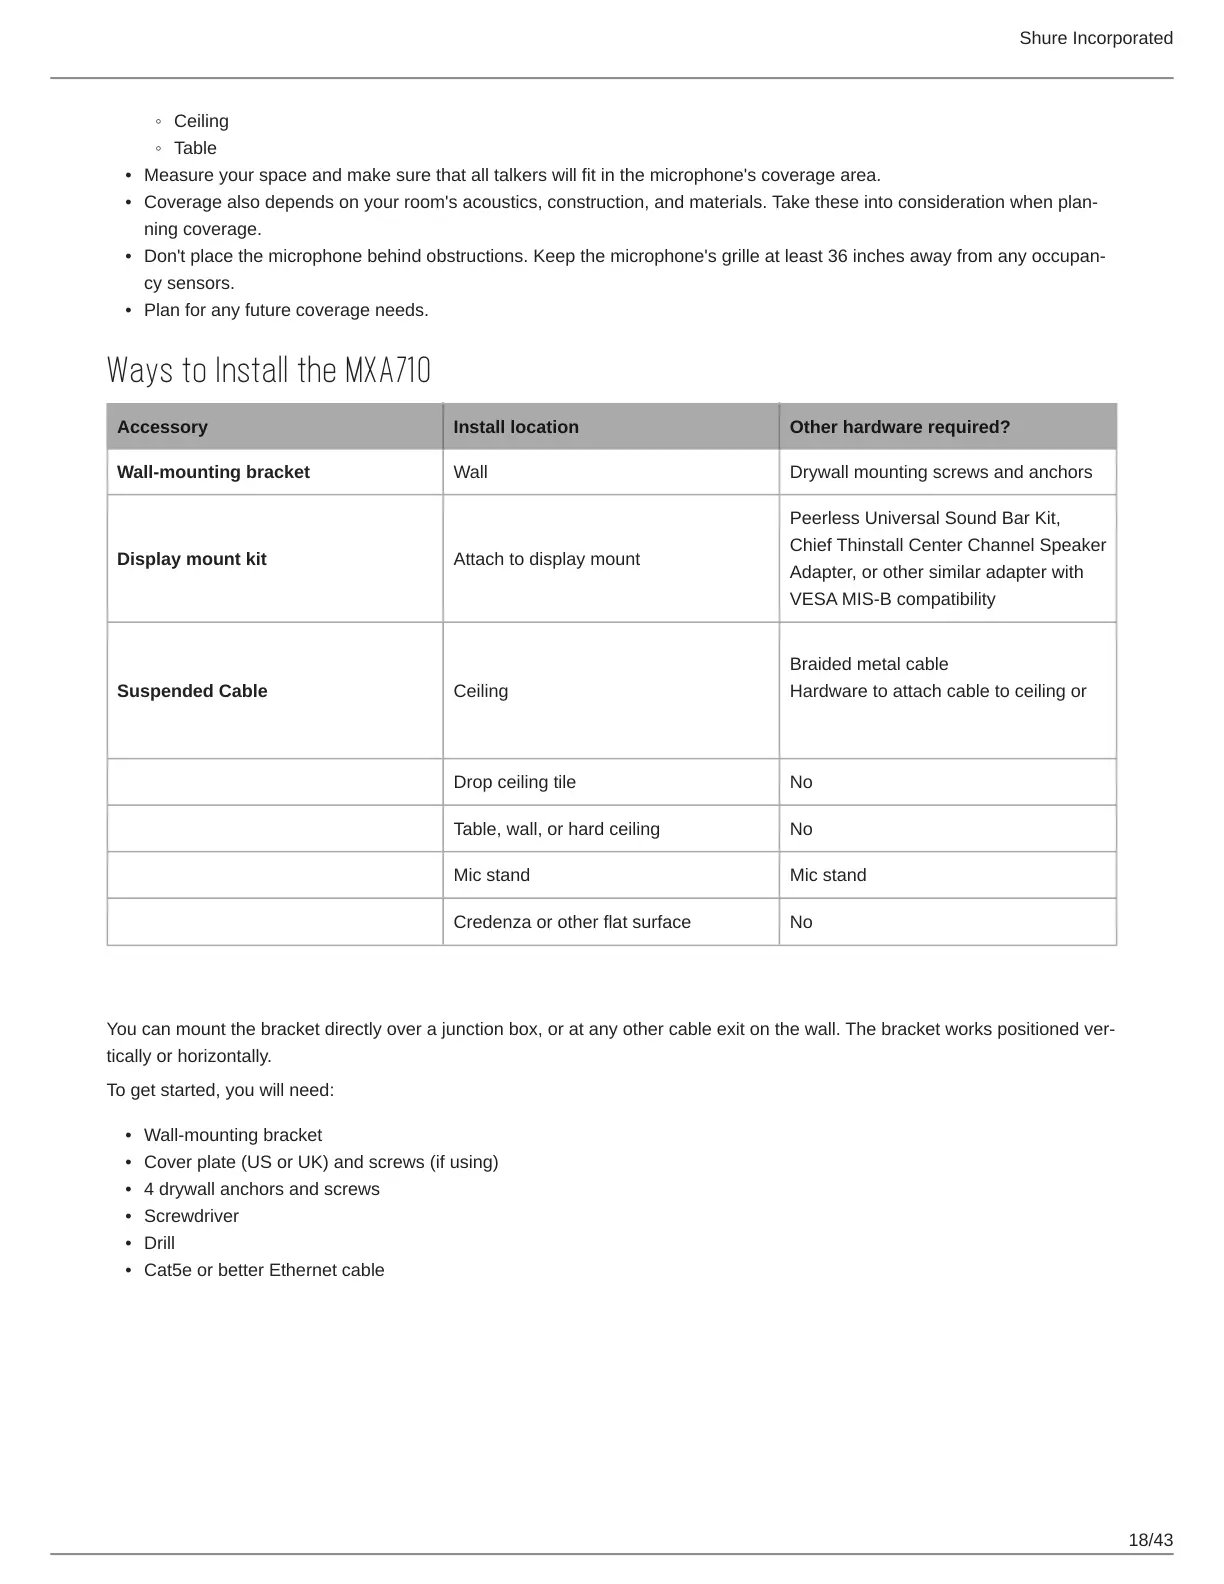
Installing the Wall-Mounting Bracket
You can mount the bracket directly over a junction box, or at any other cable exit on the wall. The bracket works positioned ver
tically or horizontally.
To get started, you will need:
Wall-mounting bracket
Cover plate (US or UK) and screws (if using)
4 drywall anchors and screws
Screwdriver
Drill
Cat5e or better Ethernet cable