Shure Incorporated
9/43
1.
2.
3.
4.
1.
2.
3.
Cable Requirements
Always use Cat5E cable or higher.
Control Devices with Shure Designer Software
To control this device's settings, use Shure Designer software. Designer enables integrators and system planners to design au
dio coverage for installations using MXA microphones and other Shure networked devices.
To access your device in Designer:
Download and install Designer on a computer connected to the same network as your device.
Open Designer, and check that you’re connected to the correct network in File > Designer preferences.
Click Online devices. A list of online devices appears.
To identify devices, select a device and click ID in the Properties menu. Double-click the device to open the settings.
From here, you can add devices to designs or online rooms and route audio to other Shure devices. Learn more at shure.com/
designer.
You can also access device settings using Shure Web Device Discovery.
What's in the Box
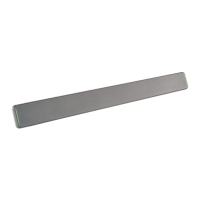
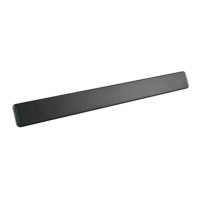
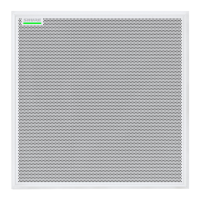
2-foot or 4-foot linear array microphone MXA710-2FT or MXA710-4FT
Wall-mounting bracket (2 or 4-foot) RPM710-2M or RPM710-4M
Hardware kit with:
Wall cover plate and screws (US and UK versions)
Mounting eyelet screws (2)
Washers for eyelet screws (2)
Cable ties (2)
RPM710-H
Reset Button
The reset button is behind the grille and can be pushed with a small paperclip or other tool. To access the button:
Find the end of the microphone that has the Shure logo printed on the side.
Find the left edge of the microphone light, which sits behind the grille.
Insert the paperclip into the grille hole that aligns with the left edge of the microphone light and the "S" of the Shure lo
go. Press and hold to reset the microphone. If you don't feel a button, try the grille holes below and around the first one.
You may need to try a few different holes to press the reset button.