Shure Incorporated
2/43
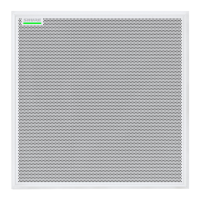
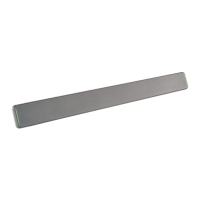
MXA710 2-Foot and 4-Foot Linear Array Microphone 4
New in Firmware 6.2 4
General Description 4
Features 4
MXA710 Designer Setup Example 4
Step 1: Install and Connect 5
Step 2: Route Audio and Apply DSP 5
Step 3: Adjust Microphone Coverage 6
MXA710 Parts 6
Model Variations 8
Power Over Ethernet (PoE) 8
Cable Requirements 9
Control Devices with Shure Designer Software 9
What's in the Box 9
Reset Button 9
Reset Modes 10
Use Designer's Auto Route 10
How to Adjust Microphone Coverage 11
MXA710 Coverage Examples 12
Using Autofocus to Improve Coverage 16
Adjust Levels 16
How to Install the MXA710 17
Installing the Wall-Mounting Bracket 18
Suspending the Microphone from the Ceiling 20
VESA MIS-B Compatibility 20
Covering the Microphone with Fabric 20
IntelliMix DSP 21
DSP Best Practices 21
Acoustic Echo Cancellation 21
Noise Reduction 22
Automatic Gain Control (AGC) 22
Delay 23
Compressor 23
Parametric Equalizer 23
Automix 26
Automix Channel 26
Automix Settings 26
Speech Gating Threshold and Enhanced Noise Filtering 2
8
Automix Modes 29
Mute Sync 30
Encryption 31
Set Up the 802.1X Protocol for a Device 31
Turn Off or Clear 802.1X Settings 32
Change 802.1X Settings 32
Troubleshooting 802.1X Setup Issues 32
Networking Best Practices 32
Switch and Cable Recommendations for Dante Network
ing 33
Setting Latency 33
Device IP Configuration 34
QoS (Quality of Service) Settings 34
IP Ports and Protocols 34
Digital Audio Networking 35
Compatibility with Dante Domain Manager 35
Dante Flows for Shure Devices 36
AES67 36