Overview
1.10 Commissioning the HMI device
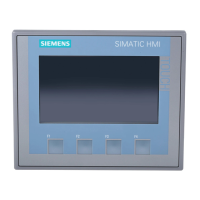
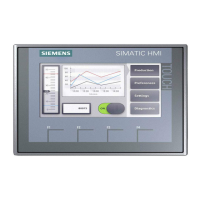
KTP400 Basic, KTP600 Basic, KTP1000 Basic, TP1500 Basic
20 Operating Instructions, 08/2008, A5E01075587-01
PROFIBUS bus connector
We recommend using straight PROFIBUS bus connectors. The connectors are not included
in the product package of the HMI device. The connectors are available under order number
6GK1 500-0FC10.
Clamping frame
A clamping frame is available for the KTP1000 HMI under order number
6AV6 671-8XS00-0AX0.
Protective foil
Protective foils are available for the HMI devices under the following order numbers:
● Protective foil for KTP400 Basic: 6AV6 671-2EC00-0AX0
● Protective foil for KTP600 Basic: 6AV6 671-2XC00-0AX0
● Protective foil for KTP1000 Basic: 6AV6 574-1AD00-4CX0
● Protective foil for KTP1500 Basic: 6AV6 574-1AD00-4EX0
1.10 Commissioning the HMI device
This section contains an overview of the tasks required for commissioning the HMI device.
Description Section
1. Familiarize yourself with the safety
instructions.
Safety instructions and general notes
(Page 21)
2. Prepare the HMI device for mounting. Preparations (Page 23)
3. Install the HMI device. Mounting the HMI device (Page 28)
4. Connect the equipotential bonding. Connecting the equipotential bonding circuit
(Page 31)
5. Connect the power supply. Connecting the power supply (Page 33)
6. Connect a configuration PC. Connecting the configuration PC (Page 35)
7. Enable sharing for data channel on the HMI
device.
Enabling a data channel (Page 57)
8. Transfer a project. Starting manual transfer (Page 63)
9. After transferring the project, disconnect the
HMI device from the configuration PC and
connect the HMI device to the PLC.
Connecting the PLC (Page 38)