Diagnostics and upkeep
7.4 Replacing older modules: Module replacement / upgrading
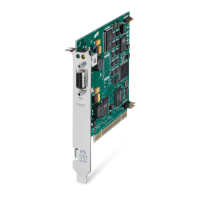
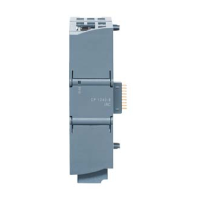
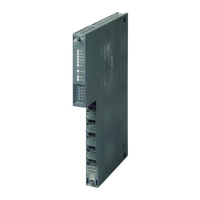
CP 443-1 Advanced (GX30)
Manual, 03/2019, C79000-G8976-C256-05
99
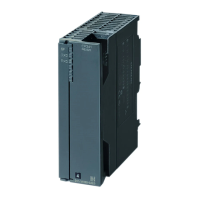
Module replacement with a CP 443-1 Advanced (GX20 / EX40 / EX41)
Note the following procedure when replacing an older module (GX20, EX40 or EX41) with
the new module (GX30):
1. Remove the module to be replaced from the rack.
2. Take the C-PLUG from the removed module and insert it in the new module.
3. Insert the new module with the C-PLUG from the removed module in the rack.
4. Note the following points and, in the case of the EX40, continue at step 2 as described
below.
Note
It is not necessary to turn the power supply off and on.
You should note the following restrictions:
If OB83 is not loaded, the CPU changes to STOP.
In PROFINET IO mode and when operating with a CPU < V6.0, you will need to cycle
power.
-PLUG removed from the old module has the internal identifier "GX20", "EX40" or
"EX41"; this does not, however, affect the operation of the new CP (GX30).
If you do not, however, want to keep this identifier, you will eithe
r have to use the C-PLUG
supplied with the new module or reformat the C
-PLUG of the old module. You will then,
however, have to provide the CP with its original IP address (node initialization).
Step 2: Adapting the configuration (upgrading an EX40)
1. In the STEP 7 configuration, replace the already configured CP with the new module; You
will find this in the hardware catalog.
2. As soon as you drag the new module from the catalog onto the module you are replacing,
the configured connections and data are adopted.
3. If necessary, modify the configuration according to your requirements, for example in the
Properties dialog for the Ethernet subnet.
4. Save and compile the project.
5. Download the configuration data to the target system again.
Note
If you have been ope
rating an EX40 with PROFINET communication, the EX40 can only be
replaced with a GX30 if you are using a CPU as of firmware version 5.2 (see section System
environment
(Page 41)). In this case, you may need to adapt the configuration.
 Loading...