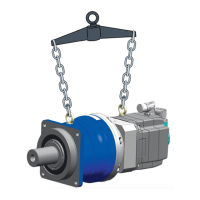
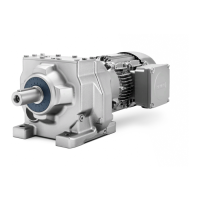
Installation
4.9 Installing and removing the shaft-mounted gearbox
BA 2030
46 Operating Instructions, 02/2021, A5E37880173A/RS-AM
Procedure
1. Push the shrink disk ③ onto the hollow shaft ②.
– 3-part shrink disk until the limit for sizes 19 - 69.
– 2-part shrink disk flush with the shaft end for sizes 79 - 189.
2. Tighten the clamping bolts ⑥, initially by hand. Align the shrink disk ③ so that the clamping
flanges are plane-parallel with one other.
3. Use the torque wrench to turn each of the clamping screws ⑥ equally by 1/6 revolution (not
crosswise); repeat this procedure several times. Observe the tightening torque.
4. Attach the rubber cover or protection cover included in the scope of supply, see Removing
and installing the protection cover (Page 37).
You have now installed the shrink disk.
Table 4- 7 Tightening torque for the tightening bolt
Gearbox size Thread size Strength class
 Loading...