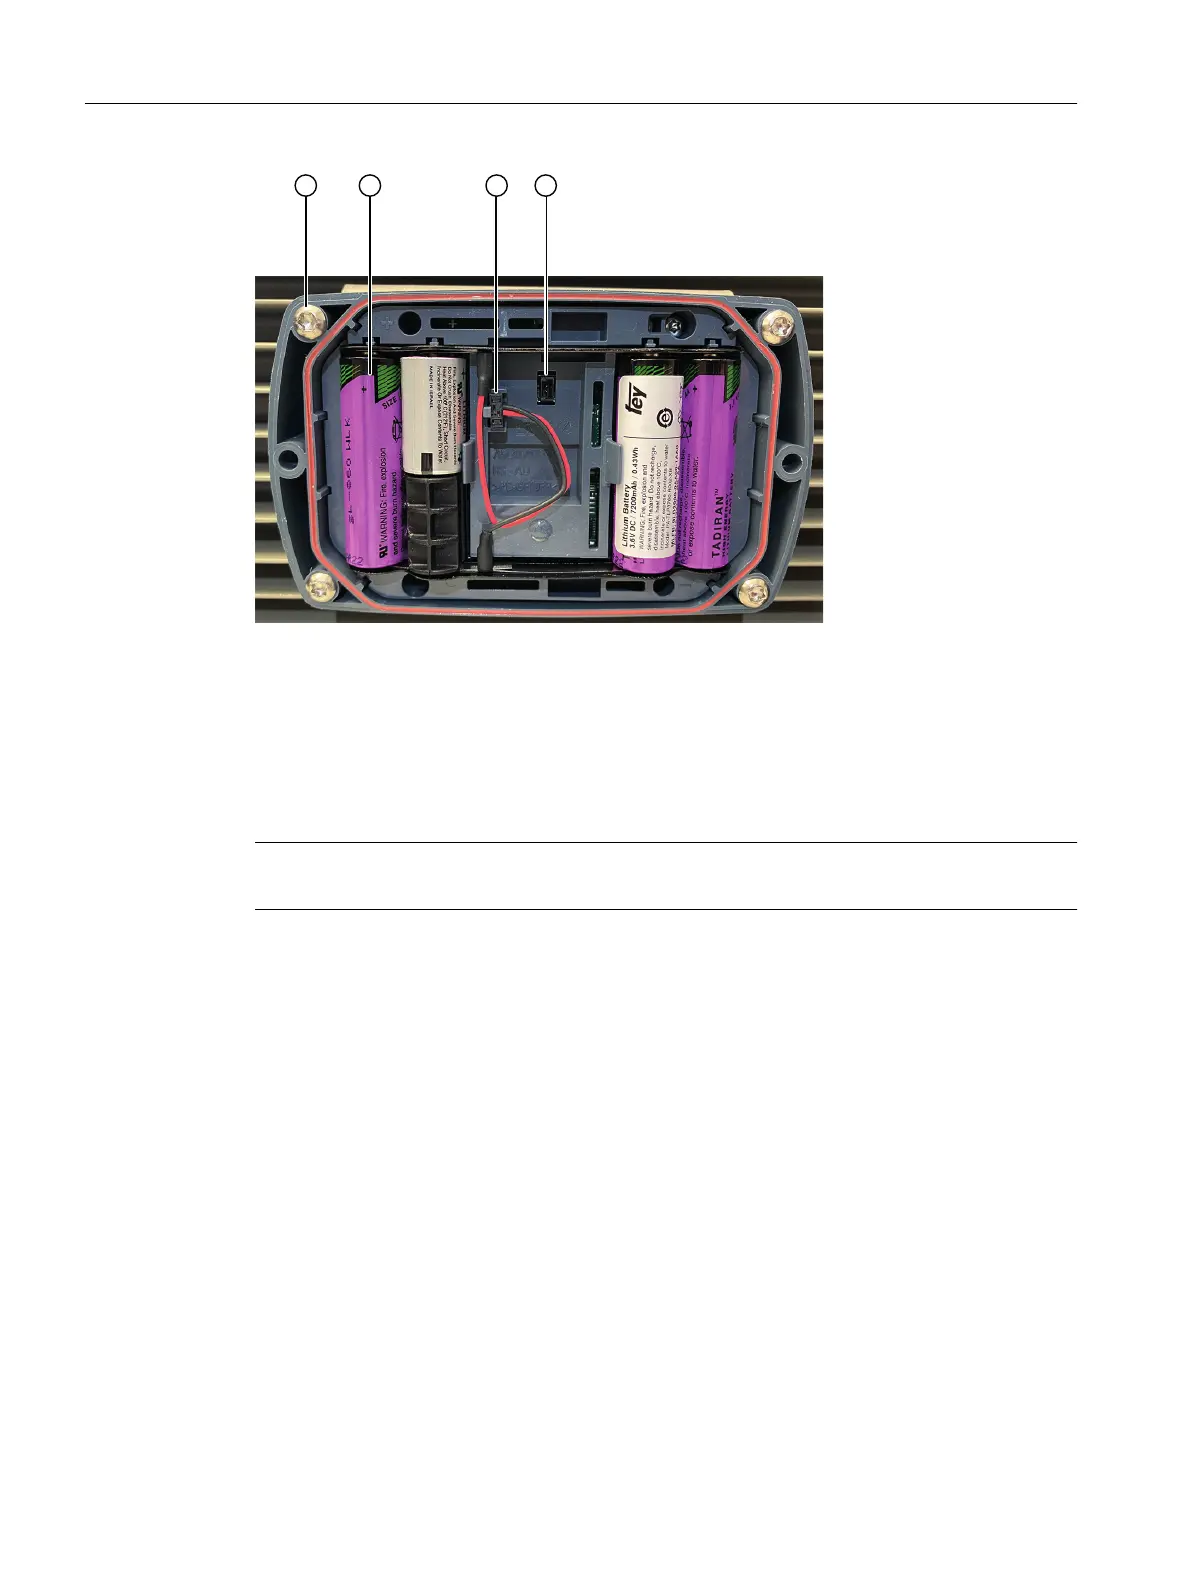
③ Fastening screws
④ Battery
⑤ Battery plug
⑥ Plug-in socket
Procedure
Note
The tool that you require is a hexalobular internal/Torx® T20 screwdriver.
1. On the front cover ①, unscrew the 2 central fastening screws ②.
To avoid losing the screws, do not turn the screws completely out of the cover.
2. Remove the front cover.
3. Place the new connectivity module in the mounting bracket.
4. Insert the fastening screws and tighten them ③.
5. Visually inspect the battery for damage ④.
6. Plug the battery plug ⑤ in by pressing it lightly onto the plug-in socket provided for this
purpose ⑥. The plug has polarization coding that prevents insertion with incorrect polarity.
The LED display of the connectivity module may light up for longer than 40 seconds for the
battery test.
7. Put the front cover back in position. Ensure that the cover ts precisely.
8. Tighten the 2 central fastening screws at the front cover by hand.
Mounting and installation
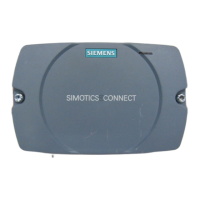
5.2Mounting the connectivity module
SIMOTICS CONNECT 400
36 Operating Instructions, 04/2023, A5E50161952B AL