32
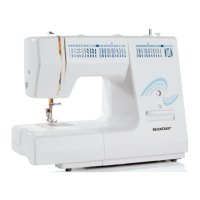
Sewing basics
EN
Straight stitch
1. Move the cursor under the stitch length digits with the left or
right button.
Use the all-purpose presser foot (a).
Set the pattern as shown in figure.
0401 02
03
00
1
2
Change the needle position:
• The needle position for straight stitches / lock stitches can be changed by adjusting the stitch width.
• The default needle position is "3.5". That is the central position
1. Move the cursor under the stitch width digits with the left or
right button.
2. Press the down arrow button, the needle position will be
moved to the left. Press the up arrow button, the needle
position will be moved to the right.
1
2
NOTE
In general, the thicker the fabric, yarn and needle, the longer
the stitch should be.
2. Press the down button for a shorter stitch length. Press the up
button for a longer stitch length.
 Loading...