71
GB
NOTE: as the filter1 has only one nub21,
it can also be inserted straight into the por-
tafilter16.
To remove the filter1/2 from the portafil-
ter16, turn the filter such that the two notch-
es20 and22 are on top of each other
again. The filter can be removed in this po-
sition.
8.3 Connecting and
switching on/off
DANGER! Risk of electric
shock!
Only connect the device to an easily ac-
cessible wall socket with earthing con-
tacts whose voltage corresponds to the
specifications on the rating plate. The
wall socket must still be easily accessi-
ble after connection.
The on/off switch 8 has two positions:
- slightly pushed in = on
- slightly protruding = off
1. Ensure that the on/off switch 8 is
switched off.
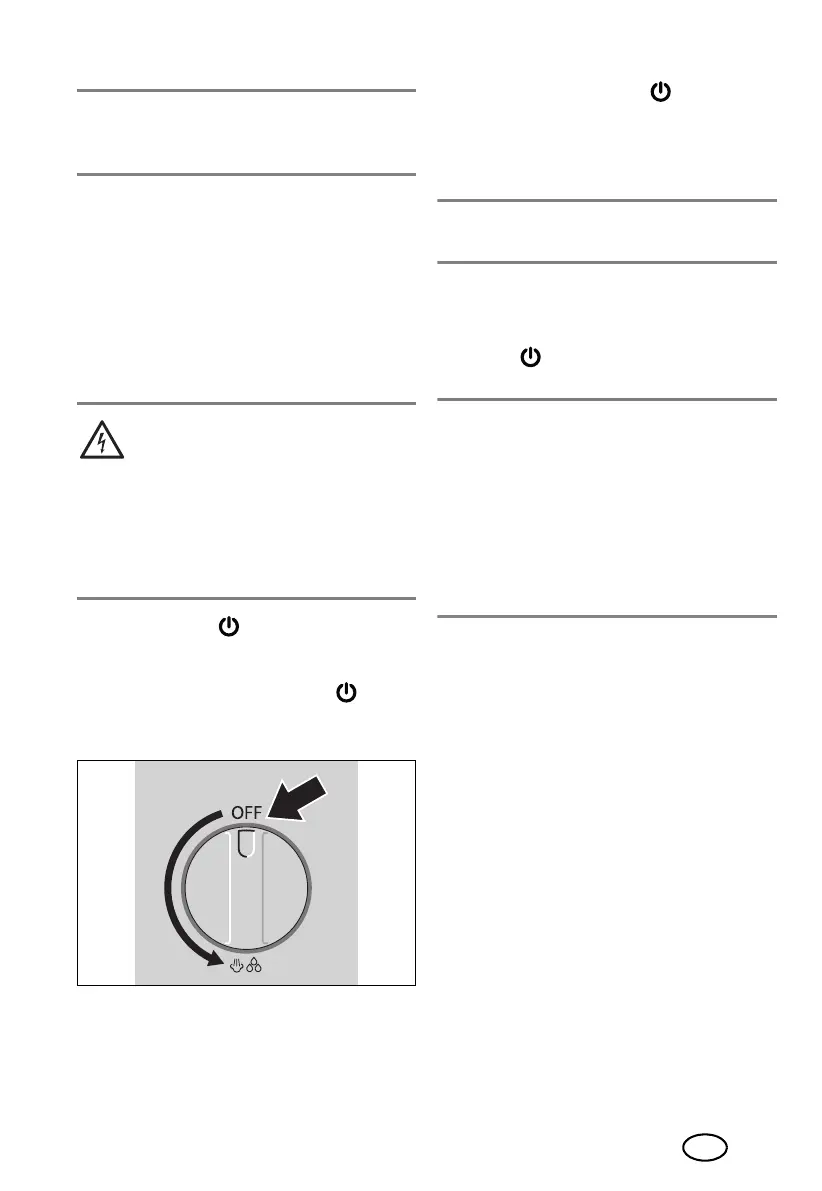
2. Set the dial4 all the way to OFF.
3. Connect the mains plug7 to a wall
socket.
4. Press the on/off switch 8.
- All LED rings17,18,19 light up
one after the other.
- The LED rings17,18 flash regularly.
The device heats up.
NOTE: if the LED rings17,18 flash rhyth-
mically, turn the dial4 all the way to OFF.
When the LED rings17,18 are continuous-
ly lit, the device is ready to be used.
5. To switch off, press the on/off switch
again 8. All LED rings17,18,19
go out.
NOTES:
• The espresso machine heats up again if
it is left ready for use for a long time.
The LED rings17,18 flash briefly.
Wait until the LED rings17,18 are
again continuously lit.
• The espresso machine switches off auto-
matically if no buttons have been
pressed for 30 minutes.