7 - 93
7 Transmission Repair
7D Hydro-Gear 0750 / 0800
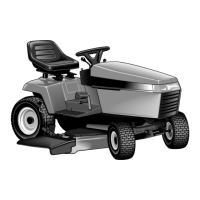
16. Insert the three assembly bolts into the center section
and press the center section down onto the aligning
pins and pump input shaft until it is seated on mount-
ing bosses. While holding the center section in posi-
tion, torque the bolts evenly from 525 in-lbs. to 700
in-lbs..
NOTE: Treat the bolts with Loc-Tite solution.
Figure D–36. Install Center Section Assembly
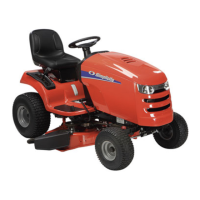
Figure D–37. Install Motor Thrust Bearing
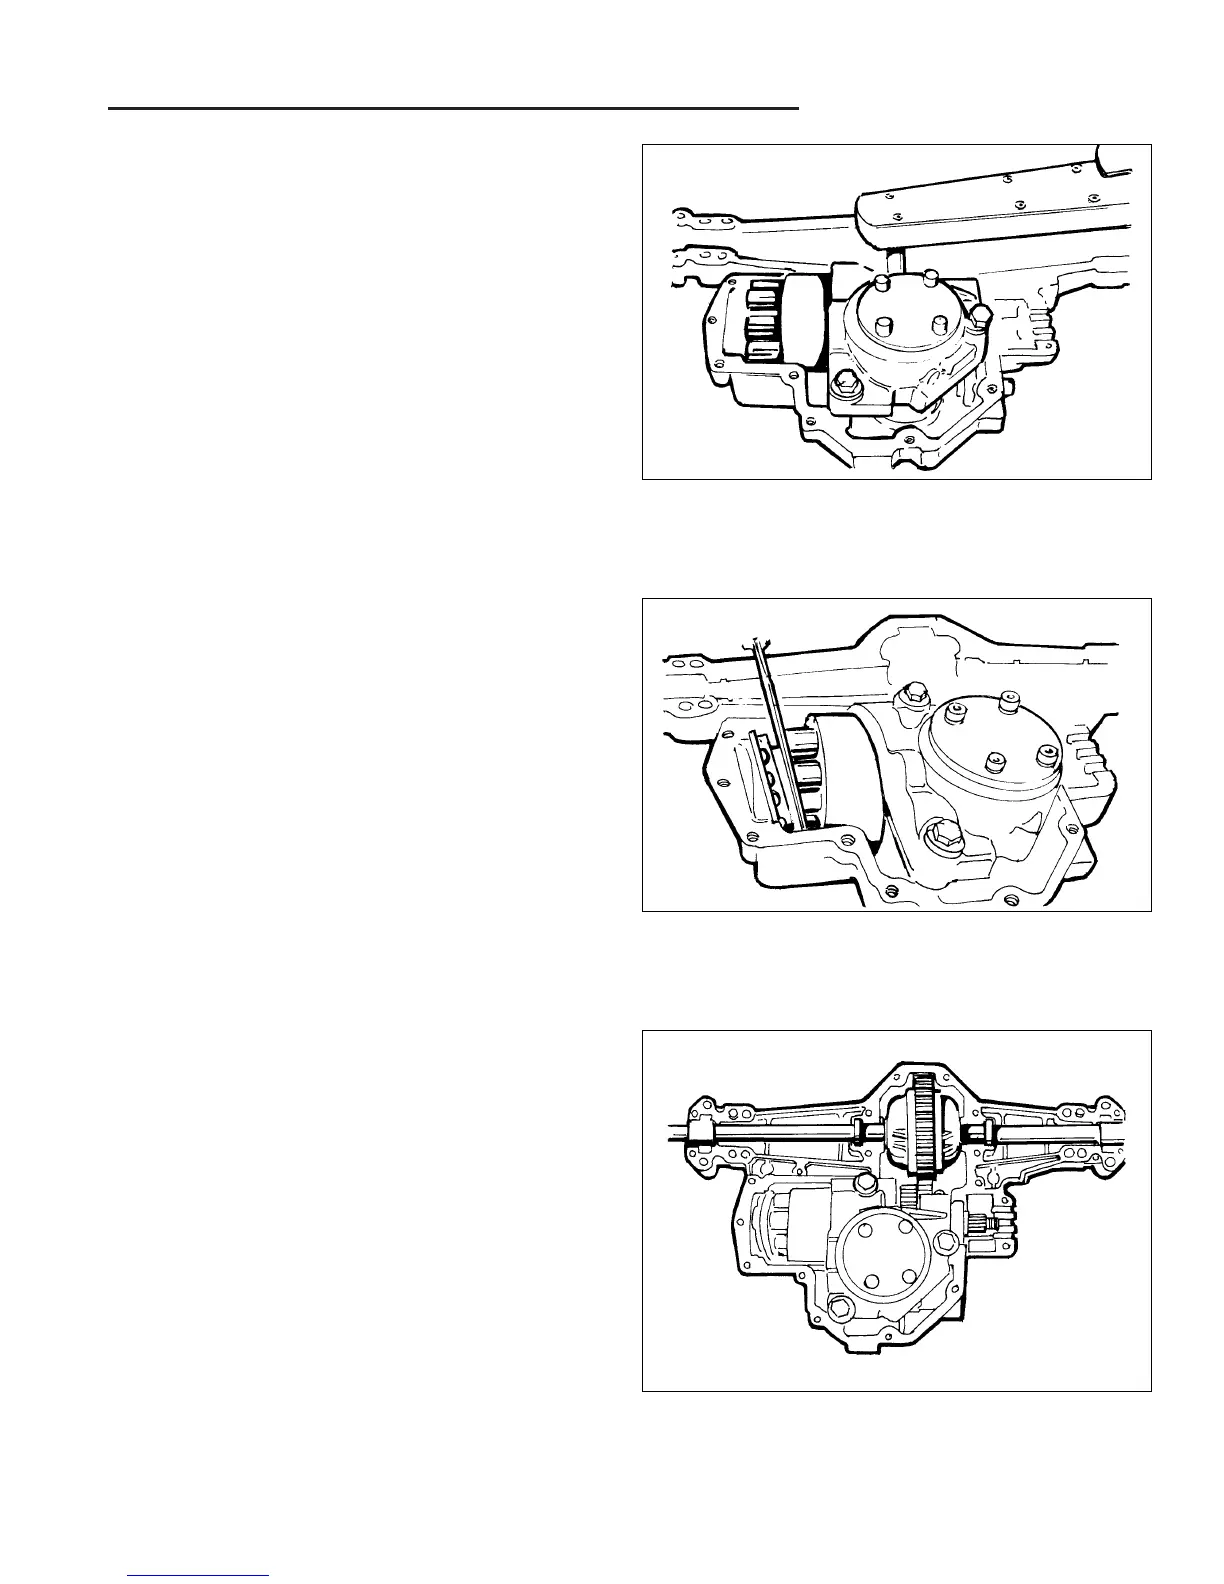
Figure D–38. Install Differential / Axle Assembly
17. Install the motor thrust bearing (with the thicker race
towards the pistons) by compressing the piston
springs and sliding the bearing assembly into place.
NOTE: Use a wide, thick puddy knife (or equivalent) to
compress the pistons and allow the bearing to be
installed.
18.Fill the axle pockets of the upper housing with
Chemplus grease--part number 1714286 (Inside of
bearing location.)
NOTE: Do not overfill, and wipe off any excess grease or
sealant will not cure properly.
19. Install the washers and seals onto the differential/axle
assembly and align them for installation.
20. Install the differential/axle assembly into the housing.
21. Install a new filter onto the center section/check valve
plate.
 Loading...