Copyright © 2018 SmartDrive Systems, Inc. All rights reserved. This information is intended for the use of SmartDrive 42
customers only. Any other use without the express written consent of SmartDrive Systems, Inc. is strictly prohibited.
SmartRecorder™ 4 Troubleshooting Guide
Quality Assurance
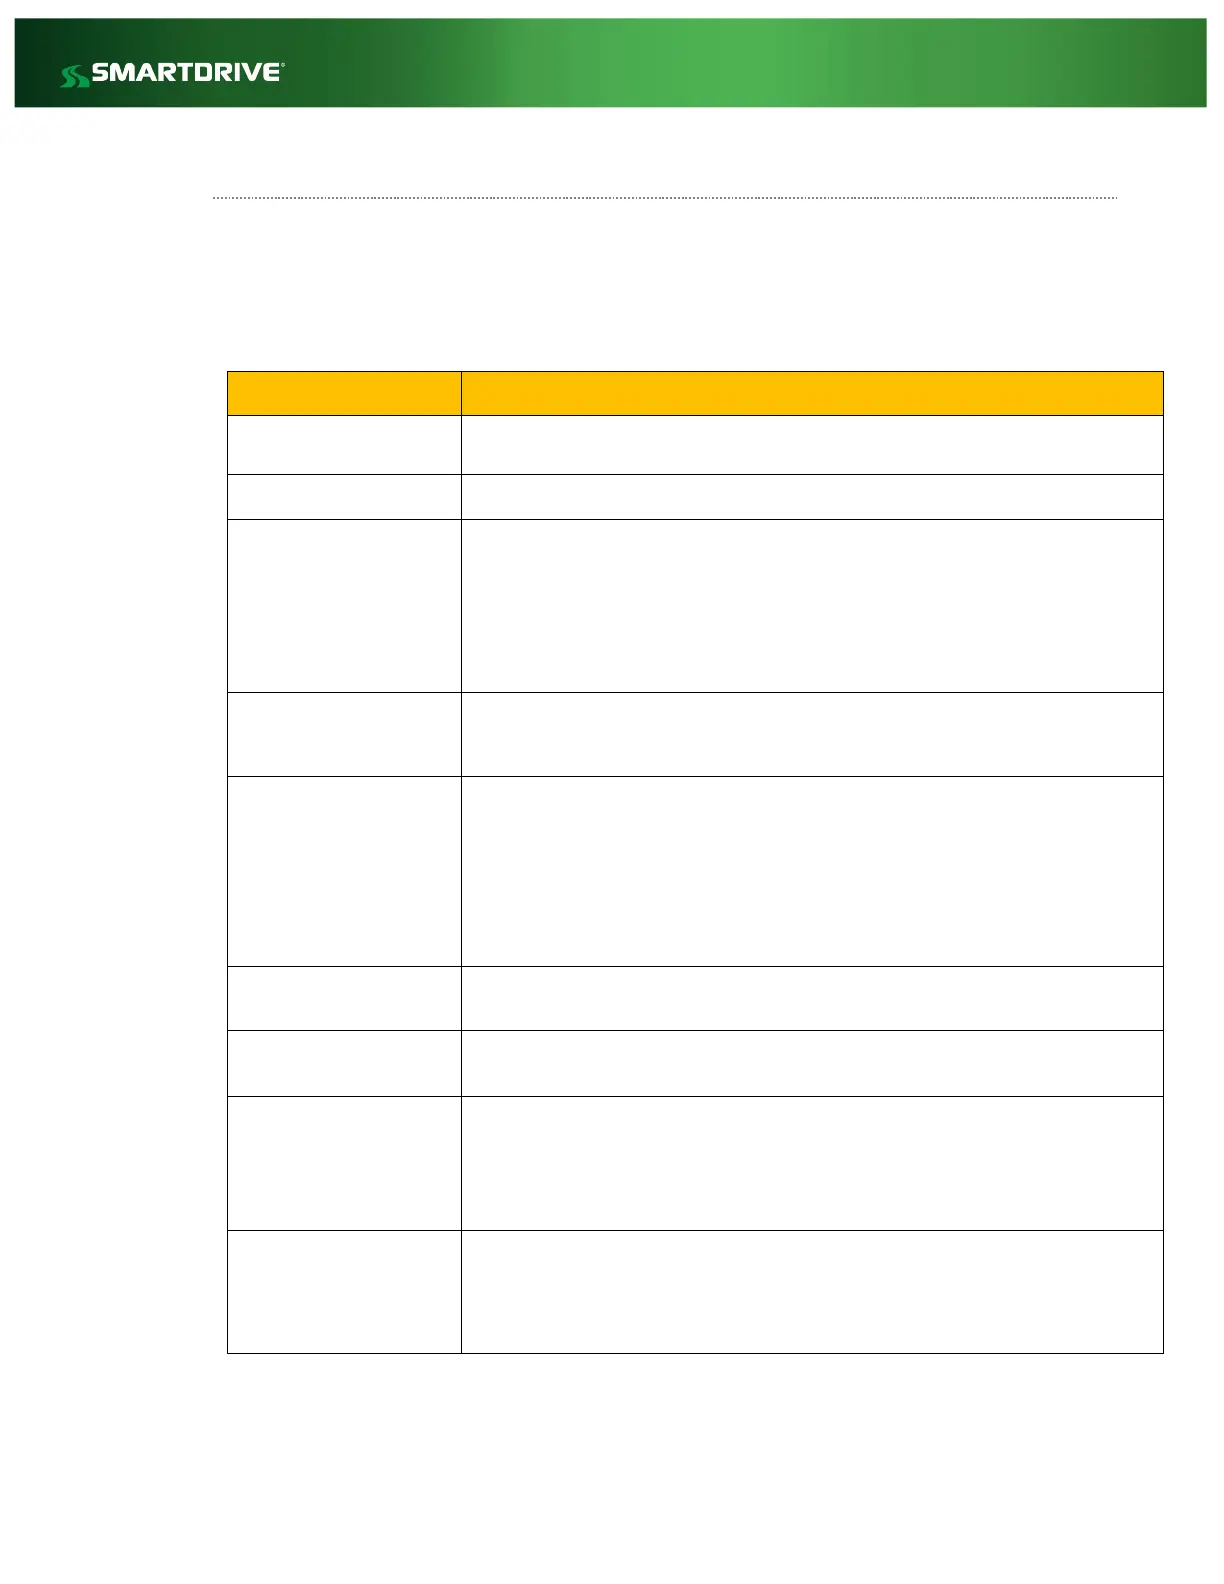
The following outline is used by the SmartDrive Technical Support Team as part of the Quality Check for
camera positioning and SmartRecorder health. Customers with their own Installers are expected to perform
this process themselves; Authorized Service Providers should contact Customer Support to perform the QA
check immediately following the creation of a manual event on the SmartRecorder. Note: Manual Events may
take between 15-25 minutes based on cellular strength before they may be viewed in the Response Center.
Using the Response Center - Validate that the manual event triggered at Installation is available.
Using the Response Center - Validate that the event has audio present.
Camera Placement – Forward-
facing
Verify that the primary forward-facing camera captures a broad view of the front of the vehicle. In
order to get optimal image exposure, allow for 40% of the image to be above the horizon line (i.e.
sky and/or tall objects) and 60% should be below the horizon line (i.e. car in front of vehicle, traffic
signs, pedestrians, and road.)
To maximize image quality, avoid placements where the vehicle hood is in view (e.g. in the bottom
60% of the image.) Vehicle hoods can interfere with exposure management (particularly those
painted white) when the sunlight reflects off them.
Camera Placement – Cab-facing
Using the Response Center - Validate that the cab-facing camera has a clear view of the drivers face. The
cab- facing camera should capture an internal view from the outside shoulder of the driver to the
outside shoulder of a front-seat passenger.
Camera Placement for BUS and
Multi-passenger vehicles
The internal view should capture from the outside shoulder of the Driver and at least his elbow
area near the steering wheel.
The internal view should be able to capture down the aisle to the back of the bus showing a view
at least 2 feet above the rear most seat if possible.
Lastly the internal view should capture as much of the passenger entry at the front side of the bus
if possible. The above is listed by importance but when setting the view all priorities should be
taken into consideration.
Camera Placement - Driver
Seatbelt
Using the Response Center - Validate that the driver facing camera has a clear view of the driver’s
seatbelt.
Camera Placement - Driver
Steering Wheel
Using the Response Center - Validate that the driver facing camera has a clear view of the Steering
Wheel.
To check GPS functionality; trigger Diagnostic Mode by pressing the Keypad button 5 times in 5 seconds
and act accordingly.
If GPS is still not present, an external puck may need to be installed on the vehicle, especially if there is
something covering the top of the cab. (Remember to push setpoints to enable an external puck.) Also
you can refer to the GPS Troubleshooting Guide for reference.
Check that the SmartRecorder has been correctly connected to 12/24 volts constant and Ignition by
having the installer look at the camera, turn accessory power on (no cranking), watch the driver cam
lights blink twice to indicate ignition, then crank the vehicle and make sure the driver facing camera light
doesn’t not sense ignition again while cranking. This will indicate that voltage was not lost during
cranking.