Copyright © 2018 SmartDrive Systems, Inc. All rights reserved. This information is intended for the use of SmartDrive 43
customers only. Any other use without the express written consent of SmartDrive Systems, Inc. is strictly prohibited.
Camera Adjustment Process
The following outline is used by the SmartDrive Technical Support Team as part of the Quality Check for
camera placement. Use the following guidelines to adjust the SR4 Camera (s) for optimal view.
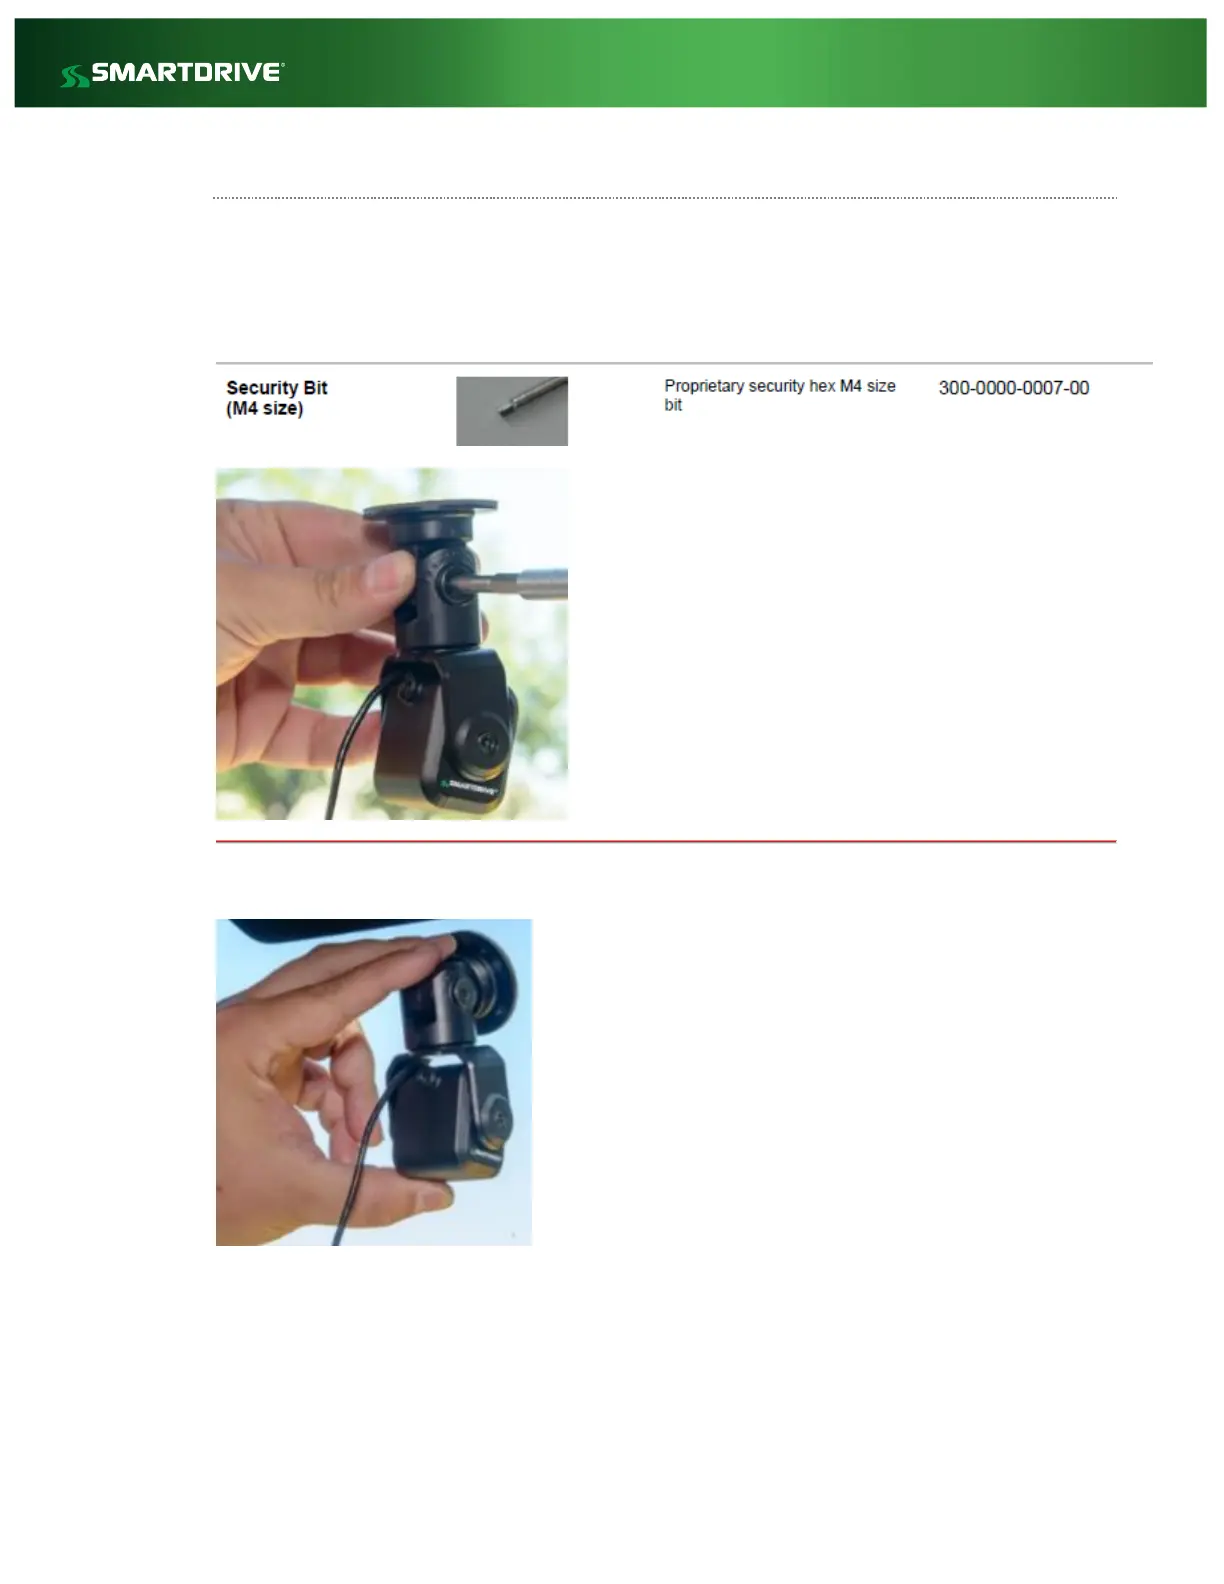
Tools required are the M4 Security Bit and access to the SmartDrive Response Center to view the manual
event and camera position.
Forward-facing Camera Placement: Use the M4 Security bit to loosen the bolts on both sides of the camera.
Primary Forward-facing Camera QA Check
Verify that the primary camera captures a broad view of the front of the vehicle. In order to get optimal image
exposure, allow for 40% of the image to be above the horizon line (i.e. sky and/or tall objects) and 60% should
be below the horizon line (i.e. car in front of vehicle, traffic signs, pedestrians, and road.)