118-119
Laser Engraving and Cutting
This calibration wizard appears only the first time you use the 10W Laser Module. To redo the
calibrations later, tap Calibration on the Home Screen and select the corresponding process.
5.2.2 Calibrate the 10W Laser Module
For the first-time use of the laser function, the Touchscreen will walk you through the necessary calibrations so
that the 10W Laser Module can work properly.
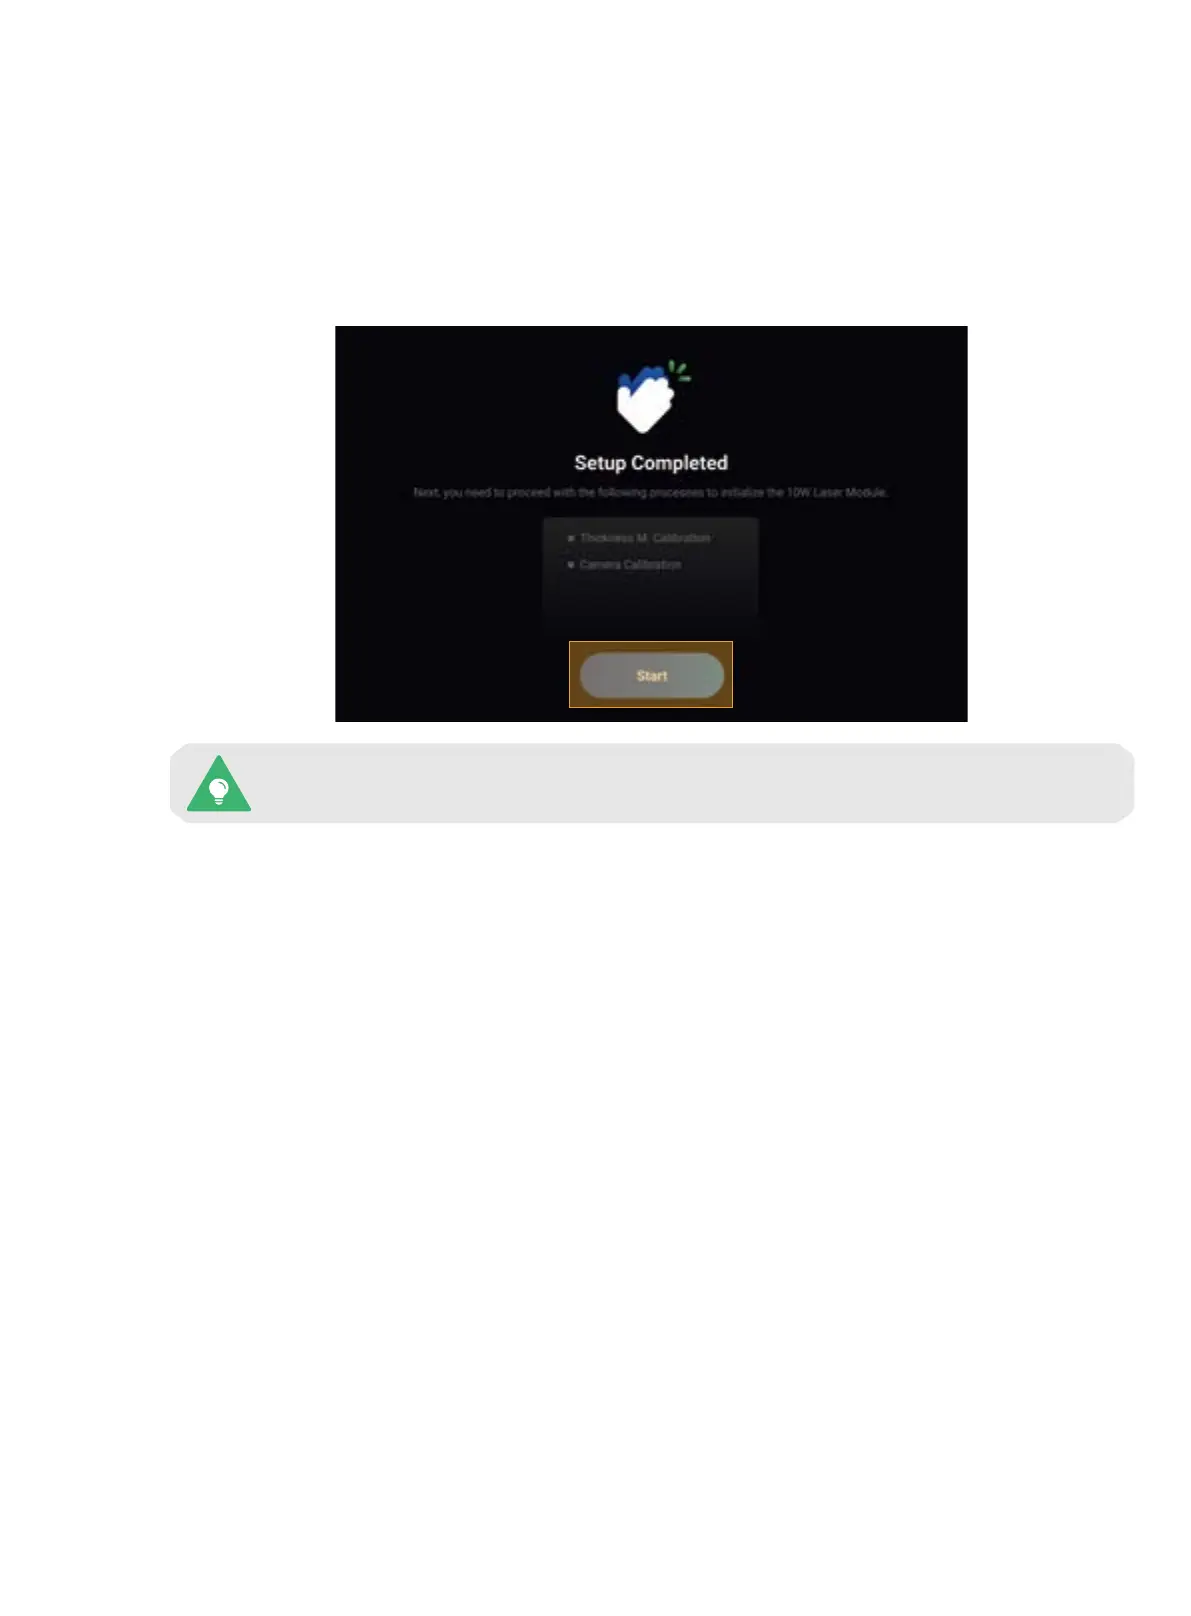
The laser calibration wizard consists of two processes: Thickness Measurement Calibration and Camera
Calibration. Before you start the calibration, we recommend that you read this section to learn about each
process.
1. Thickness Measurement Calibration
Brief Introduction
The 10W Laser Module features a thickness measurement system that uses the triangulation technique. The
system includes a red laser emitter that projects a red dot on the material surface and a camera that captures
the red dot image to calculate the material thickness.
How It Works
The Thickness Measurement Calibration adjusts the parameters in the thickness measurement system to
ensure accuracy. In this process, a laser calibration plate with known thickness is first used to help the machine
determine the height of the laser engraving and cutting platform and then as a measured object to calibrate the
system parameters.