23
8. Initial operation
8.3 Setting the motor limit switches
INFORMATION
For more information on limit switches,
please refer to the manufacturer’s installation
instructions.
1. Press and hold the door OPEN or door CLOSE button
on the circuit board after reaching the desired end
position.
2. If necessary, set the limit switch on the motor.
3. Repeat steps 1 and 2 for the other direction.
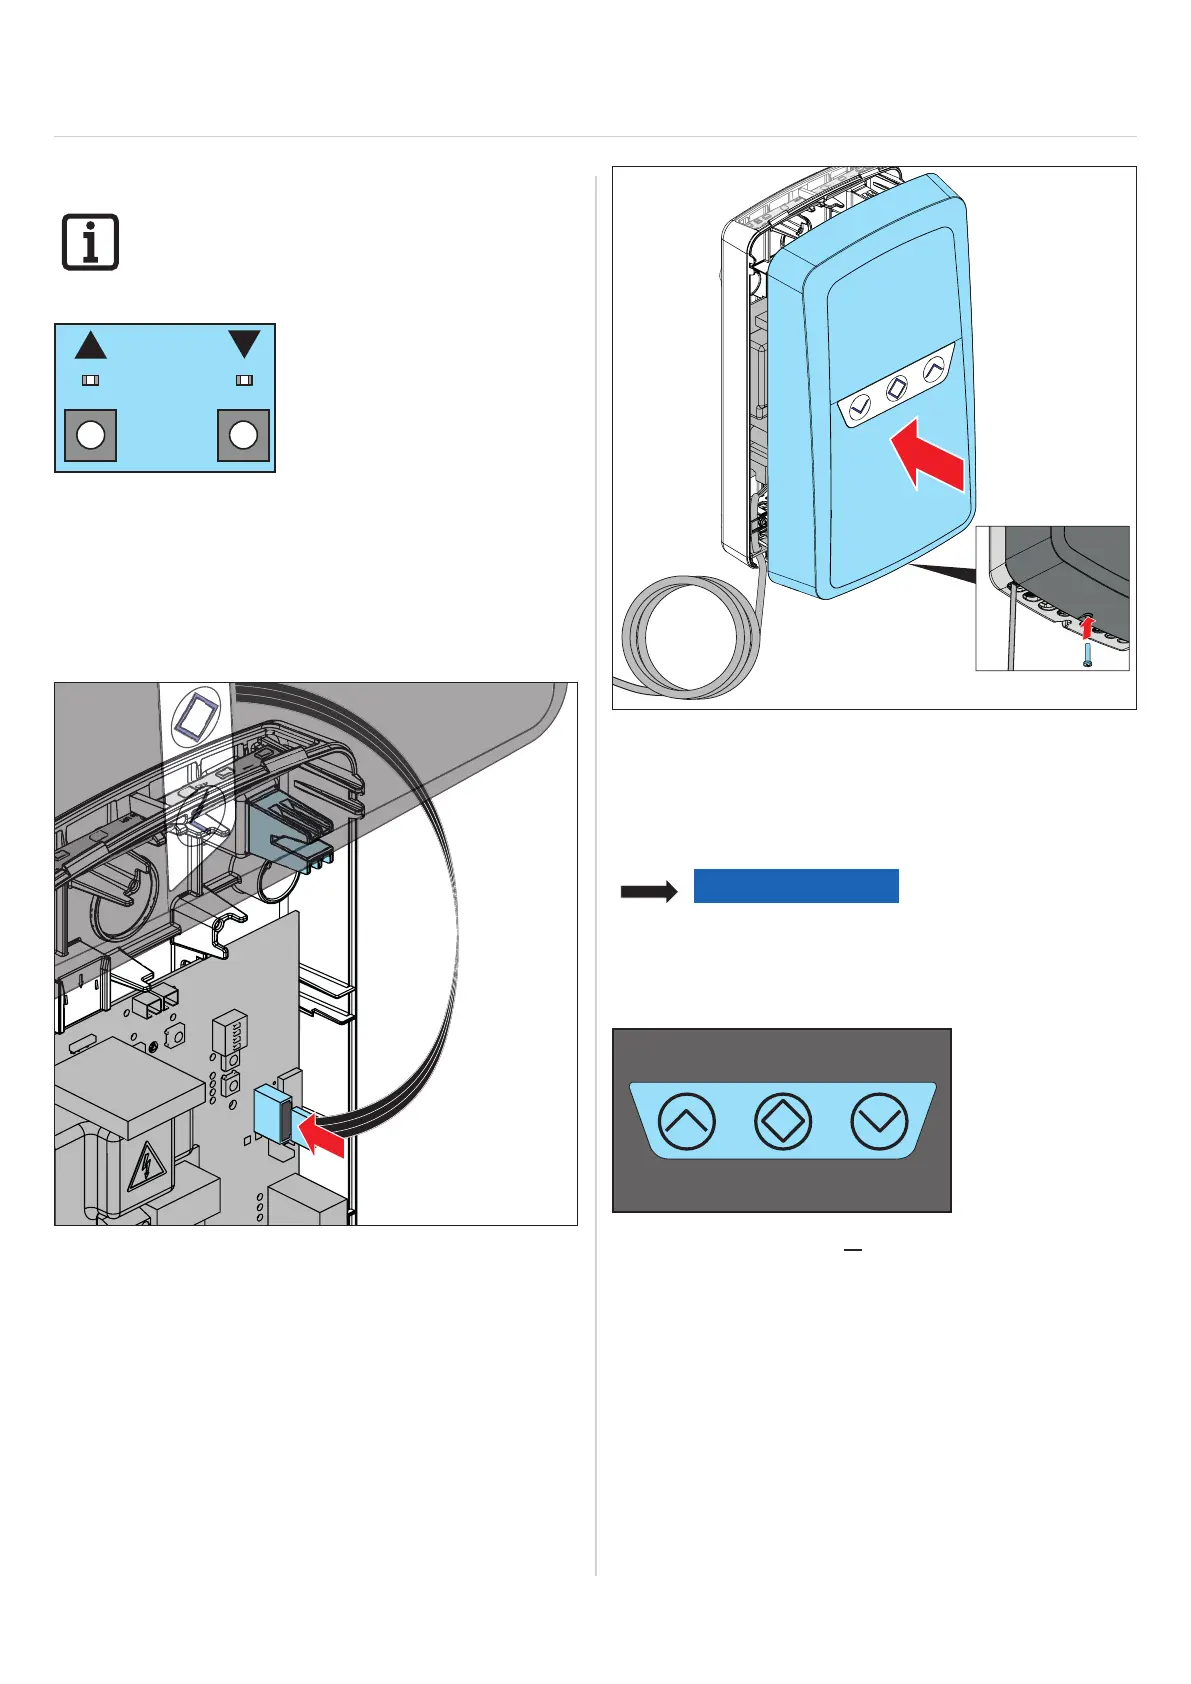
8.4 Closing the housing cover
1. Connect ribbon cable to the control unit circuit board.
2. Close housing cover and fasten it with the screw on the
underside.
8.5 Setting the run time
(run time monitoring)
NOTE
The limit switches must be set before
setting the run times.
For more information on limit switches,
please refer to the manufacturer’s
installation instructions..
1. Press the door OPEN or door CLOSE button on the
housing cover to start the automatic learning process.
⇒ The door opens and closes without an interim stop
until the run times have been programmed.
Thepositionofanoptionallyttedframephotocell
is programmed at the same time.
⇒ The door remains in one of the two end positions.
⇒ The lighting lights up continuously.