Setting
ISO
Sensitivity to light is expressed by the ISO number (recommended
exposure index). The larger the number, the higher the sensitivity.
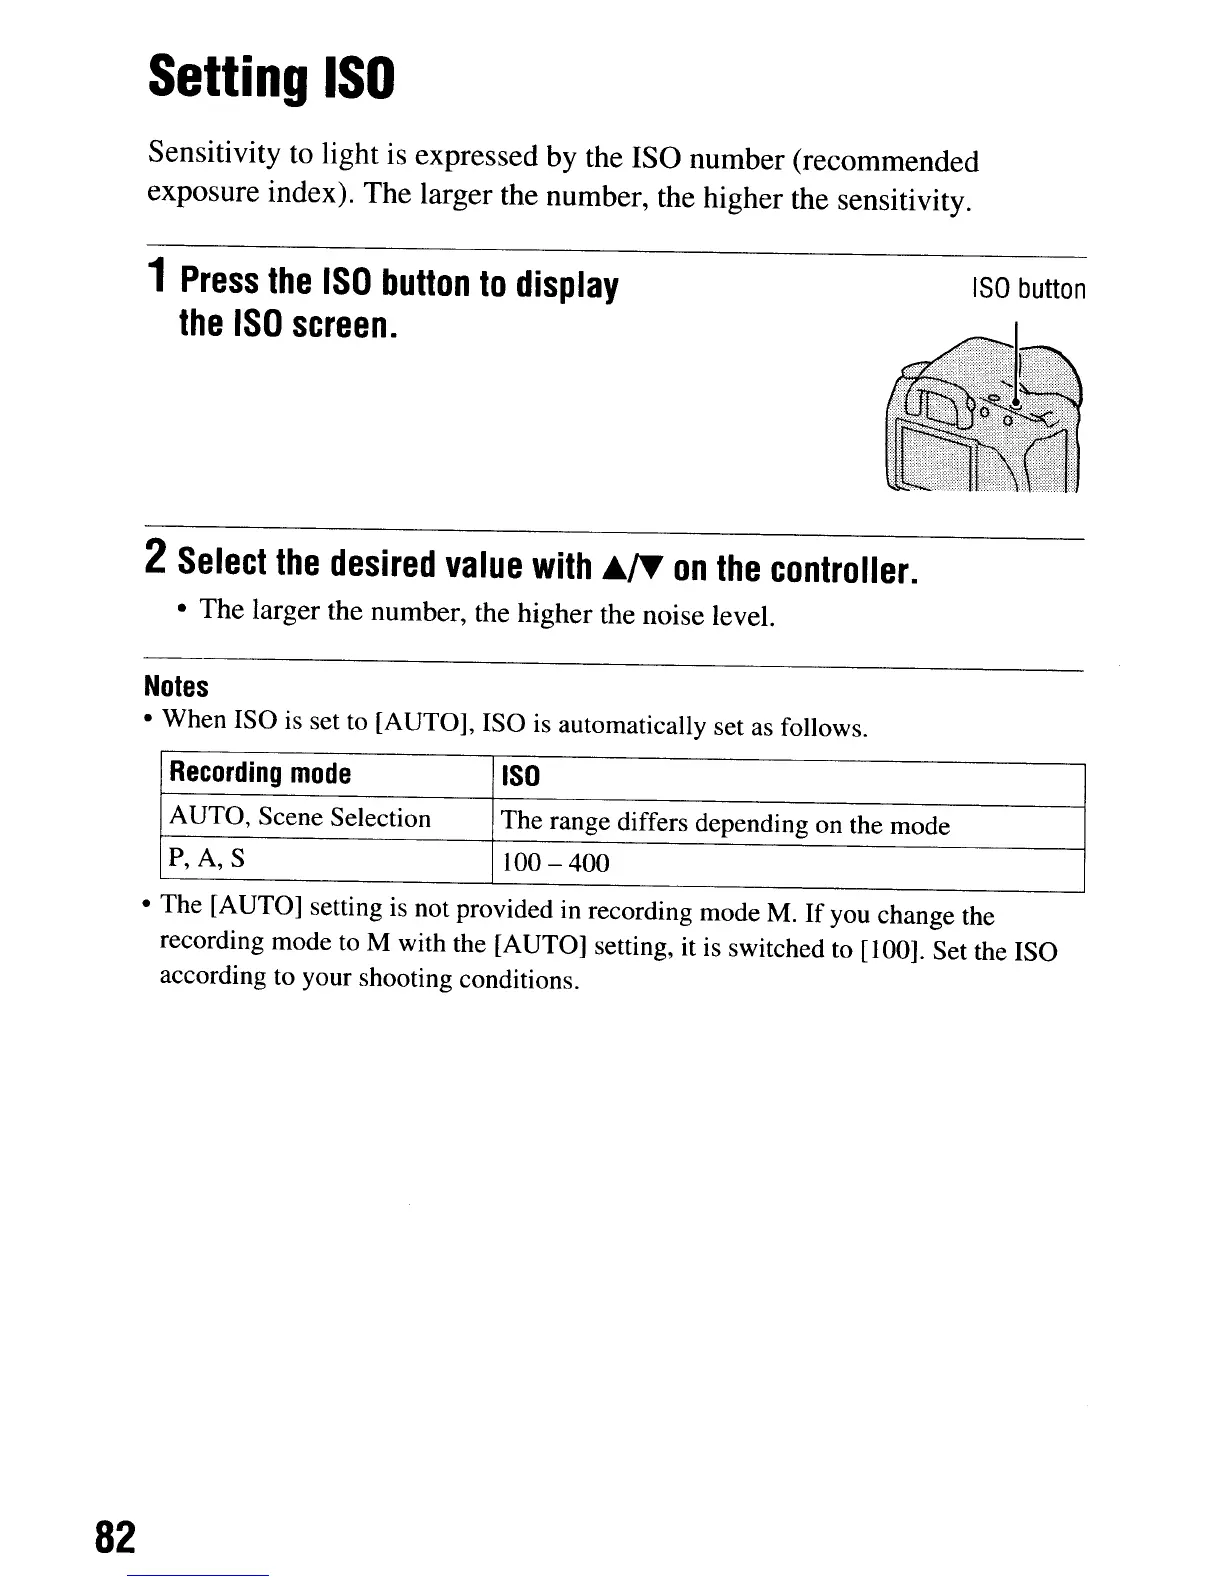
1
Press
the
ISO
button
to
display
the
ISO
screen.
ISO
button
2
Select
the
desired
value
with
.,.
on
the
controller.
• The larger the number, the higher the noise level.
Notes
• When ISO
is
set to [AUTO], ISO is automatically set as follows.
Recording
mode
ISO
AUTO, Scene Selection
The range differs depending on the mode
P,
A,
S 100 - 400
• The [AUTO] setting
is
not provided in recording mode M.
If
you change the
recording mode to M with the [AUTO] setting, it is switched to [100]. Set the ISO
according to your shooting conditions.
82
Setting
ISO
Sensitivity to light is expressed by the ISO number (recommended
exposure index). The larger the number, the higher the sensitivity.
1
Press
the
ISO
button
to
display
the
ISO
screen.
ISO
button
2
Select
the
desired
value
with
.,.
on
the
controller.
• The larger the number, the higher the noise level.
Notes
• When ISO
is
set to [AUTO], ISO is automatically set as follows.
Recording
mode
ISO
AUTO, Scene Selection
The range differs depending on the mode
P,
A,
S 100 - 400
• The [AUTO] setting
is
not provided in recording mode M.
If
you change the
recording mode to M with the [AUTO] setting, it is switched to [100]. Set the ISO
according to your shooting conditions.
82