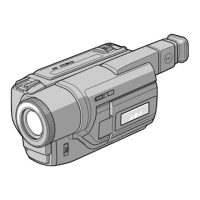
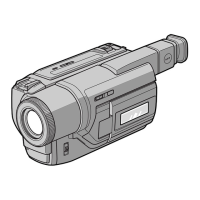
132
Monitoring the new recorded
sound
The POWER switch should be set to
1)
/
2)
.
Operate by touching the panel.
(1) Play back the tape on which you added
audio.
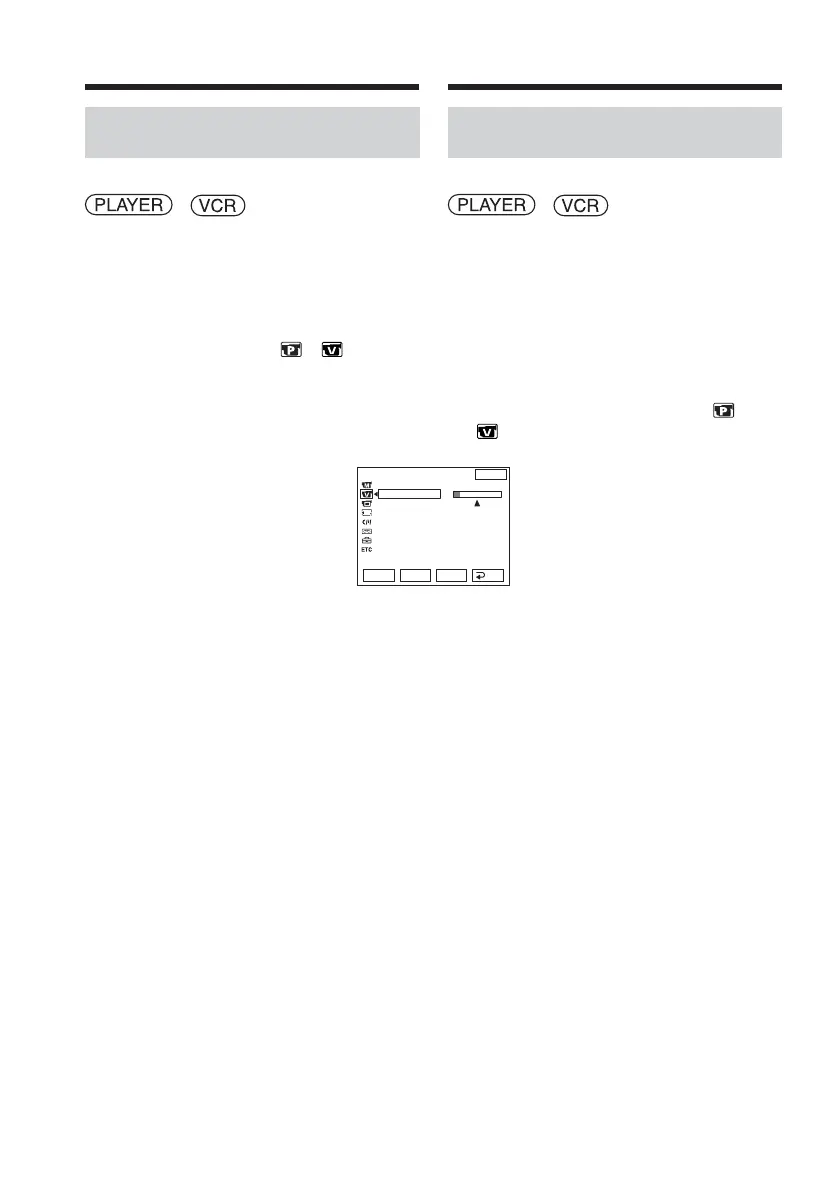
(2) Press FN to display PAGE1.
(3) Press MENU to display the menu.
(4) Select AUDIO MIX in
1)
/
2)
, then
press EXEC (p. 244).
(5) Press r/R to adjust the balance between
the original sound (ST1) and the new
sound (ST2), then press EXEC.
About 5 minutes after you disconnect
the power source or remove the battery
pack, the setting of AUDIO MIX returns
to the original sound (ST1) only. The
default setting is original sound only.
1)
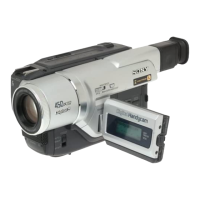
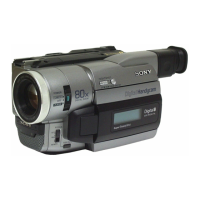
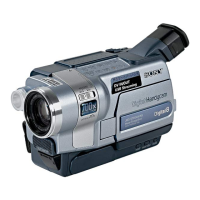
DCR-TRV12E/TRV14E
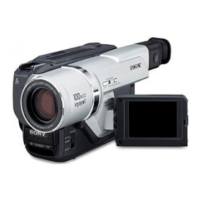
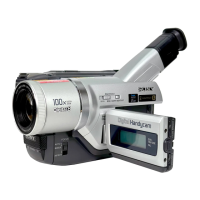
2)
DCR-TRV19E/TRV22E/TRV33E
VCR SET
H i F i SOUND
AUD
I
O M
I
X
A
/
VcDV OUT
NTSC PB
ST1 ST2
EXIT
RET.
EXEC
Rr
Audio dubbing Doublage audio
Contrôle du nouveau passage
sonore enregistré
Réglez le commutateur POWER sur
1)
/
2)
.
Effectuez cette opération à l’aide de l’écran
tactile.
(1) Lancez la lecture de la cassette sur
laquelle vous avez ajouté un passage
audio.
(2) Appuyez sur FN pour afficher PAGE1.
(3) Appuyez sur MENU pour afficher le
menu.
(4) Sélectionnez AUDIO MIX sous
1)
/
2)
, puis appuyez sur EXEC (p. 254).
(5) Appuyez sur r/R pour régler l’équilibre
entre le son d’origine (ST1) et le
nouveau son (ST2), puis appuyez sur
EXEC.
Environ 5 minutes après avoir
débranché la source d’alimentation ou
retiré la batterie, le réglage AUDIO MIX
revient au son initial (ST1) uniquement.
Le réglage par défaut est le son original
uniquement.
1)
DCR-TRV12E/TRV14E
2)
DCR-TRV19E/TRV22E/TRV33E