5-2 Shot Mark/Shot Data
Chapter 5 Shot Mark/Shot Data
Shot Mark Operations
5-1-2 Shot Mark Operation Menu
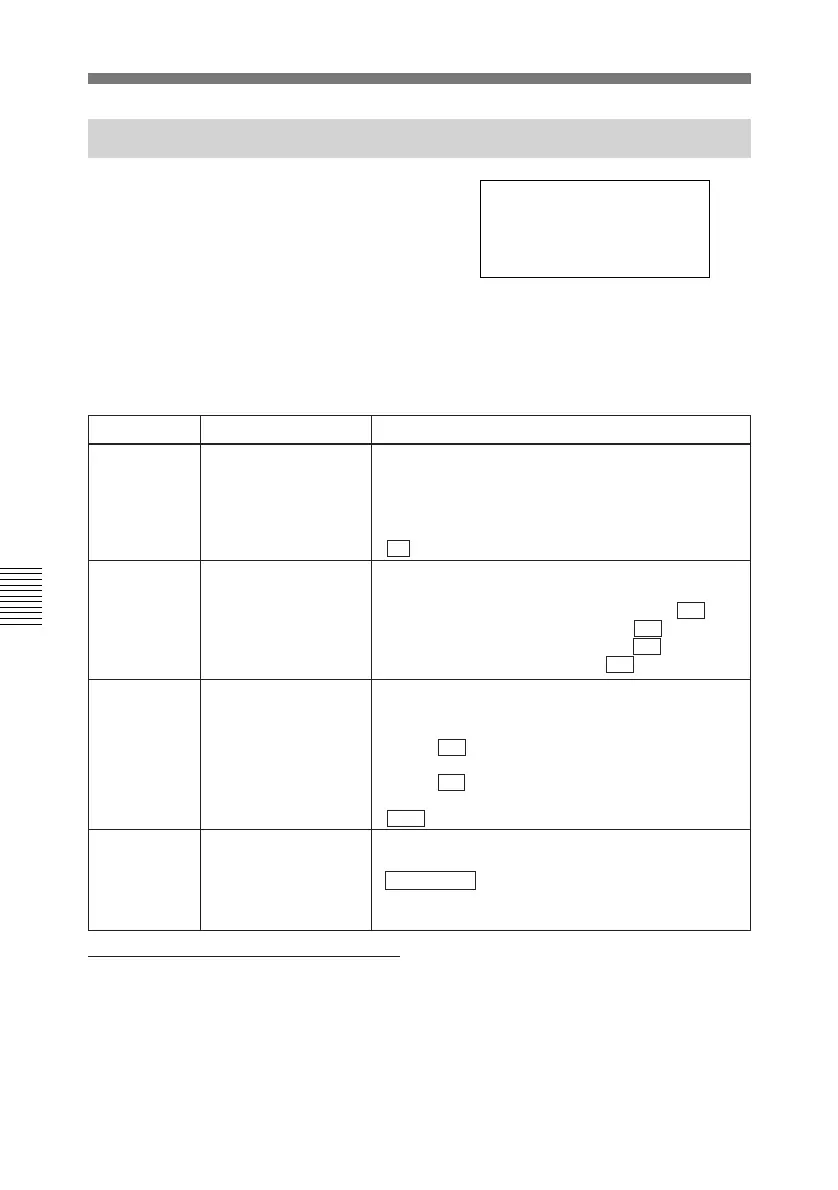
To display the Shot Mark Operation
menu, press the MENU button while
pressing the TRIM+/MARK button.
The menu shown in the figure appears.
GO1:SEARCH TYPE - all
GO2:LISTING TYPE
SHOT MARK
GO3:RS.MARK MODE
GO4:MARK IN REC shot1
The Shot Mark Operation menu is
composed of four items, G01 to G04.
The settings for each item are shown
below.
Number Name Settings
G01
SEARCH TYPE
SELECT
G02 LISTING TYPE
SELECT
G03 REC START MARK
MODE
G04
MARK SELECT IN
REC/ASSEMBLE
Select the type of shot marks to index.
rec start mark
shot mark 1
shot mark 2
post mark
all
Select whether to include marks types in the mark
list.
rec start mark: Include REC Start marks( ON /OFF)
shot mark 1: Include Shot Mark 1 ( ON /OFF)
shot mark 2: Include Shot Mark 2 ( ON /OFF)
post mark: Include Post Mark ( ON /OFF).
Select the type of marks written during recording
and in assemble mode.
shot mark 1
shot mark 2
post mark
Select whether to record REC Start marks, for each
operating mode.
crash REC: Write REC Start marks in crash REC
mode ( ON /OFF)
assemble: Write REC Start marks in assemble
mode ( ON /OFF)
insert: Write REC Start marks in insert mode (ON/
OFF )
To change the settings
The procedures for selecting and
changing menu items are the same as
the procedures for the Setup menu.
To change items G02 and G03, press
the STOP button and select the item
whose ON/OFF setting you want to
change. Then rotate the jog or shuttle
dial while pressing the Search button
to change the ON/OFF setting.
For more information about using the
Setup menu, see section 6-2-2 “Basic
Menu Operations”.