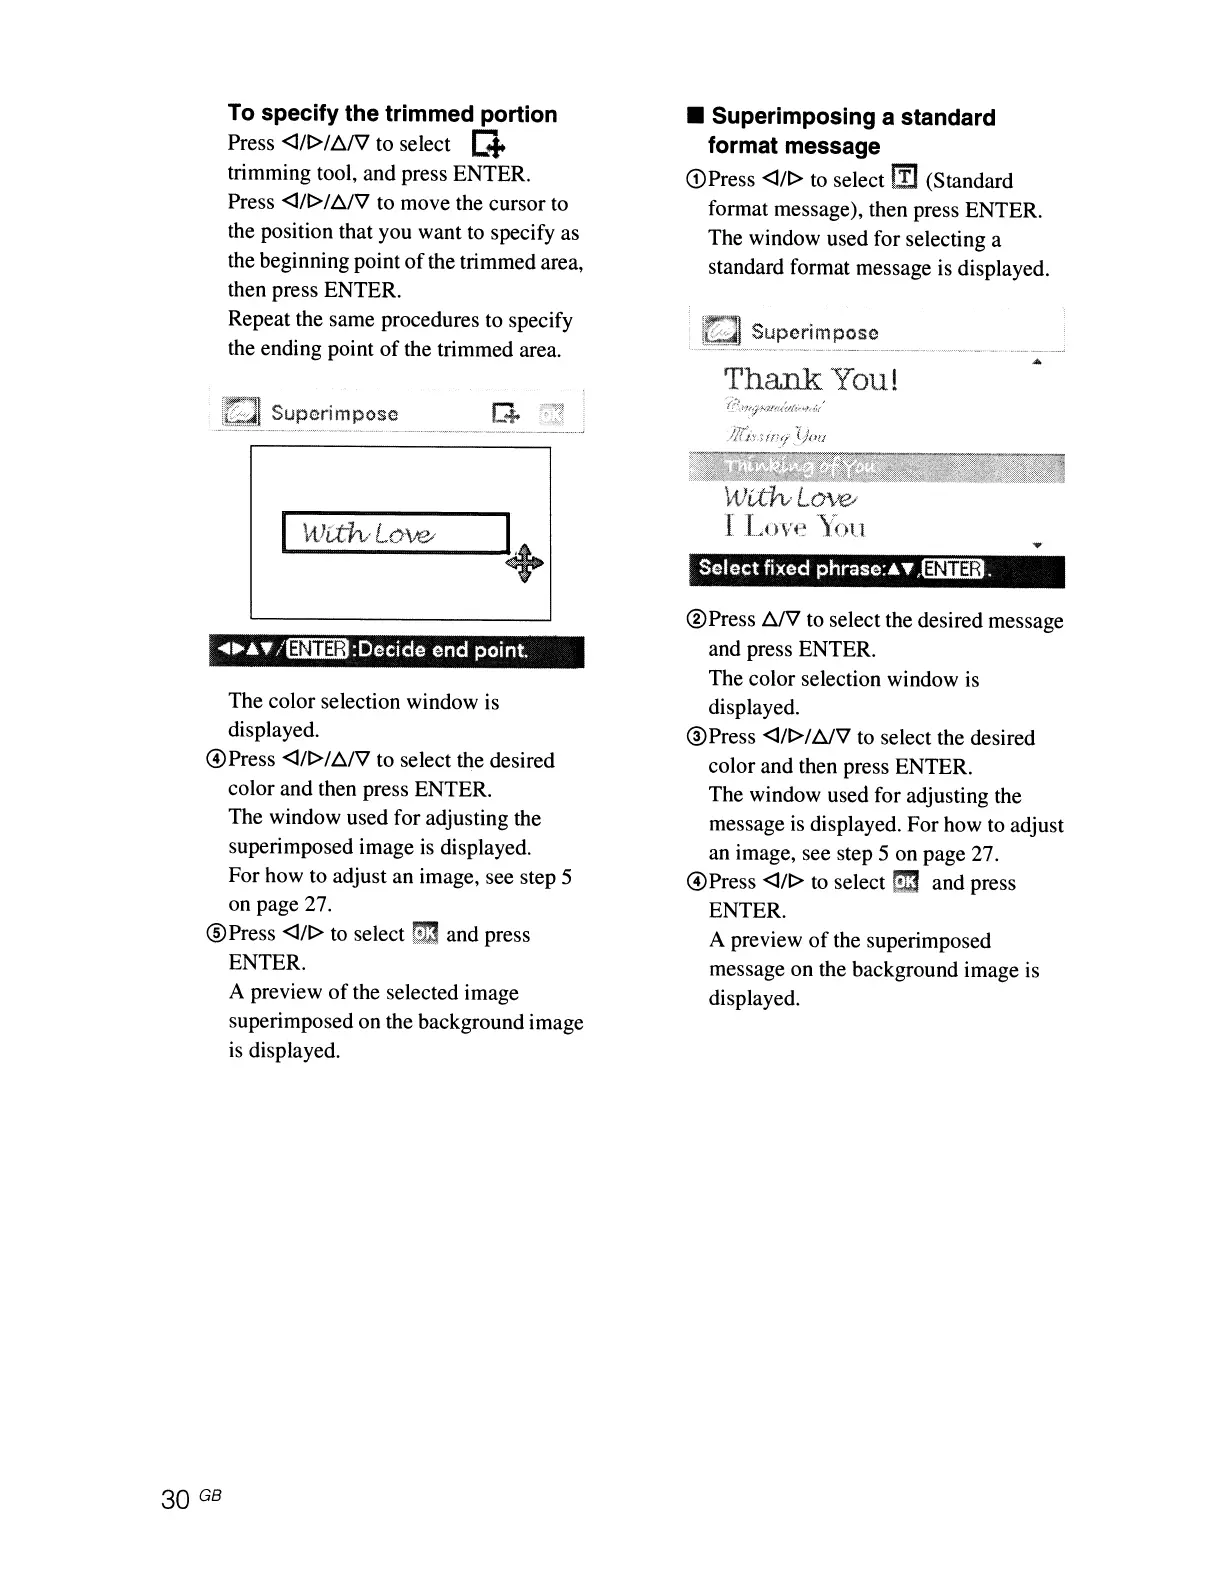
To specify the trimmed portion
Press
<J/t>/f:::,,/V
to select
C+
trimming tool, and press ENTER.
Press
<J/t>/
/:1/V
to
move the cursor to
the position that you want to specify as
the beginning point
of
the trimmed area,
then press ENTER.
Repeat the same procedures to specify
the ending point
of
the trimmed area.
I
\ttJt:-dv
LO\le< I
L..-,
__
~
......
T /liIiD.il:Decide
end
point.
The color selection window is
displayed.
@Press
<J/t>//:1/V to select the desired
color and then press ENTER.
The window used for adjusting the
superimposed image is displayed.
For how to adjust an image, see step 5
on page 27.
@Press
<J/t>
to select
m::!
and press
ENTER.
A preview
of
the selected image
superimposed on the background image
is
displayed.
30 GB
• Superimposing a standard
format message
CDPress
<J/t>
to select Ii] (Standard
format message), then press ENTER.
The window used for selecting a
standard format message
is
displayed.
Superimpose
Thank
You!
~tJtth·
Love,;
IL,ove
You
Selectfixed phrase:
..
T ,l3fiim.
@Press I:1/V to select the desired message
and press ENTER.
The color selection window
is
displayed.
@Press
<J/t>/I:1/V to select the desired
color and then press ENTER.
The window used for adjusting the
message
is
displayed. For how to adjust
an image, see step 5 on page 27.
@Press
<J/t>
to
select
Gm
and press
ENTER.
A preview
of
the superimposed
message on the background image is
displayed.