Thumbnail Operations
96
Chapter 5 Operations in GUI Screens
After pressing the RESET/RETURN button
to return to the clip thumbnail screen, check
to make sure that the newly selected frame is
displayed as the index picture.
You can check clip properties such as the title,
timecode, duration, date and time of creation, and
date and time of the more recent modification.
See page 91 for more information about thumbnail
screen operations.
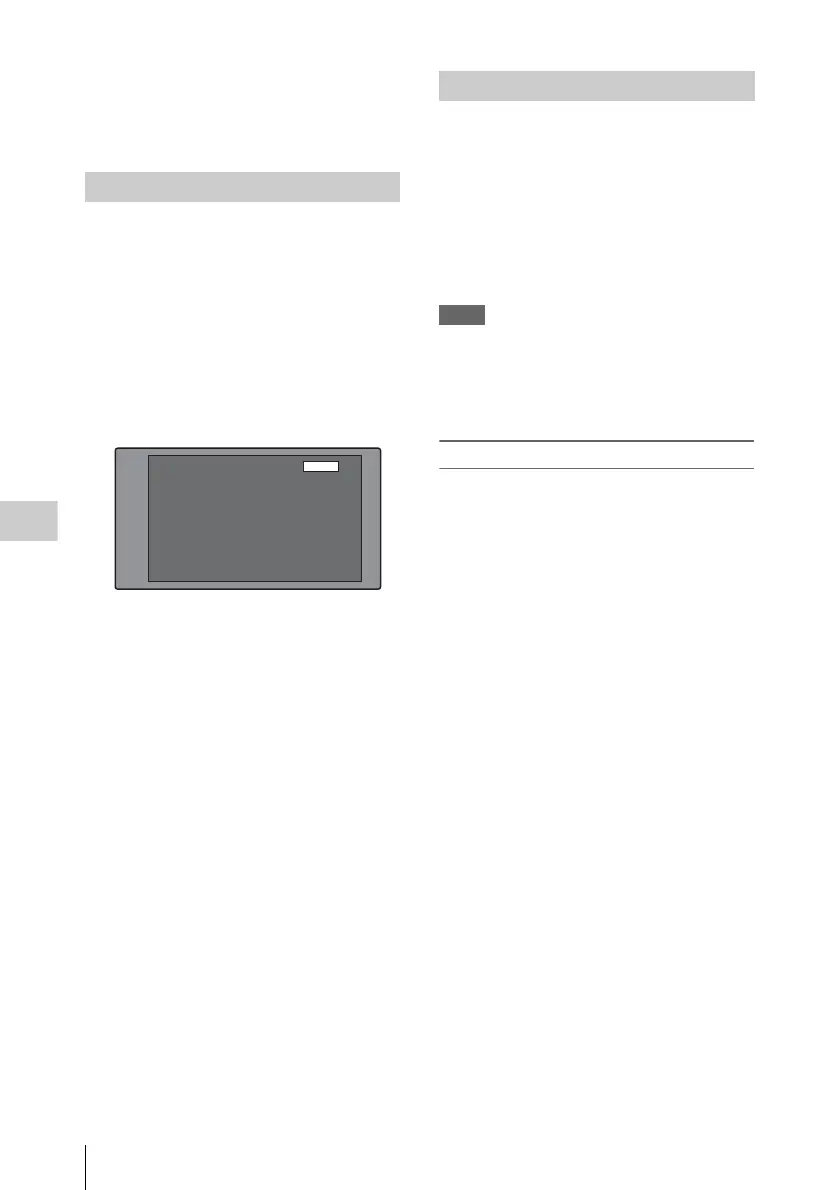
1 Display the Thumbnail Menu in the clip
thumbnail screen.
2 Select Clip Properties.
The Clip Properties screen appears.
Clip No.: Clip number/total number of clips
Name: Clip name
1)
Title: Title
Title2: Title 2
1)
TC: Timecode of first frame
DUR: Recording time
Created: Date and time of creation
Modified: Date and time of most recent
modification
Rec Device: Name of device that created clip
(product number)
1) Titles can be displayed in Japanese when the
area of use (see page 38) is set to “NTSC (J)
AREA.”
To display the properties of the previous
or the next clip
Press the PREV button or the NEXT button.
To return to the clip thumbnail screen
Press the SET/S.SEL button or the MENU
knob.
In a clip thumbnail screen, you can lock the
selected clips so that they cannot be deleted or
altered.
Locking prevents the following operations on
clips.
•Deletion
• Renaming by FTP
• Changing the index picture
• Adding and deleting shot marks
Notes
• Locked clips are deleted along with other clips when a
disc is formatted.
• Clips cannot be locked or unlocked when the write
inhibit tab of the disc is set to the recording disabled
position.
To lock clips
See page 91 for more information about thumbnail
screen operations.
1 In the clip thumbnail screen, select the
thumbnails of the clips that you want to
lock.
2 Display the Thumbnail Menu.
3 Select Lock/Unlock Clip.
4 Press the SET/S.SEL button or the
MENU knob.
A lock icon (see page 87) appears on the
thumbnail of the locked clips.
In step 1, you can also perform a shortcut
operation by pressing the STOP button with the
SHIFT button held down.
To lock all clips
1 Display the Disc Menu.
2 Select “Lock or Delete All Clips”, and
then select “Lock All Clips”.
A message appears asking you to confirm
locking all clips.
3 Select OK to lock all clips or Cancel to
cancel it, and then press the SET/S.SEL
button or the MENU knob.
Checking clip properties
Clip No.
Name
Title
Title2
TC
DUR
Created
Modified
Rec Device
001/035
TèlèvisionLCD
Capping Literally years of specu...
Rétroprpjecteurs BRAVIA
00:23:00:25
0:00:09:22
30 NOV 2005 13:35±00:00
20 MAY 2006 15:02±00:00
PDW-F70(SN-03042)
Clip Properties
OK
Locking (write-protecting) clips


 To Next Page