5. Unscrew the plastic top and take that off. This will allow you to see much more of the drive on
the inside.
6. The plastic piece I'm pointing to in the picture above needs to come off. That will allow us to see
the load/unload motor. One small screw will allow you to remove this plastic part.
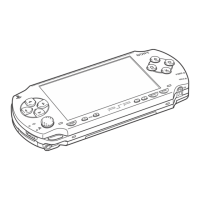
7. Once removed you will see the small motor which is what we're after and makes this possible.
You'll see 2 small wires soldered onto the motor. RED and BLACK. You have another tough
choice now, if you chose to add a switch to the load sensor above, you will need to add a switch
to one of the original motor wires also. This way, when you put your game in and the sensor
sucks it in, the motor will work automatically like it did to start with.
If you have the sensor turned on with a switch, you need the motor turned on auto with a switch.
That's where the 2 additional switches come in if you choose to retain original functionality. If
 Loading...