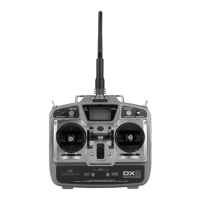
17SPEKTRUM NX7e • TRANSMITTER INSTRUCTION MANUAL
EN
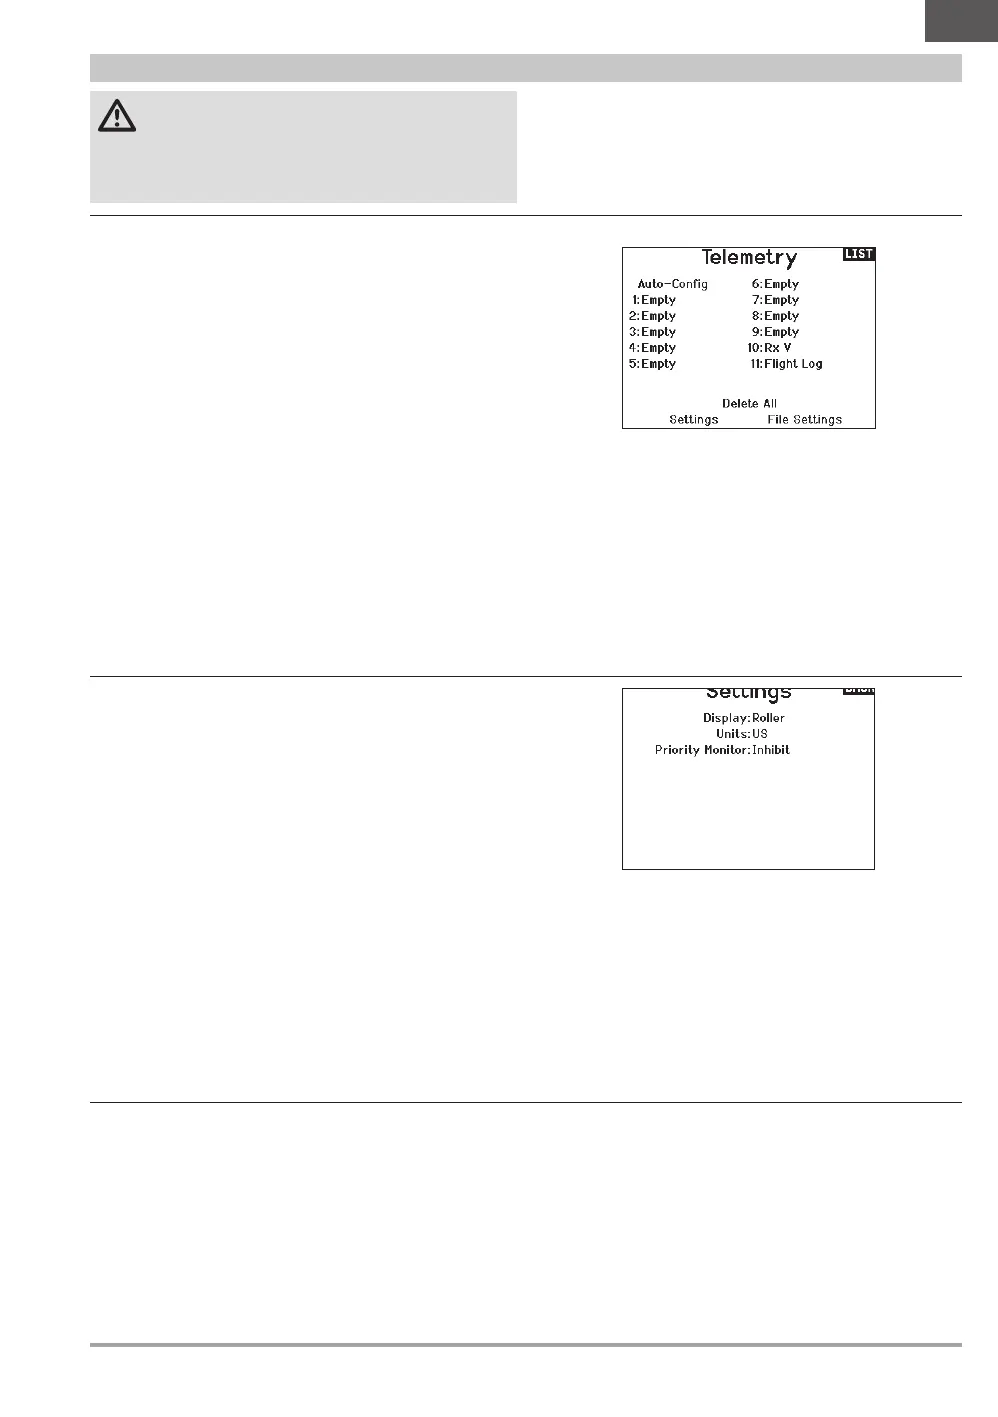
Telemetry
CAUTION: If you access the Telemetry menu from the
Function List, you may see a frame loss appear when
you exit the menu. The frame loss is not an error, but there will
be a momentary loss of radio signal when exiting the Telemetry
screen. DO NOT access the Telemetry menu during flight.
The telemetry system in the NX7e is compatible with all
generations of Spektrum telemetry DSMX telemetry systems
including module based, receivers with integrated telemetry, and
Smart technology.
Settings
Display
Telemetry display options include:
Tele: When you press the scroll wheel, the Telemetry screens
appear and the Main Screen is disabled.
Main: Telemetry alerts appear on the Main screen, but all
Telemetry screens are disabled.
Roller (Default): Allows you to toggle between the Telemetry
screens and the main screen by pressing the
scroll wheel.
Auto: The Telemetry screen automatically appears as soon as
the transmitter receives data from the telemetry module.
Units
Scroll to Units and press the scroll wheel to change between US
and Metric.
Priority Monitor
Priority Monitor enables a screen showing the most active sensors
reporting data. It is a tool for third parties developing their own
sensors and custom telemetry applications. It may be set to Active
or inhibit (default).
Telemetry Auto-Configuration
IMPORTANT: The Auto-Config option is not available from the
System Setup>Telemetry menu. RF signal must be transmitting
when you use the Auto-Config option. When the System Setup
menu is active, RF signal is off.
The NX7e transmitter features telemetry Auto-Configuration,
allowing the transmitter to detect new telemetry sensors.
To use Telemetry Auto-Config:
1. Make sure all telemetry components are bound to the
transmitter and receiver.
2. Power on the transmitter, then power on the receiver.
3. Select Telemetry from the Function List, then select Auto
Config. “Configuring” flashes for 5 seconds and any new
sensors appear in the list.
4. Adjust the sensor alert values as necessary.
Status Reports:
Status Reports determines how often the transmitter refreshes
the data on the screen. Each telemetry sensor can be adjusted
independently. For example, the RPM status report can refresh
every 10 seconds while the altimeter sensor refreshes every
15 seconds.
Warning Reports:
Warning Reports determines how often a telemetry alert occurs,
if an alert is active.
Telemetry Alarms
Alarms for each telemetry sensor can be activated by selecting the
sensor you wish to activate. Change the value under Alarm to Tone
to activate the alarm for that sensor.
 Loading...