Configuring DaRouter
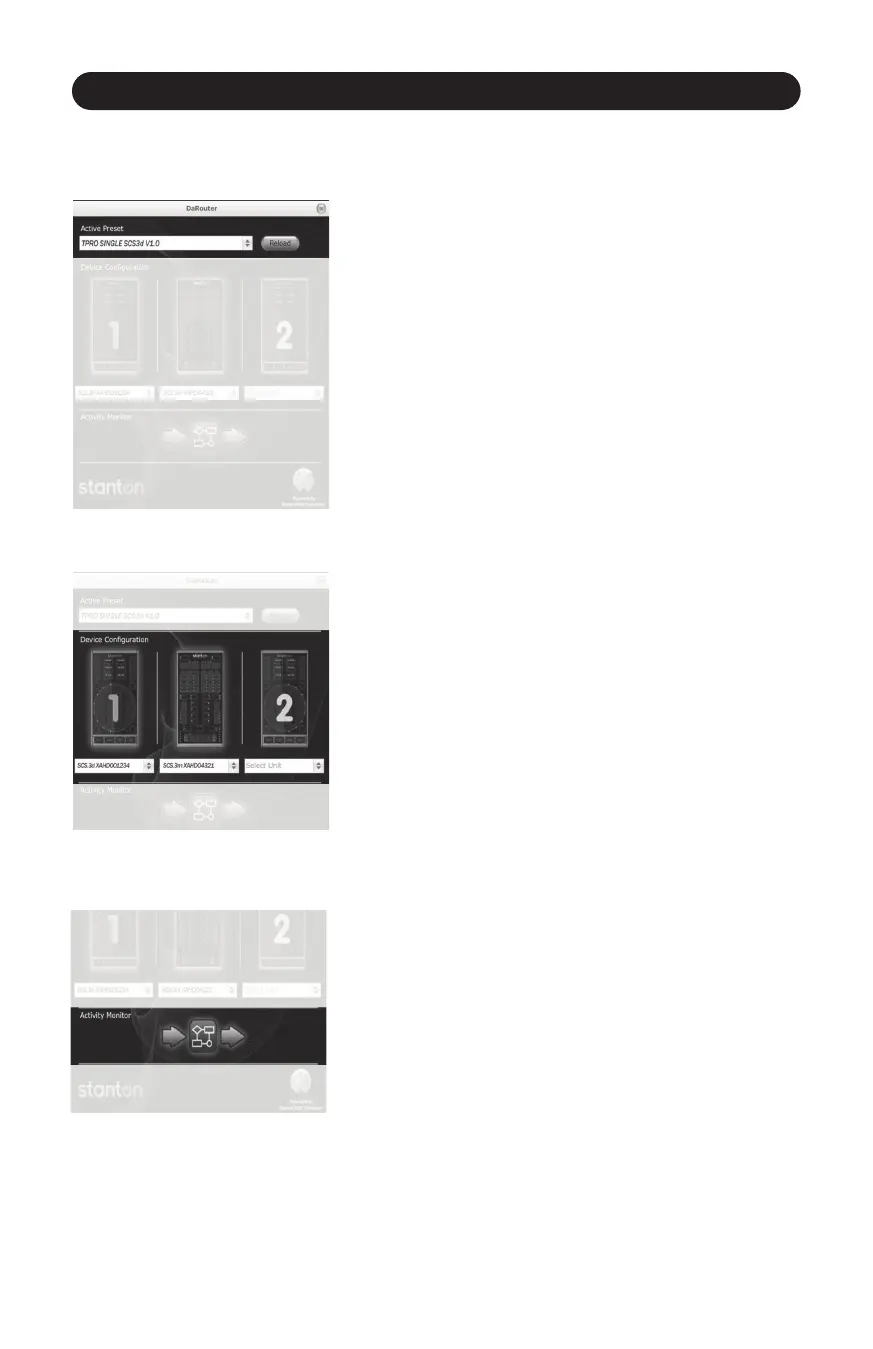
The Preset Secon (Figure 5.20)
31
Figure 5.20
• Acve Preset – tells you the currently selected preset.
This is a drop-down box that can be used to select any presets
that are either loaded by default, or have been manually
loaded by the user.
• Reload buon – This buon reloads the currently selected
preset.
• “?” buon – Loads the help file associated with the
currently selected preset. It is always important to click this
buon to learn about funconality with the currently loaded
preset.
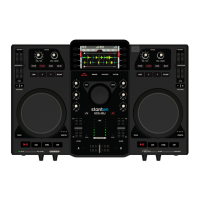
The Device Secon (Figure 5.21)
Figure 5.21
This secon tells you what devices are connected and acve.
When an SCS.3 controller is connected, you will see it “light
up” with a blue outline to let you know it is acve. Also, you
will see the box underneath each connected device will tell
you its serial number. If you want to change the device order,
you can click the serial number drop-down box and swap
posions with any of the other devices.
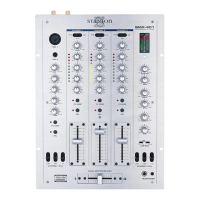
The Acvity Monitor (Figure 5.22)
Figure 5.22
The Acvity Monitor lets you know what is happening with
DaRouter. There are 3 symbols here, an arrow, a square, and
another arrow. The first arrow lights up blue to let you know
when DaRouter is receiving MIDI data from your controllers.
The square lights up to let you know that DaRouter is
processing rules. The last arrow lets you know when DaRouter
is sending MIDI out to your applicaon.
You are also able to manually load presets into DaRouter. Just
take the preset file you have downloaded and drag & dropping
it on top of the DaRouter applicaon so it is loaded as the
acve preset.
Important: if you want to know how the preset you have
selected works, press the “?” buon.
5.3 Configuring DaRouter