7-25
764333-675
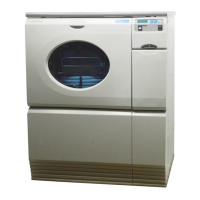
8. Insert Quartz Sleeve Removal Plug/Tool and
carefully pry sleeve tool inward (using a large
screwdriver) until quartz sleeve is free as shown in
Figure 7-33.
9. Remove sleeve from chamber opposite end.
• Support the sleeve so it does not drop when it
passing internal chamber baffle.
• Collect both O-rings from sleeve.
10. Inspect O-rings for damage and quartz sleeve for
scratches, cracks and cleanliness. See Section 7.24
for quartz sleeve cleaning procedures. If quartz
sleeve is cracked or scratched, a replacement
quartz sleeve is required.
11. Install quartz sleeve by inserting sleeve bolt
opposite end of lamp connector into UV chamber.
• The locking screw is not required at this time.
• The sleeve bolt is removed again in a Step 16.
CAUTION – POSSIBLE EQUIPMENT
DAMAGE HAZARD: Always use cotton
gloves when handling quartz sleeve. Do
not touch quartz sleeve with bare hands. Skin oils
from bare hands can cause possible damage to
quartz sleeve.
12. From the opposite end of chamber, insert quartz
sleeve.
13. Insert beveled end of the sleeve first and pass it
through the baffle on opposite end of UV chamber
until it reaches the sleeve bolt. To prevent
scratching, do not rotate the sleeve once positioned
in chamber.
14. Wet one O-ring with water and place over top end
of quartz sleeve as shown in Figure 7-35.
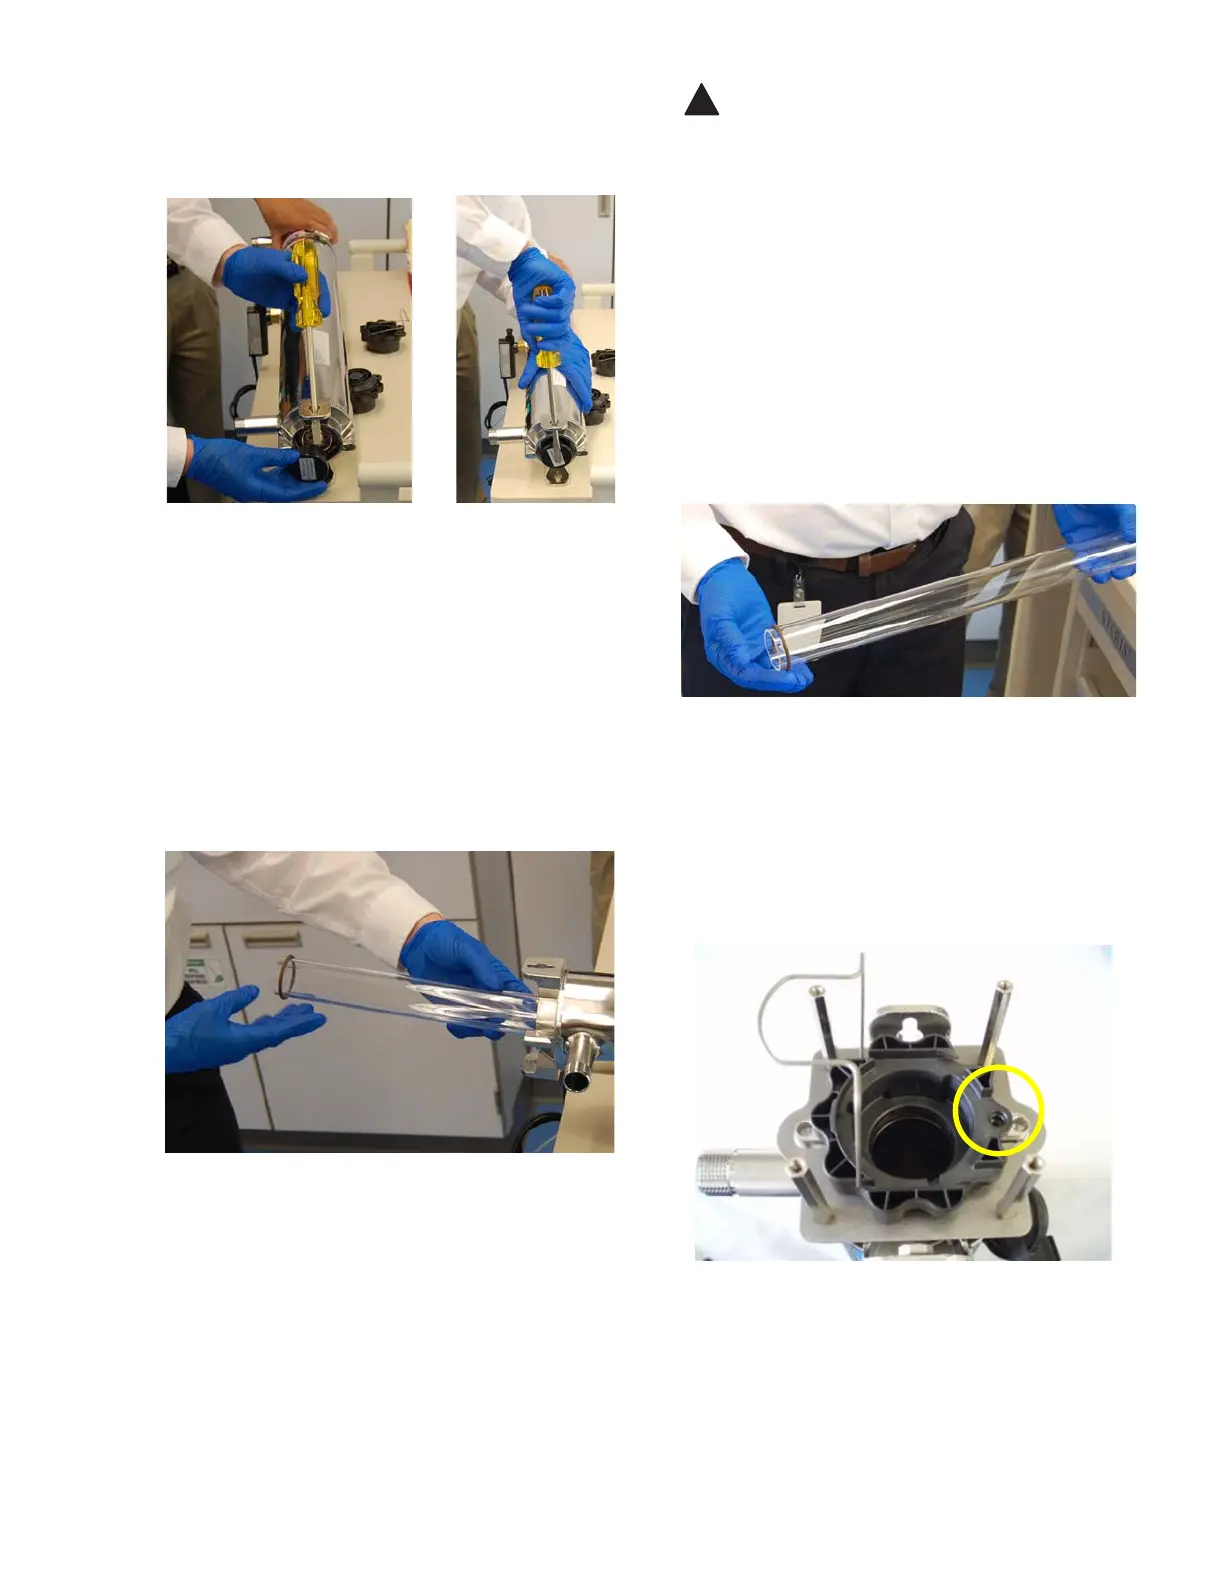
15. Install shroud plate and sleeve bolt. Rotate sleeve
bolt clockwise 90° until bolt reaches its stop, expect
resistance seating the O-ring (the hole in the sleeve
bolt aligns with the hole in the chamber housing)
as shown in Figure 7-36.
16. Remove the opposite end sleeve bolt, wet the
second O-ring with water and place over the
beveled end of quartz sleeve as shown in
Figure 7-37.
Figure 7-33. Free Quartz Sleeve
Figure 7-34. Inspect O-Rings and
Quartz Sleeve
Figure 7-35. Place Wet O-Ring on Quartz Tube
Figure 7-36. Install Shroud Plate and
Quartz Sleeve Bolt