S - 30 | English English | S - 31
Caution:
Keep in mind that
readjusting the position
of the stem changes
the position of the
handlebar, brake levers
and shifters. Readjust
these components,
as described in the
chapter “Adjusting the
Tilt of the Handlebars,
Bar Ends and Brake
Levers”.
Note:
When doing any
adjusting observe the
instructions of the stem
manufacturer. Ask
your STEVENS dealer
to explain to you both
function and adjustment
of your stem or let him
do that work.
Danger:
Do not mount any stem extenders, speed-lifters or the like.
Danger:
Spacers must be removed by the STEVENS dealer only, as this requires the
shortening of the fork steerer.
Danger:
These routines require a certain amount of manual skill and (special) tools
and are best left to your STEVENS dealer. Nevertheless, if you want to try
it by yourself, read the chapter “Adjusting the Height of the Handlebars”
beforehand as well as the instructions of the component manufacturers.
Adjustable Stems
There are various solutions for adjusting the tilt of the front part of adjustable
stems: Some designs use bolts on the sides of the joint, others have bolts on the
upper or bottom side, and other again are equipped with additional locking mech-
anisms or adjusting bolts.
For more information see the chapter “Adjusting the Height of the Handle-
bars” as well as the instructions of the component manufacturers.
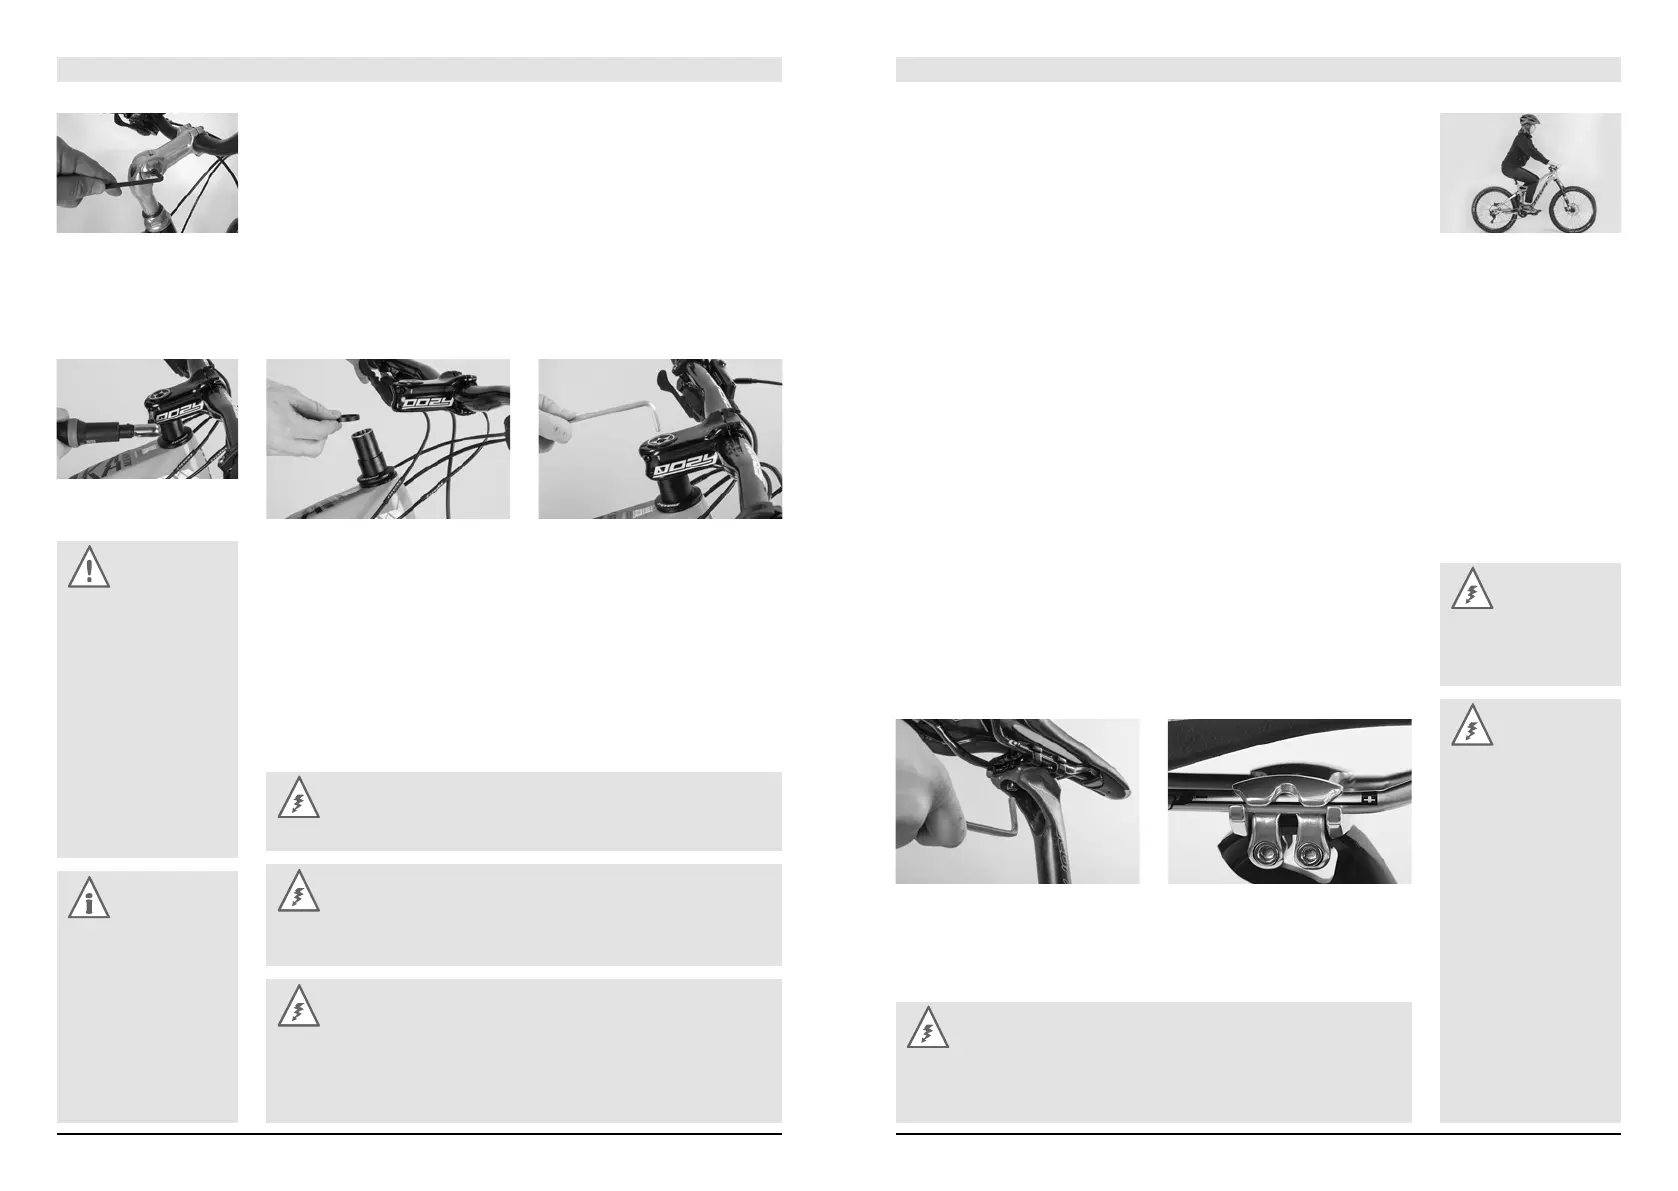
Stems for Threadless Systems, the Aheadset
®
-System
In the case of STEVENS bicycles with Aheadset
®
the stem also serves to adjust
the bearing preload. If you change the position of the stem you have to readjust
the bearing play.
You can adjust the height to a limited extent by displacing the spacers or by
turning the stem around in the case of flip-flop models, see the chapter “The
Headset”.
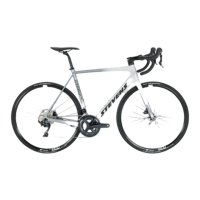
Correcting the Fore-to-Aft Position and Tilt of the Saddle
The distance between the handlebar grips and the saddle affects the inclina-
tion of your upper body, and hence your riding comfort and riding dynamics. This
distance can be altered slightly by changing the position of the saddle rails in the
seat post clamp. However, this also influences your pedalling. The rider pedals
more or less from the back. If the saddle is not in horizontal position, the rider
cannot pedal in a relaxed manner. If it is tilted, you will constantly have to lean
against the handlebar to prevent yourself from slipping off the saddle.
Adjusting Saddle Position and Tilt
There are some seat posts mounted STEVENS bicycles which have two Allen
bolts positioned one after the other holding the seat post head and fix the tilt as
well as the horizontal position of the saddle. Some seat posts have two bolts
side-by-side.
Release the bolt(s) at the top of the seat post. Loosen the bolt(s) two to three
turns at the most, otherwise the whole mechanism can fall apart. Move the saddle
forth or back, as desired. You may have to give the saddle a light tap to move it.
With patent seat posts a single bolt fixes the clamping mechanism, which
controls both the tilt and the horizontal position of the saddle. Some seat posts
have two bolts side-by-side.
Observe the marking on the saddle rail and do not go beyond. Make sure
that the top edge of the saddle remains horizontal as you retighten the bolt(s).
STEVENS bicycle should stand on level ground while you adjust the saddle.
Danger:
Poorly tightened or
loosening bolts can fail.
Risk of accident!
Danger:
The adjustment range of
the saddle is very small.
Replacing the stem
allows you to make far
bigger adjustments to
the rider’s fore-to-aft
position, as stems come
in different lengths.
Sometimes, you can
realise a difference of
more than 10cm. In
most cases, the length
of the Bowden and
brake cables must be
adjusted in length, a
job best left to your
STEVENS dealer!
Danger:
Check the bolts by using a torque wrench once a month according to the
values indicated on the components themselves and/or in the instructions
of the component manufacturers.