S - 38 | English English | S - 39
Rim Brakes (General)
The friction generated by braking causes wear to the brake pads as well as
to the rims. Frequent rides in the rain and soiling hasten wear on both engaging
surfaces. Once the abrasion of the rim has reached a certain critical point, the rim
may break under the tyre pressure. This can make the wheel jam or the inner tube
burst, both of which can cause a fall!
Contact your STEVENS dealer and have the remaining thickness of the rims
checked when you have worn through your second set of brake pads at the latest.
The rim thickness can be checked by a specialist with special measuring instru-
ments.
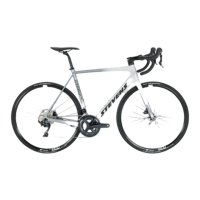
Some rims are provided with wear indicators. Once the abrasion of the rim
has reached a certain critical point, the brake indicator becomes visible in form
of small slots or a permanent strip or disappears (according to the model). In this
case you should also contact your STEVENS dealer at once and have your rim
replaced.
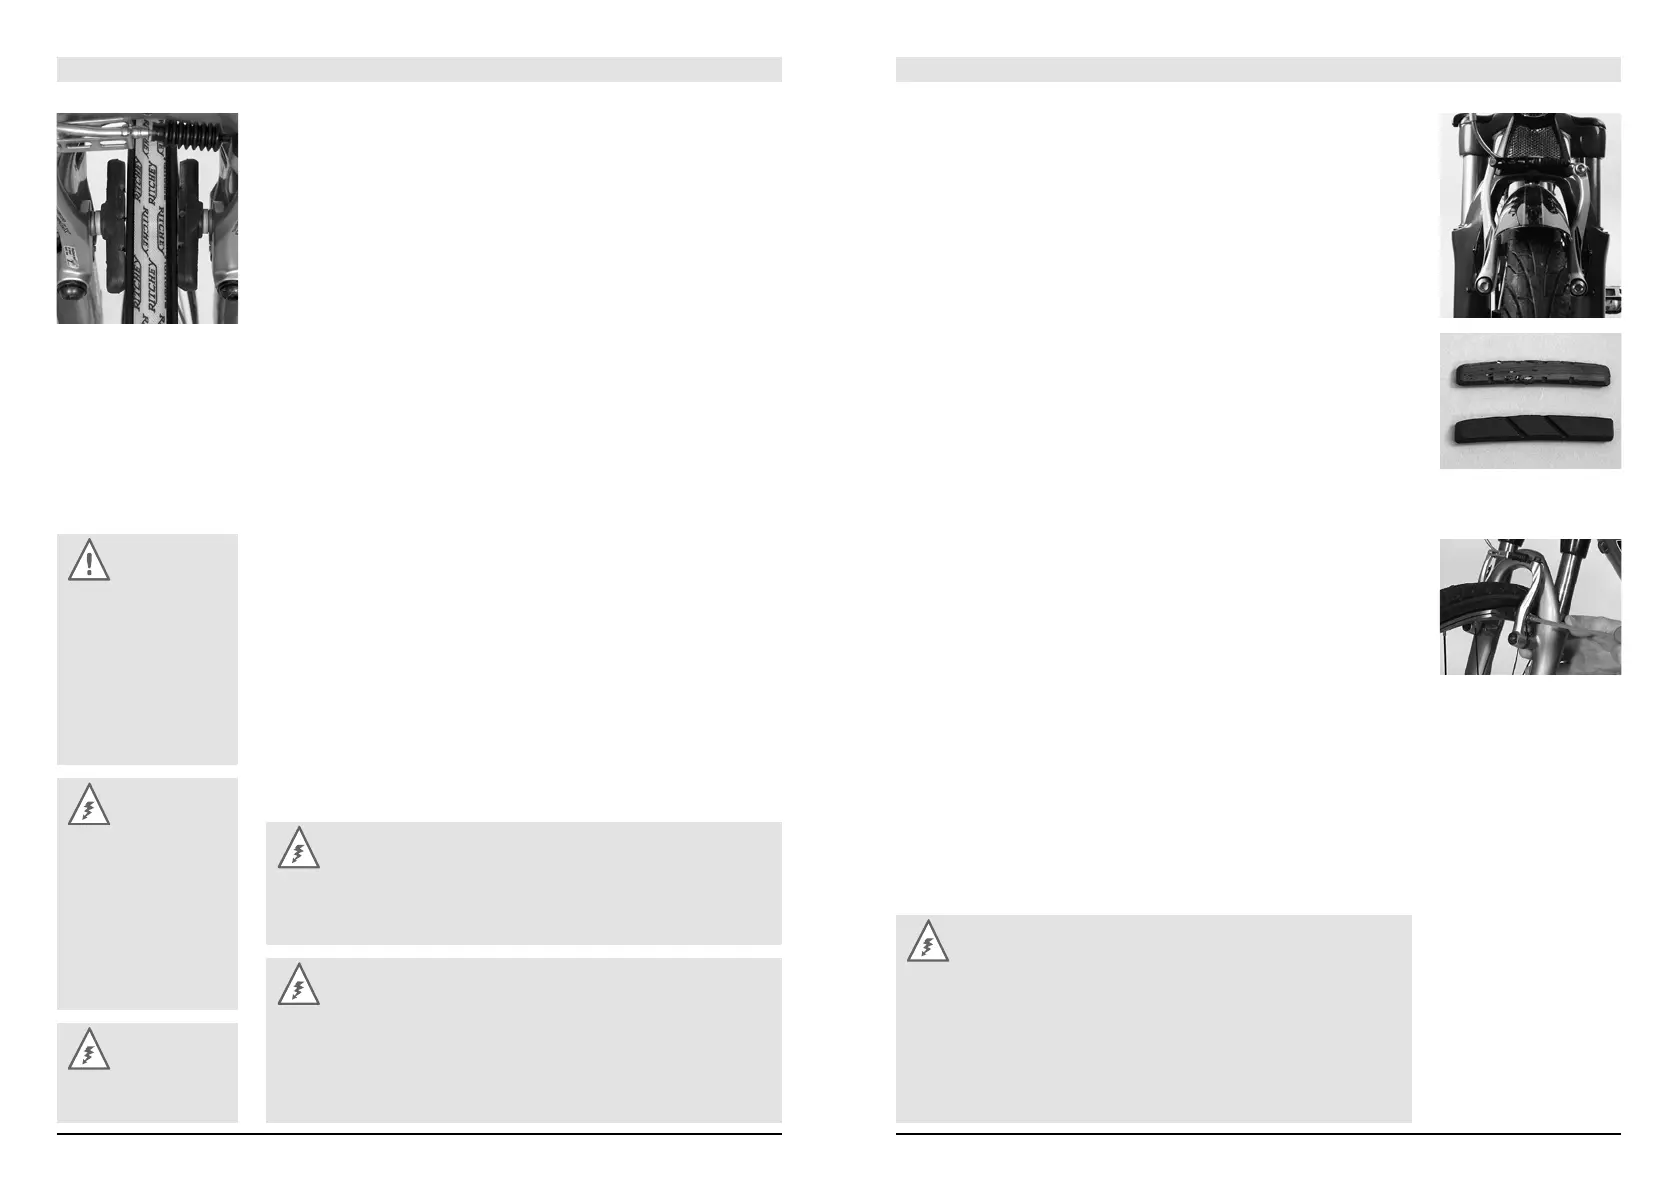
Checking, Readjusting and Synchronizing V-Brakes
Common V-brake designs have two brake arms mounted separately on either
side of the rim. Actuating the brake lever creates a pull on the brake cable which
draws the arms towards each other. On this occasion the brake arms turn slightly
inwards around the suspension point, a friction of the brake pads being generated
on the rim sides.
Caution:
When replacing any
parts, be sure to only
use parts that bear the
appropriate mark and,
to be on the safe side,
original spare parts. Your
STEVENS dealer will be
pleased to help you.
Danger:
Damaged brake cables
that are for example
frayed should be
replaced immediately,
as they can otherwise
fail in a critical moment,
possibly causing a
crash.
Danger:
Clean the brake pads at
regular intervals.
Danger:
Wet weather reduces the braking effect and the road grip of the tyres. Be
aware of longer stopping distances when riding in the rain, reduce your
speed and actuate the brakes carefully.
Danger:
The assignment of brake lever to brake calliper can vary, e.g. left lever acts
on front brake. Have a look at the bike card and check whether the brake
lever of the front brake is on the side you are used to (right or left). If it is
not, ask your STEVENS dealer to switch the brake levers before you set off
for the first time.
Danger:
When replacing brake pads, be sure to only use marked brake pads
matching your rim. Your STEVENS dealer will be pleased to help you.
Ensure that braking surfaces are absolutely free of wax, grease and oil.
Ask an expert to check the rims at the latest when you are through your
second set of brake pads or when the wear indicators are visible. Worn
down rims may make the inner tube burst and result in a fall! Ask your
STEVENS dealer for help.
Functional Check
• Check whether the brake pads are accurately aligned with the rims and still
sufficiently thick. You can tell this by the grooves in the brake pads. If the pads
are worn down, it is time to replace them.
• Furthermore, the brake pads should touch the rim with their front part first.
At the moment of the first contact the rear part of the brake pad should be a
millimetre away from the rim. Seen from the top the brake pads form a “V”
with the trough pointing to the front. This V-shaped setting prevents screeching
when the brakes are applied.
• When you pull the brake lever, both brake arms must contact the rim simul-
taneously.
• The brake lever must always remain clear of the handlebars. You should not be
able to pull it all the way to the handlebars, even in the event of an emergency
braking.
• Only a successful passing of all these points will ensure a correctly adjusted
brake.
Vertical Adjustment of the Brake Pads
• Release the fastening bolt of the brake pad by one to at most two complete
turns.
• Push the brake pad to the correct height, i.e. the brake pad must hit the rim
with its entire surface. Make sure the brake pad is in parallel to the rim and pull
the brake lever to fix the brake pads. Retighten the fastening bolt of the brake
pad to the recommended torque value.