S - 68 | English English | S - 69
Mounting Wheels
Mounting the wheel is done in the reverse order of removal. Make sure that the
wheel is correctly seated in the drop-outs and accurately centred between the fork
legs or the seat and chainstays.
Check the proper seat of the quick-release and the drop-out catches and hook
in the brake cable immediately or close the release lever or the pin. For more
information see the chapter “How to Use Quick-Releases and Thru Axles”.
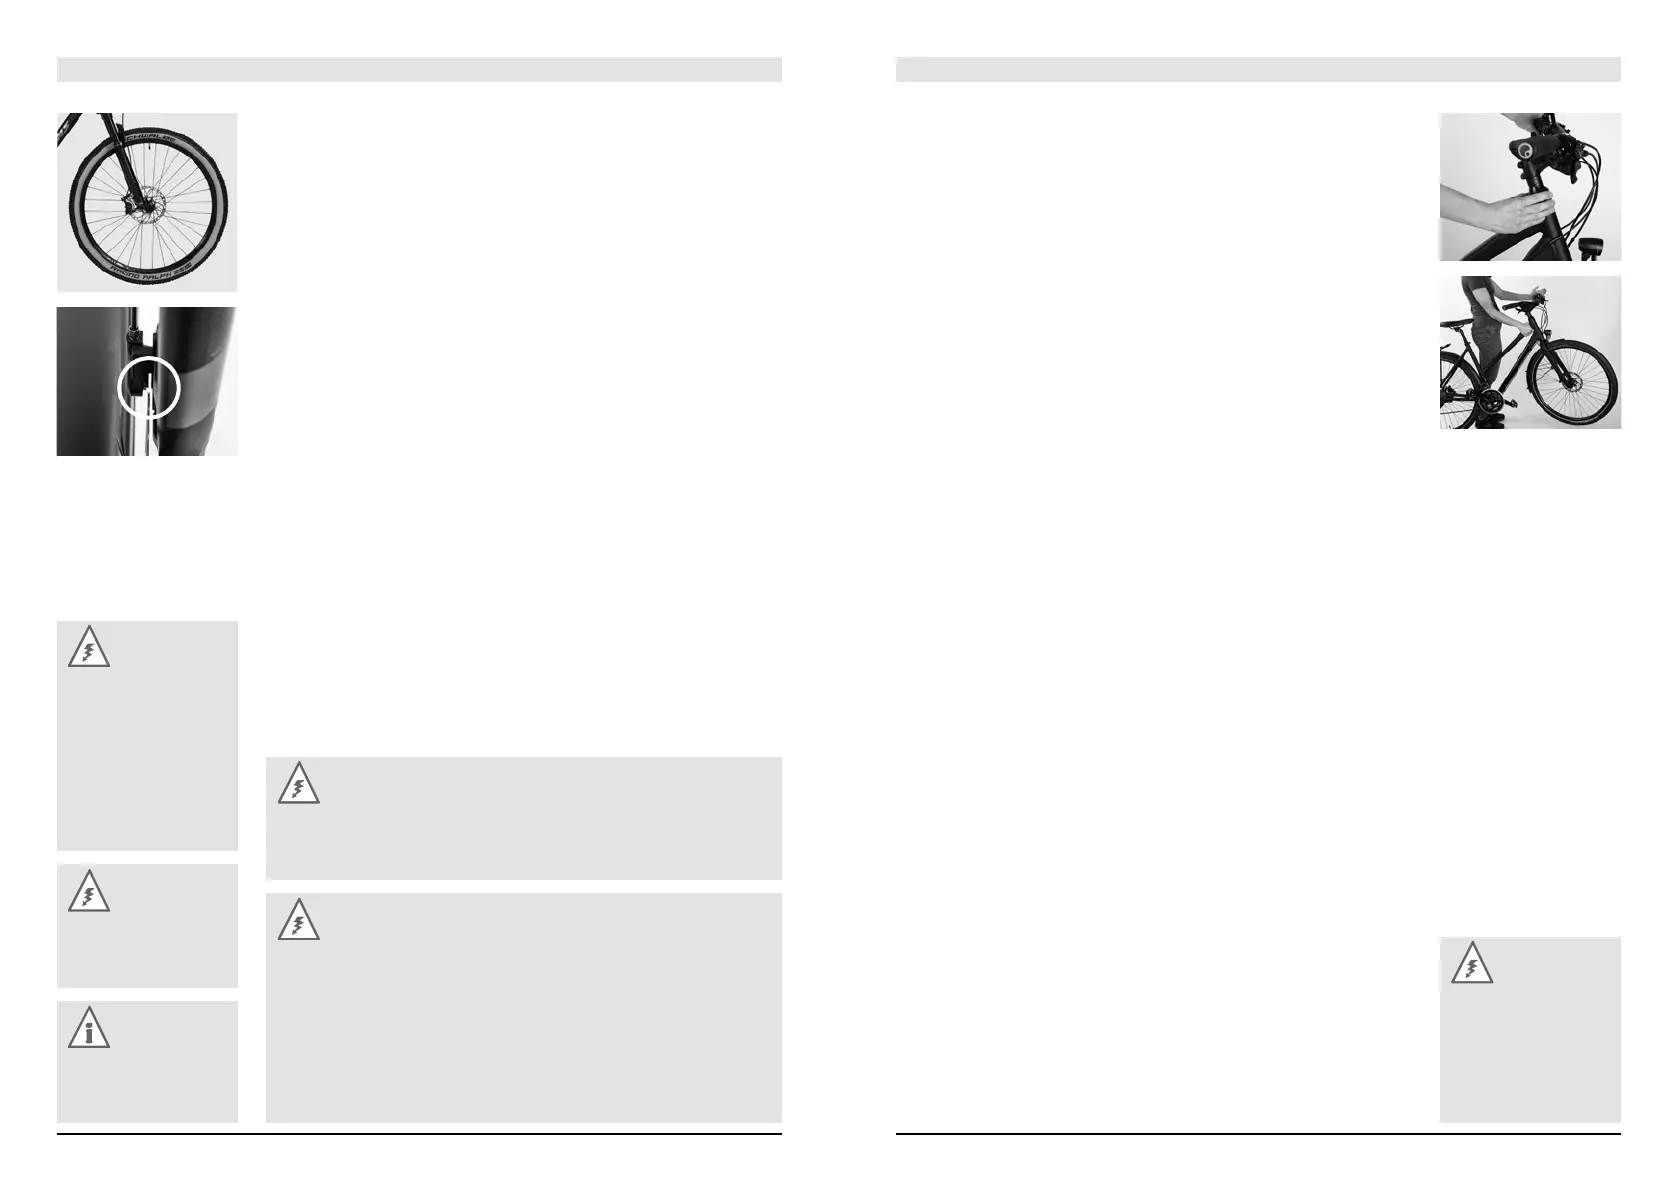
If you have disc brakes, check before mounting the wheel whether the brake
pads rest snugly in their seats in the brake calliper body. The gaps between the
brake pads and the wheel should be parallel and the wear indicators in their cor-
rect position. Make sure that you slide the rotor carefully between the brake pads.
After mounting the wheel and tightening the axle nut or the quick-release and
a thru axle, if available, pull the brake lever (several times, if you have disc brakes).
To do so lift the bicycle off the ground and spin the wheel with your hand. With the
wheel spinning the rotor should not drag along the brake calliper or the brake pads
and the rim should keep off the (rim) brake pads.
Danger:
Improper mounting can lead to malfunctioning, tyre damage or even
brake failure. Therefore, strictly observe the instructions of the component
manufacturer.
Danger:
Before you set off again connect the brake cable and check whether the
brake pads hit the braking surfaces. Make sure that the wheel is properly
seated and firmly fixed in the drop-outs. After mounting the wheel make
sure that the brake pads or the rim are free of grease or other lubricants.
Be sure to do a brake test! In the case of disc brakes, make sure that the
rotor does not drag on the brake calliper or the brake pads! Inappropriate
wheel mounting can make you loose control of your bicycle and result in an
accident!
Danger:
Never ride a STEVENS
bicycle without having
checked first whether
the wheels are securely
fastened! A wheel that
comes loose during the
ride will throw you off
your bicycle!
Danger:
With a tyre changed en
route be sure to ride
back carefully.
Note:
If you have any
questions, contact your
STEVENS dealer.
The Headset
The headset connects fork, stem, handlebar and front wheel to the frame, but
allows them to turn freely as a unit. It must turn with virtually no resistance, if the
bicycle is to run straight, stabilising itself as it travels. Shocks caused by uneven
road surfaces expose the headset to considerable levels of stress. As a result it
may become loose and maladjusted.
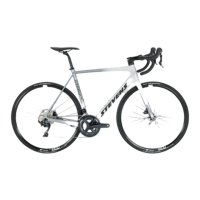
Checking the Bearing Play
• Check the headset for play by placing your fingers around the upper head cup.
• Pull the front brakes with your other hand and push the STEVENS bicycle firmly
back and forth with the wheel remaining on the ground.
• If there is play in the bearing, the upper head cap will move noticeably relative
to the lower cup and you will feel a jerk.
• Another way to check the headset is to lift the front wheel a little off the ground
and then let it drop. If there is play in the bearing, you will hear a rattling noise
in this area.
• To check the bearing for ease of running, lift the frame until the front wheel no
longer touches the ground. Move the handlebar from the left to the right. The
front wheel should turn very easily from far left to far right and back without
catching anywhere. A light tap on the handlebar should be enough to turn the
wheel to the side.
Danger:
Riding the bike with a
loose headset increases
the stress on fork and
bearing. This can result
in fork breakage with
severe consequences!