S - 88 | English English | S - 89
Maintenance
The maintenance of the rear frame is in general limited to the careful cleaning of
the bearings and the rear shock. Do not use a steam jet or aggressive cleaning
agents!
Check the air pressure of the rear shock at regular intervals. Take your bicycle for
a test ride on different kinds of terrain. If the rear shock bottoms out several times,
the spring rate, i.e. the air pressure, has to be changed.
Check the bearing of the rear swing arm for lateral play or the bearing of the rear
shock for vertical play at regular intervals.
• To do this check take the bicycle by the saddle, lift it up and try to move the
rear wheel to both sides. If necessary, ask a helper to keep hold of the front
part of the frame.
• To check the rear shock for play place the rear wheel gently down and lift it up
again. Listen for any rattling noises.
• Ask your STEVENS dealer to eliminate possibly occurring play immediately.
• After a fall, check the alignment of the rear shock from the rear. The fastening
points should be above one another. If necessary, ask your STEVENS dealer
for advice.
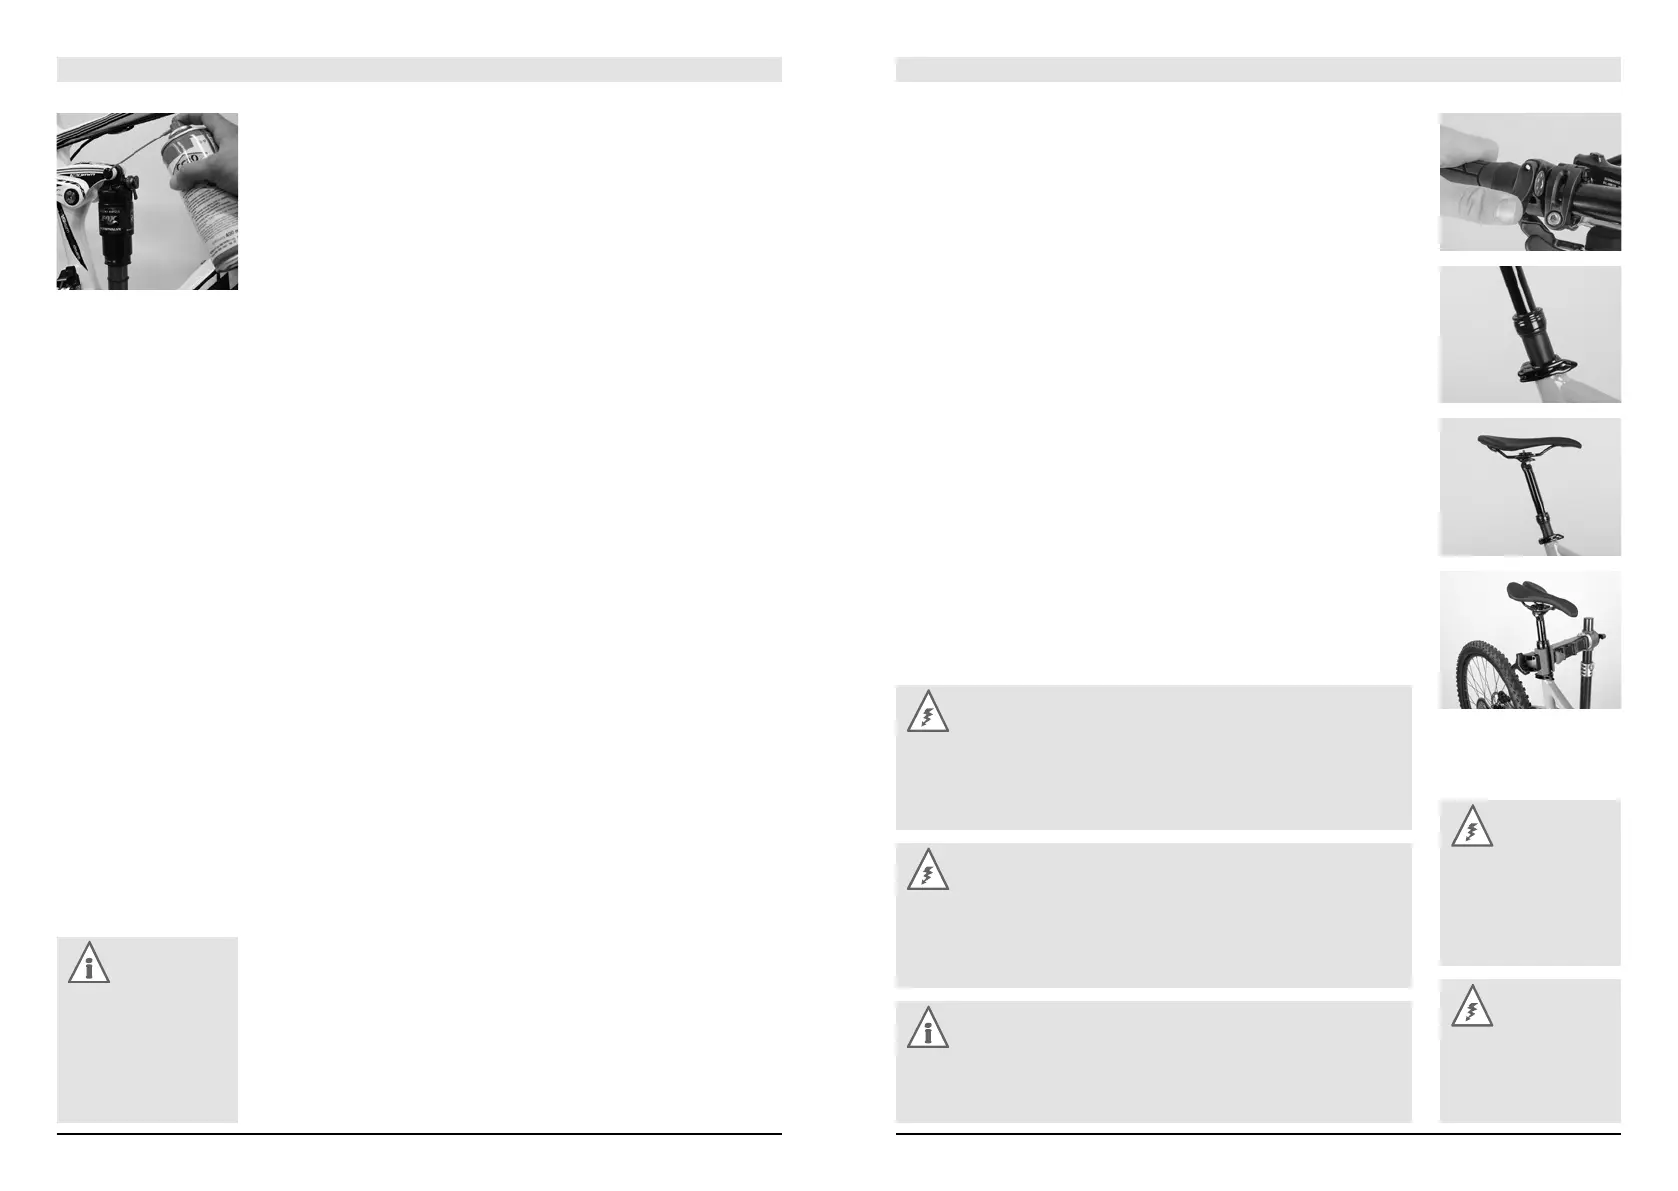
In case there are any rattling noises, apply some spray oil in the area of the bear-
ings and the rear shock mounting. Check the rear shock mountings also at regular
intervals (max. torque value 13 Nm).
Note:
Take your bicycle to
the STEVENS dealer
and have it serviced at
least once a year. They
will check all essential
components.
Height Adjustable Seat Post / Dropper Post
If you intend to change the position of your seat post often, it is advisable to
mount a height-adjustable seat post, also referred to as dropper post. In its ready-
to-ride condition, it is usually connected by a cable running through the seat tube
to a control lever or control button mounted on the handlebar.
Before mounting a dropper post on the frame, make sure that the seat tube is
absolutely free of sharp edges and burrs. If necessary, have the seat tube cleaned
and deburred by an experienced mechanic.
Before adjusting the saddle read the chapter “Adjusting the Saddle to the
Correct Height”.
Observe the manufacturer’s instructions when adjusting the control lever of
the dropper post on the handlebar.
For more information see the websites of the dropper post manufacturers,
such as www.rockshox.com and www.kssuspension.com
Danger:
Mounting a dropper post usually requires a certain amount of manual skill
and (special) tools. This job is best left to your bicycle dealer. If you want to
try it by yourself, nevertheless, read the manual of the seat post manufac-
turer carefully before you start.
Danger:
Do not clamp a bicycle with a dropper post in an assembly stand by the
movable part, but only by the lower part, which is extended accordingly.
When inserting or removing the dropper post make sure that the cable is
pushed or pulled out at the outlet on the frame and that it is not bent.
Note:
In the case of dropper posts, such as RockShox, Kind Shock etc., the
height is adjusted at the press of a button or by actuating a lever on the
handlebar. Read the manual of the seat post manufacturer.
Danger:
Observe the specifica-
tions of the frame or
bicycle manufacturer
in terms of minimum
insertion depth.
Danger:
Have the dropper post
serviced regularly and
keep in particular the
setting range clean.