S - 48 | English English | S - 49
Adjusting the Limit Stops
The rear derailleur is equipped with limit screws which limit the swivel range of
the rear derailleur, thus preventing the rear derailleur and chain from colliding with
the spokes or the chain from dropping off the smallest sprocket. The limit screws
are adjusted by your STEVENS dealer. They do not alter their position during
normal use. After a fall you should however always check the proper adjustment.
Shift with the right shifter to the highest gear. The inner cable is then totally
relaxed and the chain will run on the smallest sprocket. Look from the rear of the
bicycle at the cassette and check whether the teeth of the smallest sprocket and
the teeth of the guide pulley are all in a perfectly vertical line.
If necessary, correct the position by means of the limit screws. The limit screws
on rear derailleurs are often marked “H” for high gear and “L” for low gear. In this
case high gear stands for high transmission ratio, i.e. with the chain running on
the smallest sprocket.
If the screws are not marked, you will have to find out by trial and error. Turn
one of the screws counting the number of turns and watch the rear derailleur. If it
does not move, you are turning the wrong one. Turn back the counted rotations to
find its original position.
Turn the screw clockwise to shift the rear derailleur towards the wheel and
anticlockwise to shift it away from the wheel.
Continue by shifting the rear derailleur to the largest sprocket. Be careful as
you do so, as not to let the rear derailleur collide with the spokes. When the
chain runs on the biggest sprocket, see whether you can take the rear derailleur
even further by moving the shift lever to the end of its travel. Then press the rear
derailleur further towards the spokes by hand. Spin the wheel. If the derailleur
cage moves towards the spokes or if the chain begins to move beyond the largest
sprocket, the derailleur movement range needs to be limited. Turn the limit screw
marked “L” clockwise until the rear derailleur is clear of the spokes.
Danger:
Be sure to go on a test ride in a place free of traffic, after adjusting the
gears of your bicycle.
Caution:
If your STEVENS bicycle has tipped over or the rear derailleur received a
blow, the rear derailleur or its mount may be bent. It is advisable to check
its range of movement and readjust the limit screws, if necessary, after
such an incident or after mounting new wheels on your STEVENS bicycle.
Front Derailleur
Adjusting the front derailleur is a delicate job. The range within which the front
derailleur keeps the chain on the chainring without itself touching the chain is very
small. It is often better to let the chain drag slightly on the derailleur than to risk
having the chain fall off the chainring, which would block the drive. The swivelling
range is reduced in the same way as with the rear derailleur, i.e. by turning the
limit screws marked “H” and “L”. This is a job you should leave to your STEVENS
dealer.
As with the rear derailleur, the cable of the front derailleur is subject to length-
ening and hence to reduced precision in gear changing.
If necessary, shift to the small chainring and increase the tension of the
Bowden cable by turning the adjusting bolt through which it passes at the entry
to the gear shifter.
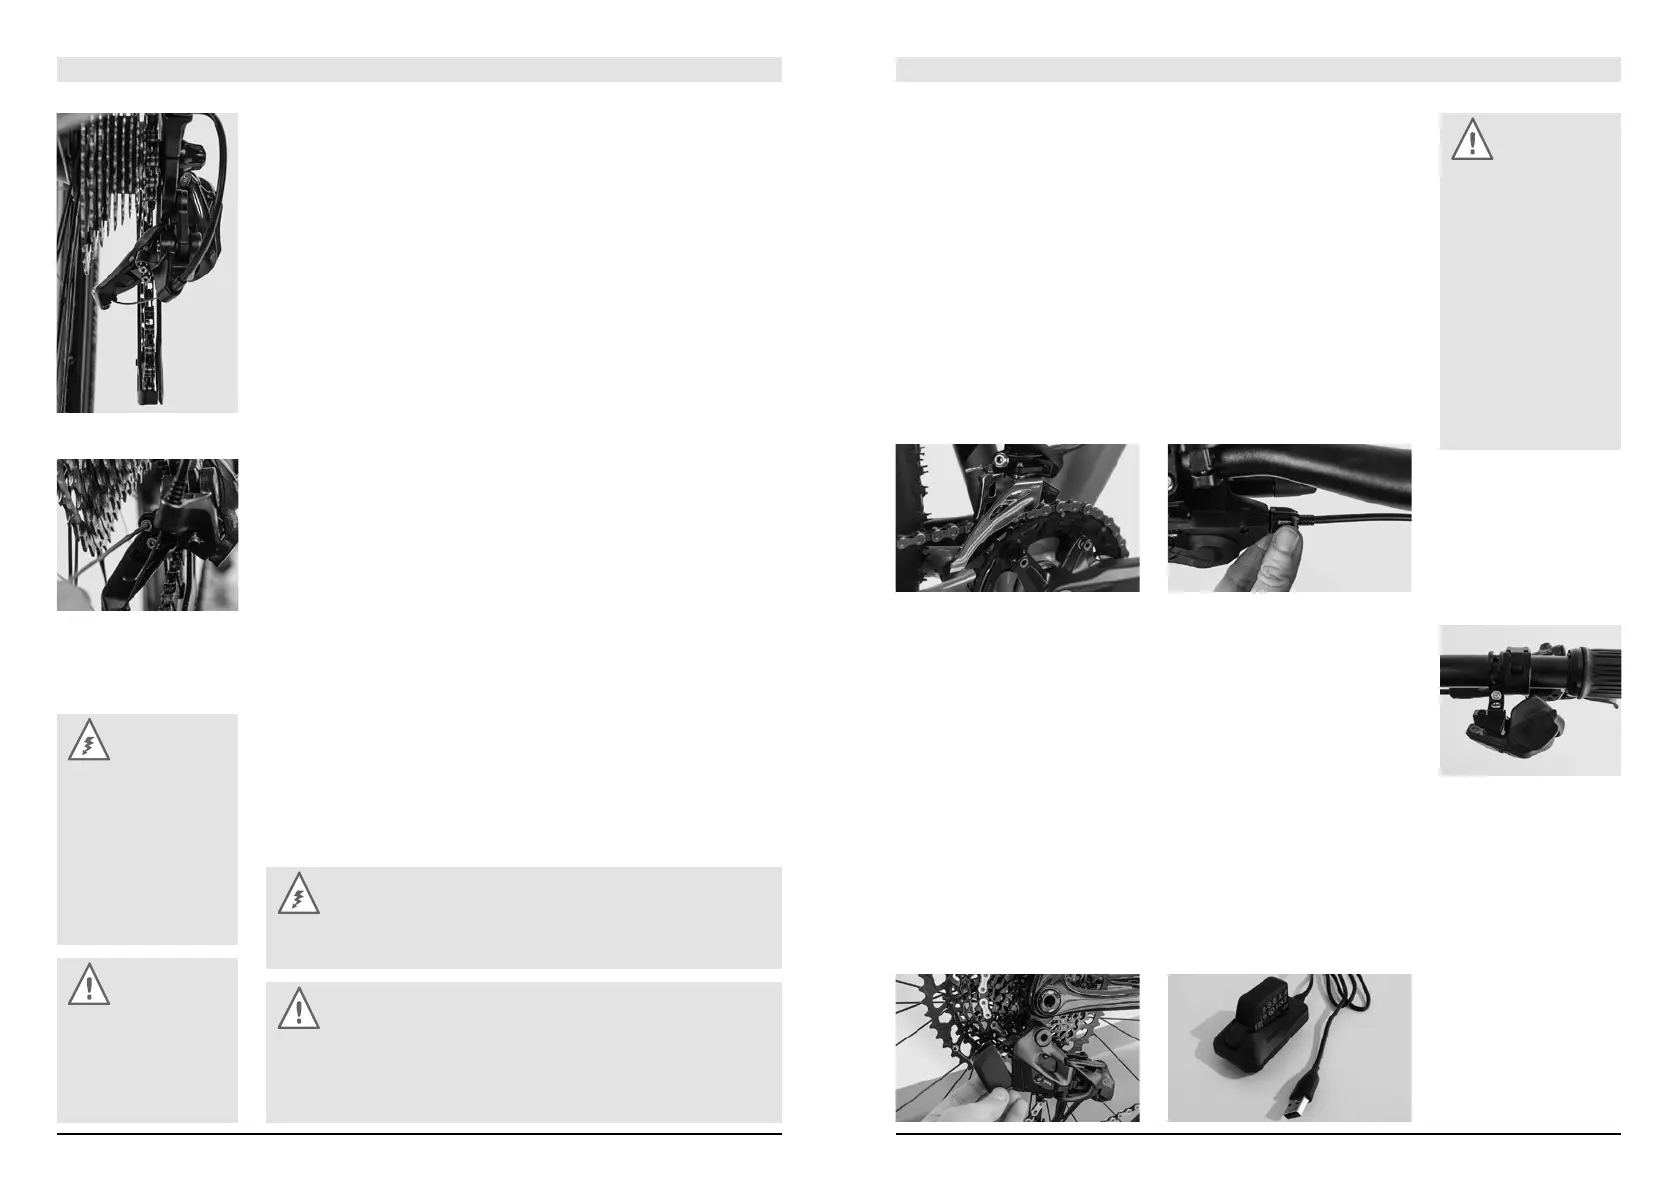
SRAM Eagle AXS
With the SRAM Eagle AXS the gears on the rear derailleur are shifted by actu-
ating the rocker paddle on the handlebar.
You shift into a lower gear (larger sprocket) by pressing the controller’s rocker
paddle downwards. You shift into a higher gear (smaller sprocket) by pressing the
controller’s rocker paddle upwards.
When you press and hold the rocker paddle you can make multiple shifts.
With the SRAMAXSapp a wide range of individual settings can be made on
the gear system.
If you want to charge your SRAM battery remove it from the rear derailleur.
Charge the battery then with the charger supplied.
You find more information at www.sram.com
Danger:
Adjusting the front de-
railleur is a very delicate
job. Improper adjust-
ment can cause the
chain to jump off, thus
interrupting suddenly the
drive force. There is the
risk of accident!
Caution:
Always check after an
accident whether the
guide plates of the front
derailleur are still paral
-
lel to the chainrings!
Caution:
Adjusting the front and
rear derailleur accu-
rately is a job for an
experienced mechan
-
ic. Also observe the
operating instructions
of the gear manufac-
turer on our website at
www.stevensbikes.de/
manual. If you have any
problems with the gears,
contact your STEVENS
dealer.