WORKSHOP MANUAL
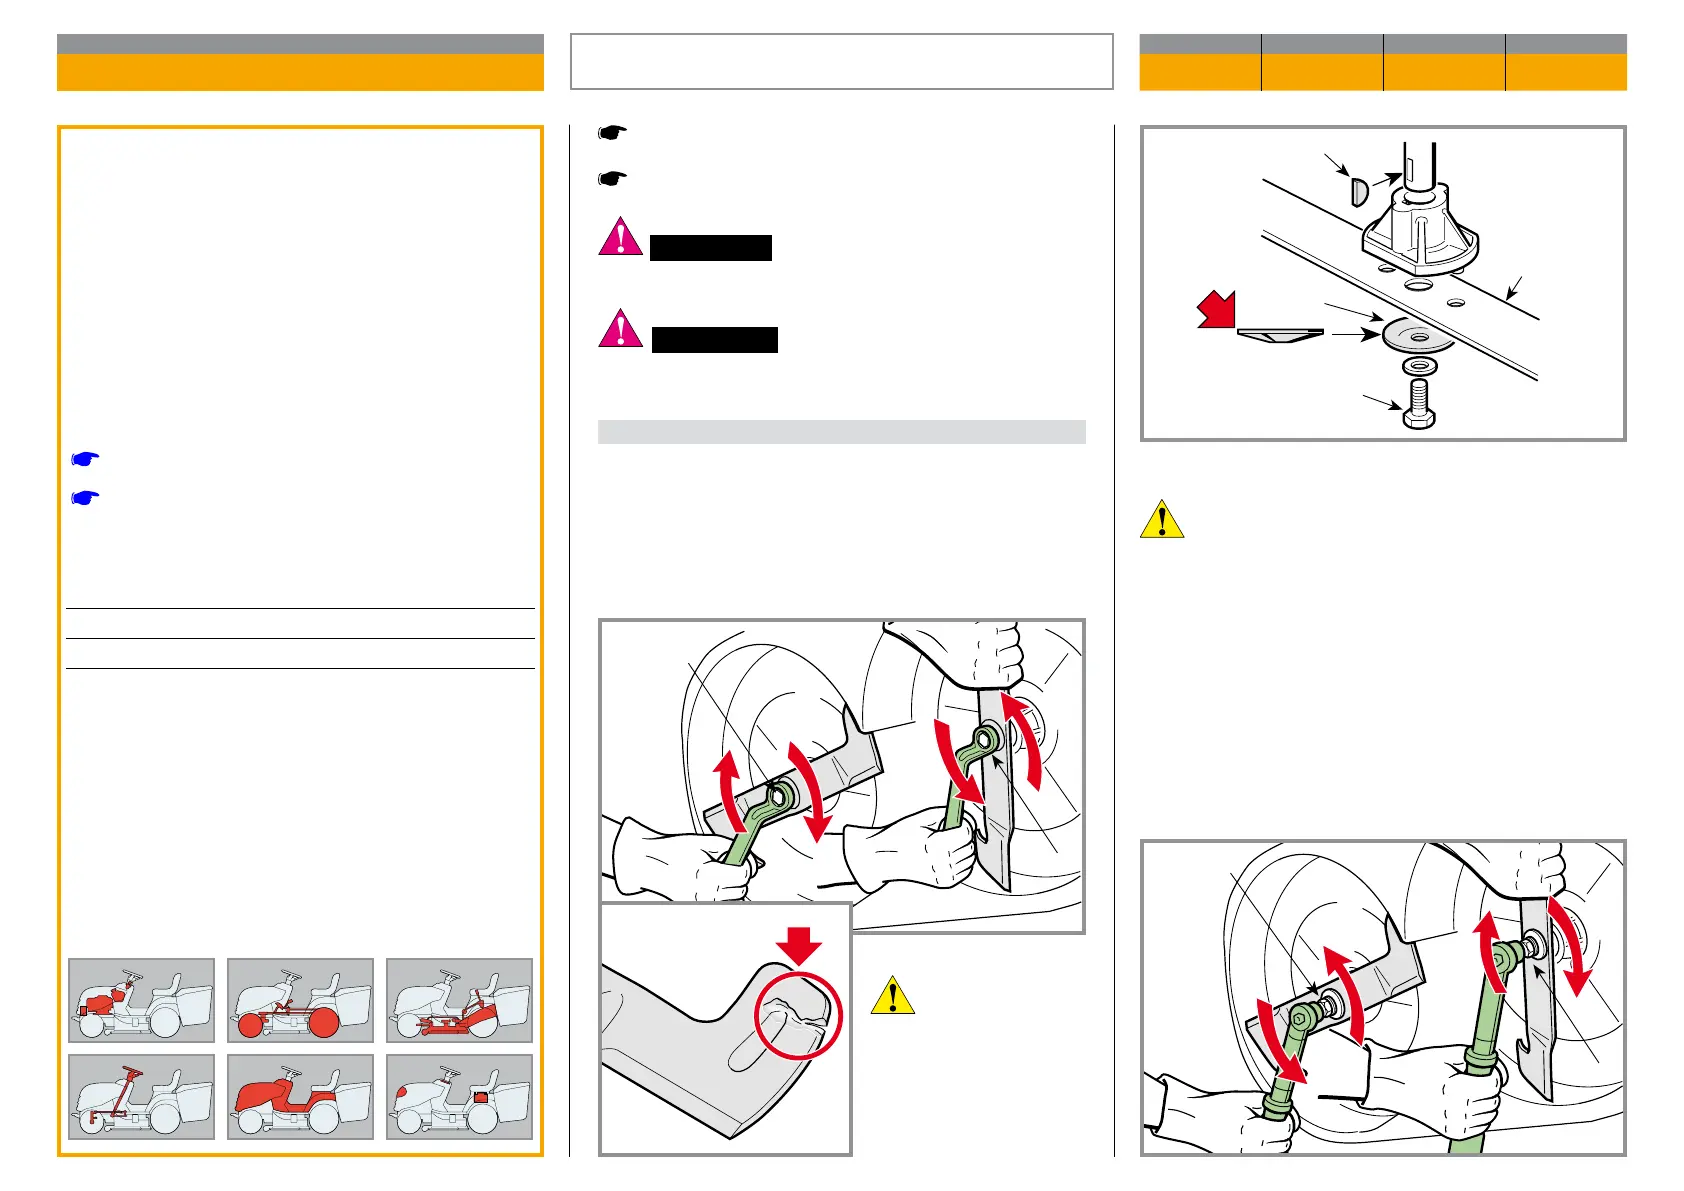
Map of functional units
MP 84/98 - MP 84/98 Hy
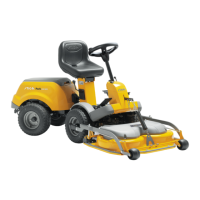
On assembly, be careful to:
– correctly position the keys (3) on the shafts;
– correctly locate the right and left blades, with the
ns facing towards the inside of the plate;
– t the exible disc (4) so that the concave part is
pressing against the knife;
– tighten the screws (1a – 1b) with a torque wrench
set to 45-50 Nm.
Put the machine into a vertical position
or:
Remove the cutting deck.
WARNING! Always wear protective gloves
when handling the blades and protect eyes when
sharpening.
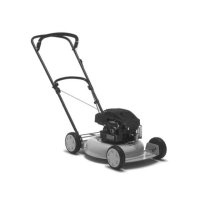
WARNING! The blades are connected to
each other, the rotation of each blade engages
the rotation of the other.
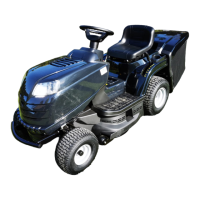
A) Removing and reassembling
For removing a blade it must be rmly held and the
cen tral screw (1) undone, bearing in mind that:
– the screw on the left blade (1a) is unscrewed anti-
clockwise
– the screw on the right blade (1b) is unscrewed
clockwise.
Always check that
the ns are intact with
cracks or breaks. Al-
ways replace damaged
blades.
General informations
A badly sharpened blade causes grass to be co
me yellow and reduces grass collection capabil
ity. If not balanced, excessive vibration can be
cau sed during use.
Fins on broken, bent or damaged blades reduce
the grass expulsion force and can cause damage
and injuries.
Related topics
[
2.4] Vertical positioning
[
5.7] Removal of the cutting deck
Tightening torques
1a Screw for left blade ...................... 45 ÷ 50 Nm
1b Screw for right blade .................... 45 ÷ 50 Nm
REMOVING, SHARPENING AND BA LANCING
THE BLADES
CHAPTER REVISION FROM ... PAGE
4.9 0 2018 1 of 2
2
1a
1b
2
3
4
1a - 1b
2
1b
1a