ID 442710.00 9WE KEEP THINGS MOVING
PN6 communication module
3
Operation manual PROFINET
3 PN6 communication module
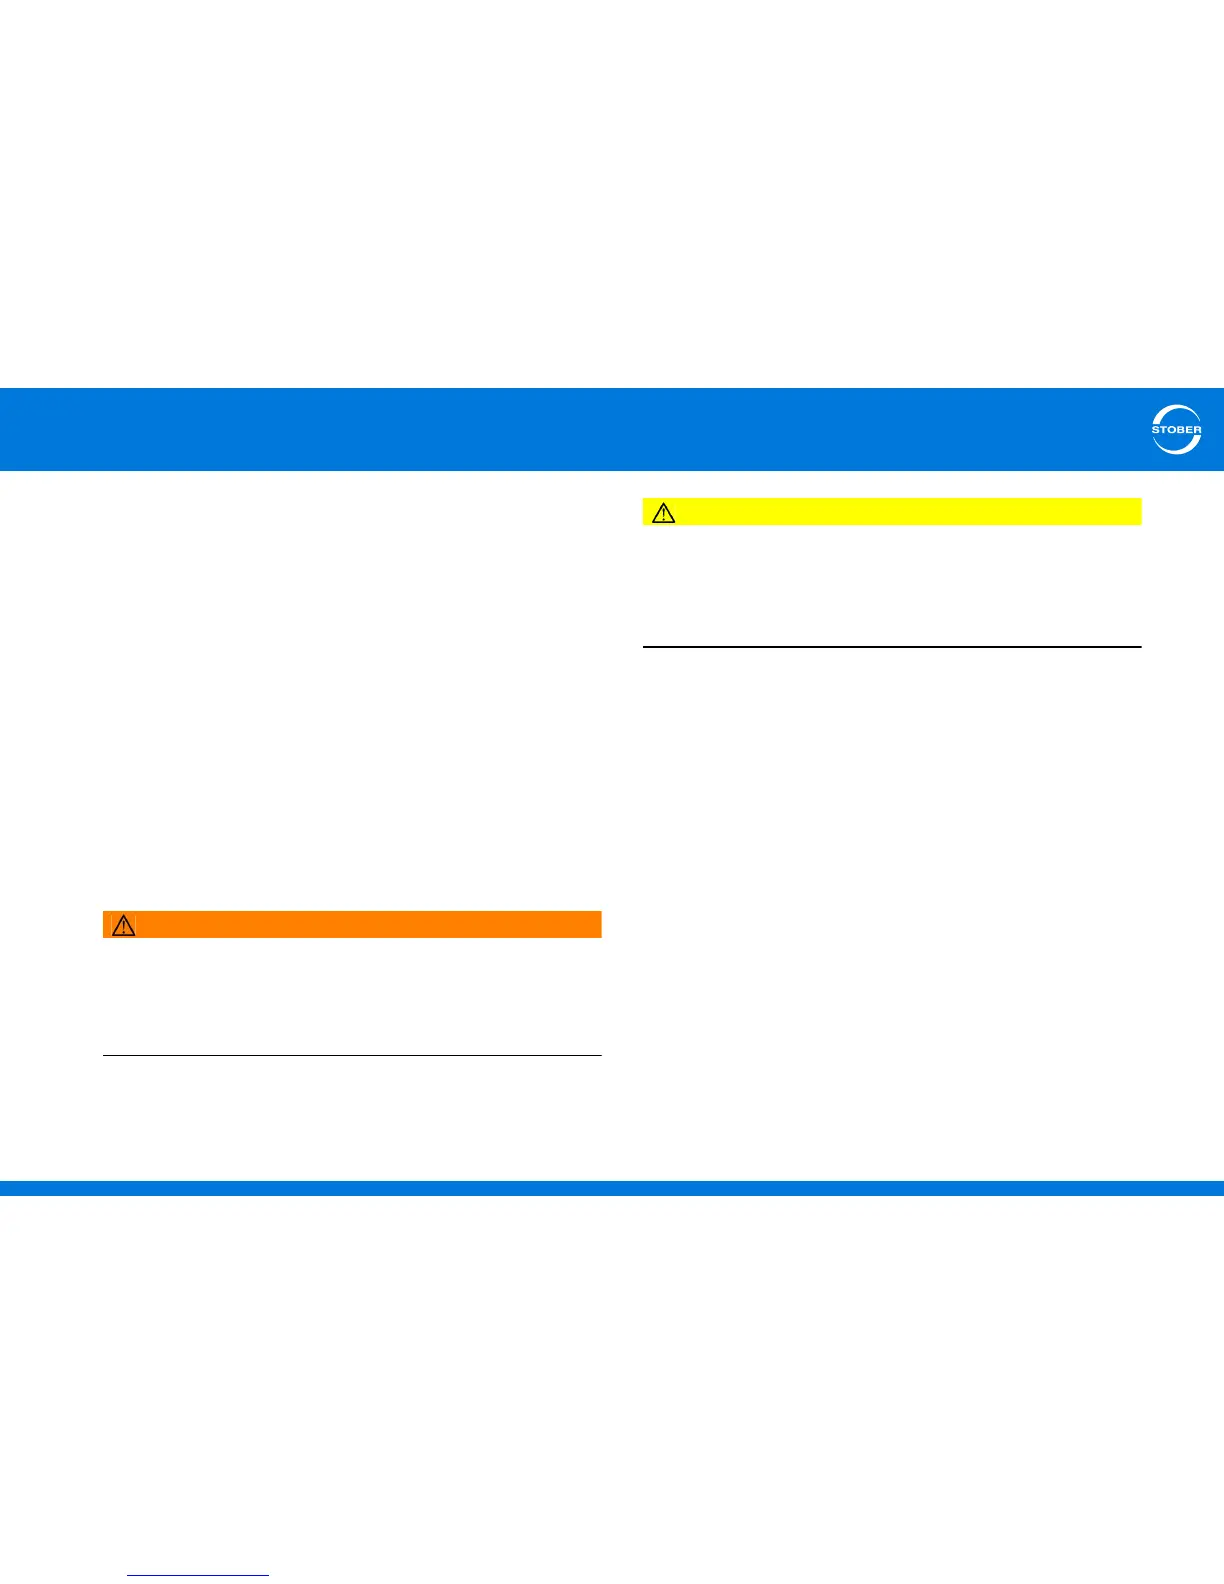
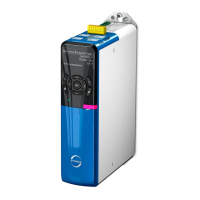
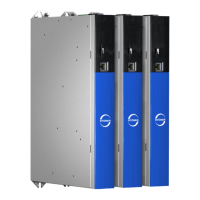
The PN6 communication module provides a fieldbus interface for the
connection of drive controllers of series SD6 to higher-level control systems via
PROFINET IO.
PN6 complies with the PROFINET standard and allows cyclic and acyclic
access of an IO controller to all relevant drive parameters and functions.
3.1 Installation
Installation work is only admissible when no voltage is present. Observe the 5
safety rules.
Note the minimum open areas specified in the technical data during installation
to prevent the drive controller from overheating.
Protect the device against falling parts (bits or strands of wire, pieces of metal,
etc.) during installation or other work in the control cabinet. Parts with
conductive properties may result in a short circuit or device failure within the
drive controller.
Remove the additional covers before commissioning so that the device will not
overheat.
WARNING!
Danger of personal injury and material damage due to electric shock!
Always switch off all power supply voltage before working on the drive
controller! Note that the discharge time of the DC link capacitors is up to 5
minutes. You can only determine the absence of voltage after this time
period.
CAUTION!
Danger of material damage due for example to electrostatic discharge!
Take suitable protective measures when handling open printed circuit
boards, for example clothing appropriate for ESD and an environment free
of dirt and grease.
Do not touch the contact surfaces.
PN6 is installed on the upper slot of the drive controller.
You need:
• A Torx screwdriver TX10.
• The cover and screw included with the communication module.
Installation of the communication module
1. Loosen the fastening screw for the dummy cover on the top of the drive
controller.
2. Push the communication module into the drive controller on the guide
rails.
3. Push the module in so that the pin contacts are pushed into the female
connector strip.
4. Insert the tips of the cover included with the communication module into
the recess in the front at an angle.
5. Set the cover down on the drive controller so that the tips are resting under
the edge.
6. Fasten the cover with the two screws.