(2) The installation position must ensure that the camera viewing angle is the
upward viewing angle.
(3) After the glass-mounted camera is installed, the upper part of the driver's
body (above the chest) can be displayed on the camera screen. It shall be
ensured that the seat belt features and face features can be seen, and the
driver's face appears in the middle of the screen.
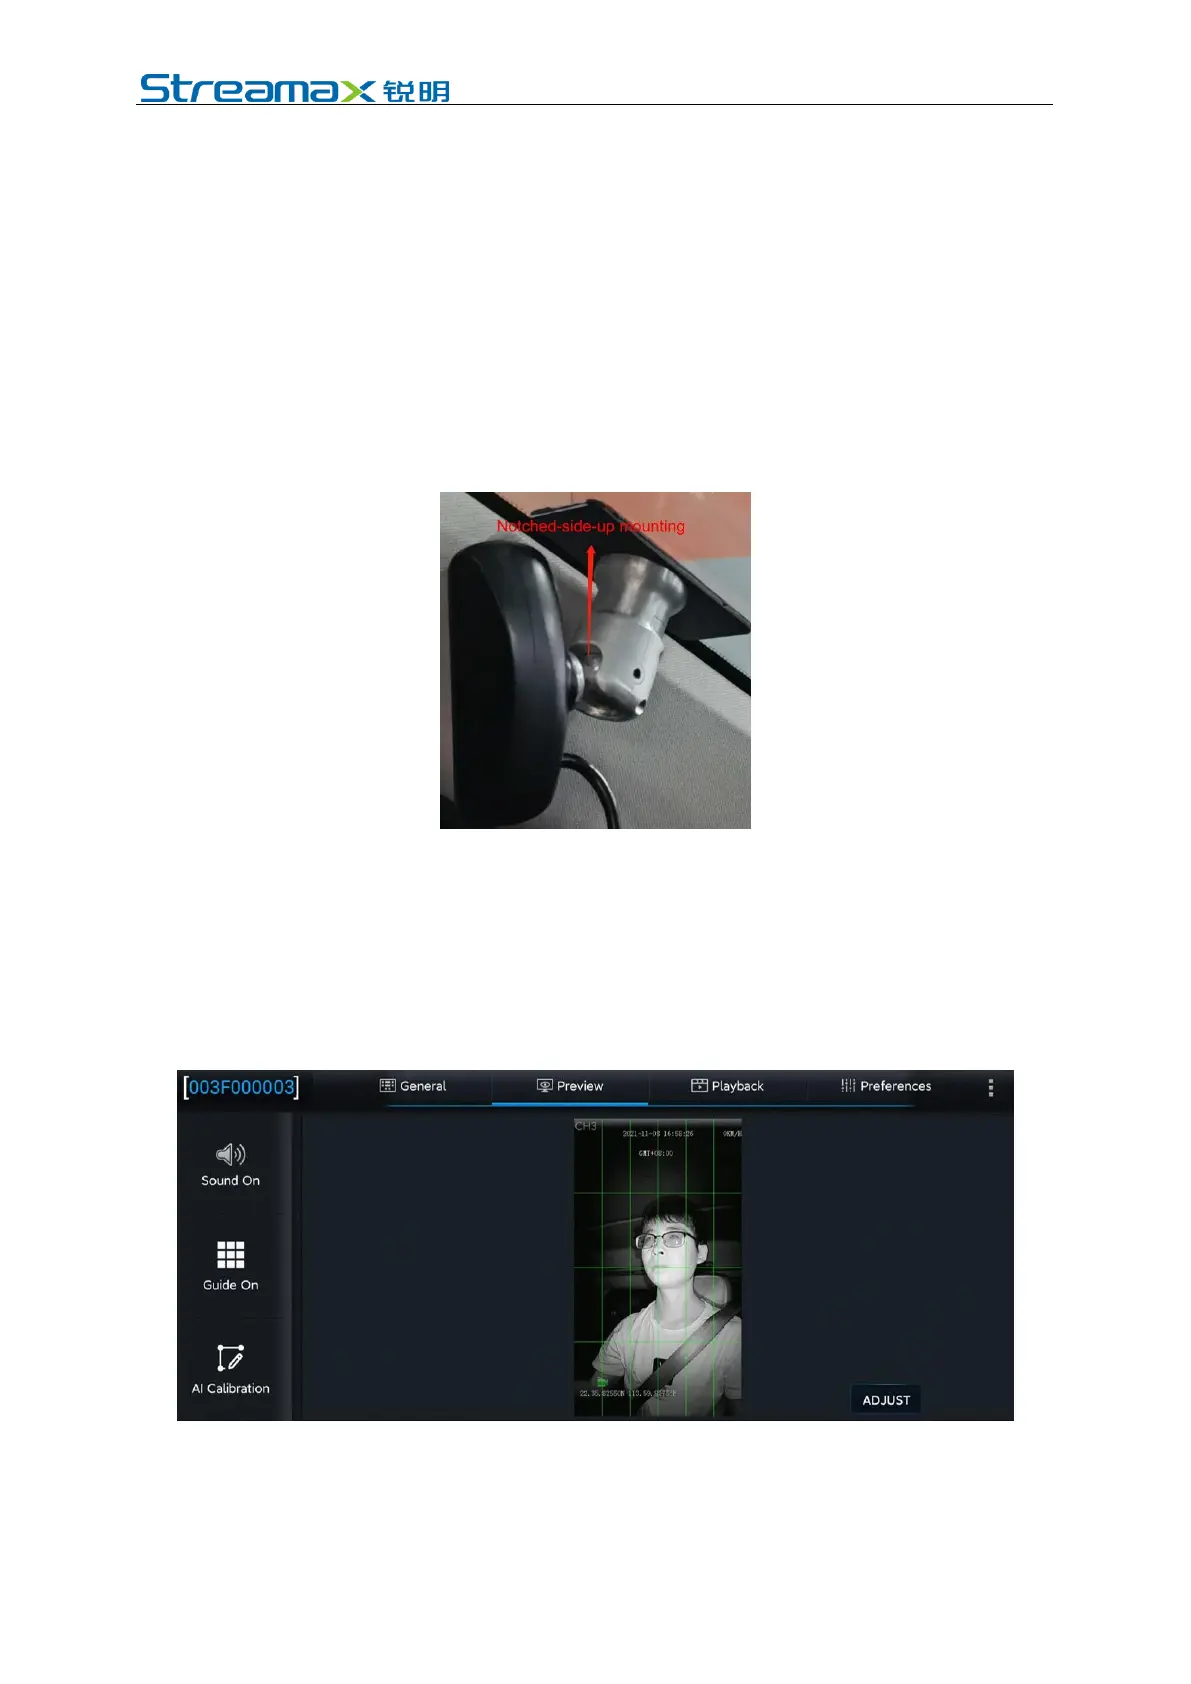
2. After determining the approximate position, adjust the label surface of the
CA29M camera to face the A-pillar (with the curved surface facing the driver);
then, tear off the 3M tape on the bracket base, and attach the bracket to the
windshield in the direction parallel to the A-pillar.
* Note: When mounting, make the notched side of the bracket face upward, to
facilitate camera angle adjustment after mounting. As shown in the following figure.
3. After attaching the base on the glass, adjust the spherical hinge by pushing the
CA29M camera to ensure that the following requirements can be met
according to the normal driving habits and sitting posture of the driver:
(1) Make sure the DMS camera has a low angle of view.
(2) Make sure that the driver's face appears in the middle of the video screen,
the driver's face and body are vertical on the video screen, and the lower
edge of the screen is below the driver's chest.
(3) Make sure that the fill light of the DMS camera illuminates the driver's
face (fill light illuminating the seat belt is not allowed; otherwise, it will
lead to overexposure of video).
(4) Make sure that there is no other object (for example, the steering wheel)