www.stryker.com 6082-209-001 REV A 23
Return To Table of Contents
Cot Operations
PEDI-MATE® INFANT RESTRAINT SYSTEM ATTACHMENT INSTRUCTIONS (CONTINUED)
5. Pull firmly on the end of the adjustable backrest strap and tighten it securely.
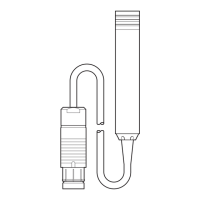
6. Insert the mainframe straps between the cot frame and the mattress. To ensure the release button is toward
the foot end of the cot, insert the buckle behind the litter crossbrace and bring it up in front of the crossbrace.
Secure the buckle around the crossbrace, leaving a little slack in the strap for final adjustment (see Figure 14).
WARNING
To avoid accidental release of the Pedi-Mate®, and possible injury to the infant, ensure the buckle is located away from
obstructions on the cot.
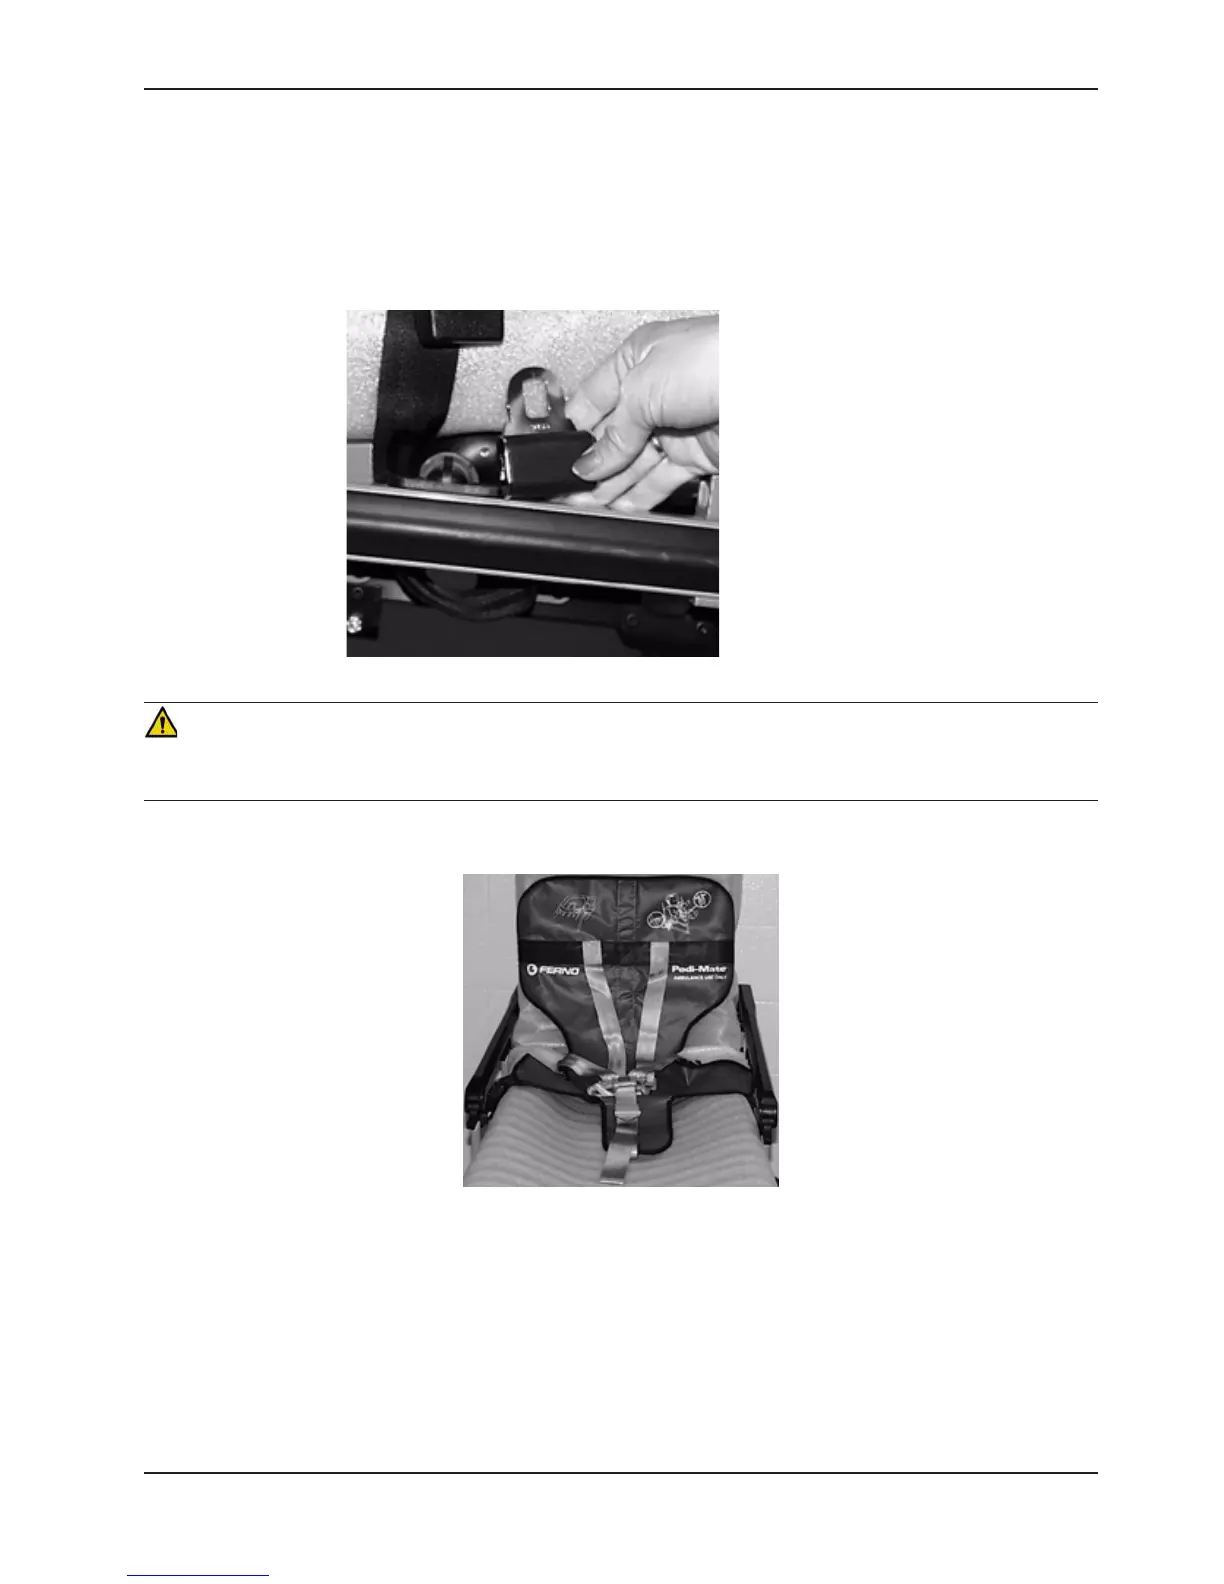
7. Verify all the straps are snug and fastened securely (see Figure 15).
Note:
• These are general instructions for installation of the Pedi-Mate®. Safe and proper use of the Pedi-Mate® is solely
at the discretion of the user. Stryker recommends all users be trained on the proper use of the Pedi-Mate® before
using it in an actual situation.
• Retain these instructions for future reference. Include them with the product in the event of transfer to new users.
• Pedi-Mate® is a trademark of Ferno-Washington Inc.
Figure 14 - Securing the Safety Restraints on a Cot
Figure 15- Pedi-Mate® Strapped to a Cot