10 www.stryker.com
EN 0702-002-700 Rev-J
Instructions
To Prepare Rover for Collection (see figure 4)
WARNING: DO NOT place the rover on a surface that exceeds
the acceptable range of the inclined plane of operation. See
Specifications.
NOTES:
• Ensuretheroverhasbeendocked,tested,andsetuppriortouse.Ifinitial
docking, testing, and setup are required or system settings need to change,
see the Appendix section for instructions.
• EnsurethesmokeevacuatorfilterandfluidsuctionHEPAfilterare
operational before collection. See the instructions for use supplied with the
filters for installation information.
• SeetheAudible Event Indicators table for information about the audible
sounds heard during the rover’s operation.
• Thevolumeoftheinitialprefillfluidinthecanister(s)isaccountedforin
the fluid level value indicated on the fluid level display. Foam does not
affect this fluid level value.
1. Place the rover on a flat surface and in a convenient location within the
operating room. Inspect the rover. See Periodic Maintenance.
2. Lock the rover’s two rear casters in place to prevent inadvertent rover
movement.
3. Orient the rover’s fluid level display for optimal viewing.
4. Open the canister access doors to allow viewing of the contents.
5. Connect the rover to facility electrical power using the power cord.
6. Install the disposable manifold(s) into the manifold port(s). Ensure the
manifold(s) are locked into place. See the instructions for use supplied with
the manifold for more information.
7. Attach the suction tubing to the port(s) of the installed manifold(s).
8. Attach a suction accessory to the end of the suction tubing if required.
9. Install the smoke evacuator tubing to the smoke evacuator filter if required.
10. Attach a smoke evacuator accessory to the end of the smoke tubing if
required.
11. Push the power switch to the ON position.
12. Push the VOLUME RESET button on the control panel.
13. See To Operate Rover During Collection.
WARNINGS:
• DONOTtouchormakecontactwiththeroverandthepatientatthe
same time.
• Followthecurrentlocalregulationsgoverningbiohazardwastetosafely
handle and dispose of surgical fluid waste.
NOTE: Ensure the rover has been prepared for collection properly. See To
Prepare Rover for Collection.
1. Push the VACUUMSYSTEM button on the control panel to start fluid
suction.
2. Rotate the appropriate VACUUM (LIMIT) SETTING dial to adjust the
maximum suction level of the 4-liter and 20-liter canister.
3. When smoke evacuation is required, push the SMOKE EVACUATOR button
on the control panel. The button has three modes of operation: manual,
automatic, and off. Push the button once for manual mode, twice for
automatic mode (AUTO), and a third time to stop the smoke evacuator. From
the smoke evacuator screen on the control panel display, push the buttons
next to the arrow icons to increase or decrease the evacuator power level
as required (see figure 5).
To Operate Rover During Collection
55 mm-Hg
SMOKE
100%
AUTO
55 mm-Hg
A
S
Figure 5 Smoke Evacuator Power Control Screen
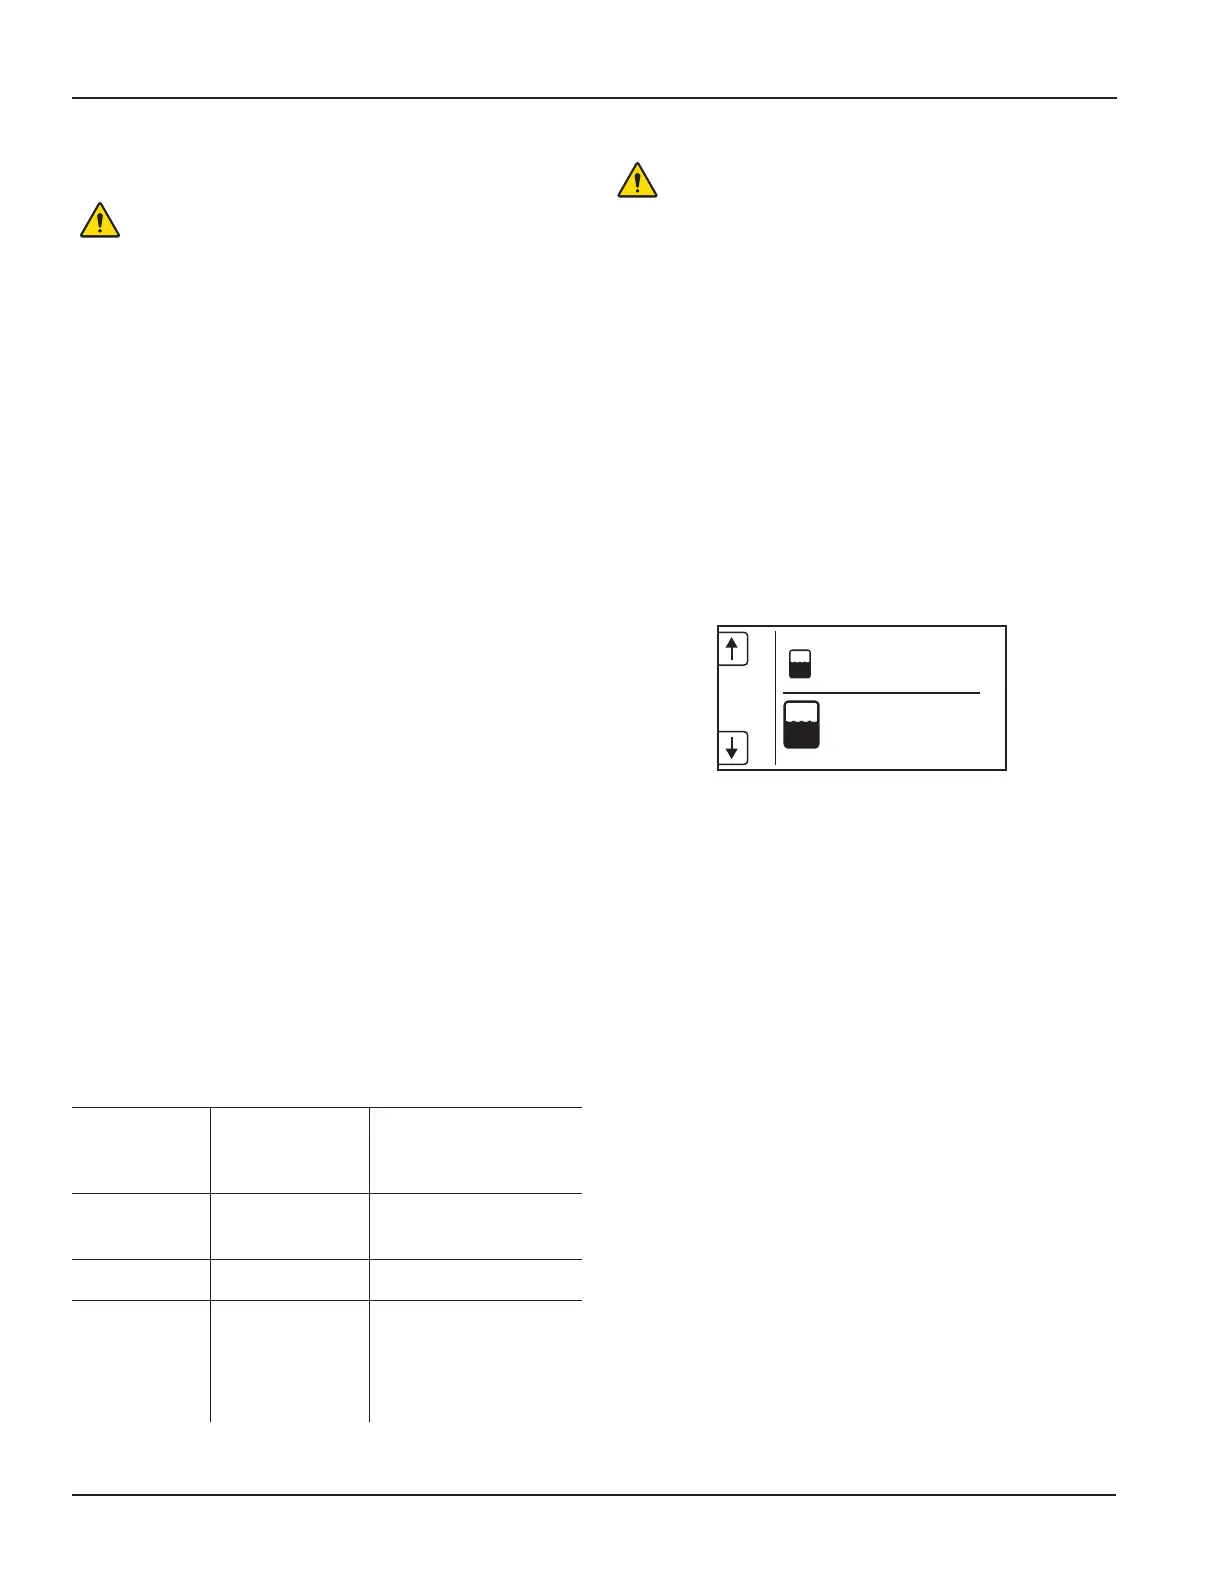
4. When the IV pole requires height adjustment, push the IV pole UP or DOWN
arrow buttons on the control panel to increase or decrease the pole height,
respectively.
NOTES:
• Toresetorzerothefluidlevelvalueonthefluidleveldisplay,pushthe
VOLUME RESET button on the control panel. Both canister fluid level
values will display a zero value. If power is lost and restored, the rover will
display an accurate fluid level value.
• Ifthe4-litercanisterisfulloffluidwaste,verifythe20-litercanisterhasthe
capacity to receive the contents of the 4-liter canister. If sufficient capacity
is available, push the EMPTYTANKbuttononthecontrolpanel.TheEMPTY
TANK action will continue until the 20-liter canister no longer has the
capacity to receive fluid waste or 4-liter canister is empty. A maximum of
threeEMPTYTANKcyclesareallowedbetweendockingcycles.Thenumber
ofEMPTYTANKcyclesremainingisdisplayedwhenthebuttonispressed.
• Whenpressed,theEMPTYTANKbuttonwillcausefluidsuctionfromthe
4-liter canister to stop temporarily for about 30 seconds. The vacuum level
value of the small canister will fluctuate during this period. The 4-liter and
20-liter canisters will return to their previous fluid suction settings after the
EMPTYTANKactioniscomplete.
• IfafacilityvacuumsourceisusedandtheEMPTYTANKbuttonispressed,
fluid suction in both canisters will stop temporarily for 30 seconds.
5. If one or both canisters are full of fluid waste, or waste disposal is required,
prepare the rover for relocation and waste disposal. See Overfill Event
Indications and Actions, To Prepare Rover for Relocation after Collection,
and To Dock Rover for Waste Disposal.
TYPE DESCRIPTION EVENT
Button Feedback One short beep EMPTYTANK button pressed;
Empty Tank started
VOLUME RESET button
pressed
Task Completion Three short beeps Power up initialization finished;
Rover ready to use
Empty Tank finished
Noncritical Error One long beep Error occurred that does not
shut down system
Action Required Three long beeps Error occurred that shuts down
system
Volume level reaches adjustable
“remaining capacity”
Volume level reaches “full
capacity”
Audible Event Indicators

 Loading...


