0702-002-700 Rev-J EN
www.stryker.com 19
To Test the Docking Station Operation
NOTE: Ensure the rover is functioning properly. See To Test the Rover
Operation.
1. Install a disposable manifold into the rover and attach a suction tube to one
manifold port. Ensure all the other manifold ports are capped.
2. Connect the rover to facility power and push the power switch to the ON
position.
3. Push the vacuum system button to start the vacuum pump.
4. Place the attached suction tube into a sink or bucket of water. Rotate
the vacuum limit setting dial to suction about two liters of water into each
canister.
5. After each canister is filled, push the power switch to the OFF position.
Remove the rover from facility power. Remove the disposable manifold and
suction tube.
6. Place the rover in front of the docking station. Push the rover into the
docking station using the guides for alignment purposes until attachment
occurs automatically.
7. From the Select Cycle screen on the control panel display, push the button
next to the arrow icons to scroll and highlight the desired Wash cycle. Push
the button next to the OK icon to select the cycle.
NOTE: If a cycle is not selected, the Wash cycle will be selected as the
default cycle.
8. During the Wash cycle, inspect all the docking station plumbing and
connections for any leakage. If leakage occurs, repair as required.
9. After the cycle is complete, pull the rover away from the docking station.
To Test the Rover Operation
NOTE: Before using the rover, perform an initial docking procedure. Failure
to comply will result in pre-fill errors and prevent the rover from functioning
properly. See To Dock Rover for Waste Disposal.
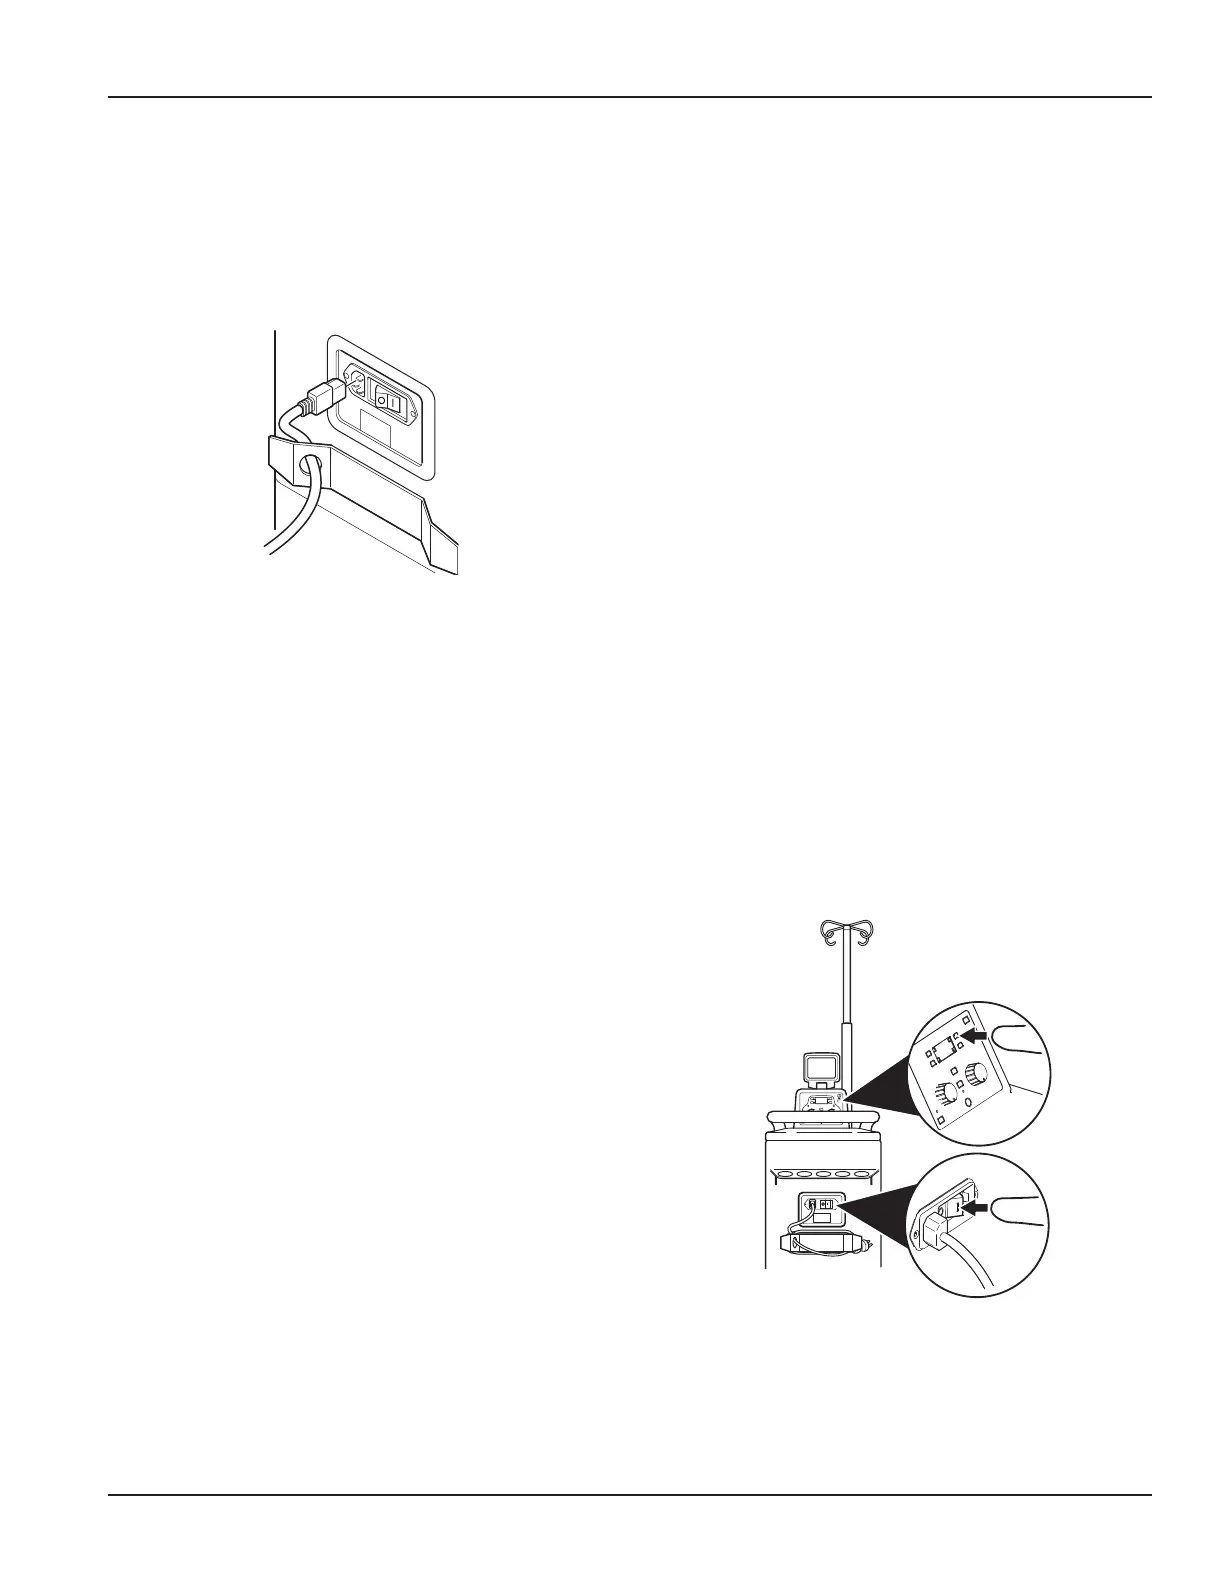
1. Connect the rover to facility electrical power using the power cord. Thread
the appropriate plug of the power cord through the strain relief hole before
connecting the cord to the rover (see figure 9).
Appendix
To Adjust System Settings
1. Verify the power switch is in the OFF position.
2. Ensure the power cord is connected between the rover and facility power.
3. Push the control panel display button and the power button to ON
simultaneously (see figure 10).
Figure 10 To Access System Setup
Figure 9 Power Cord Strain Relief
2. Push the vacuum system button to start the vacuum pump.
3. Adjust the vacuum limit setting dial of the canister to be tested to the
maximum vacuum level. Ensure the value displayed on the control panel
changes and eventually reaches the maximum vacuum level. If not, see
Troubleshooting section.
4. Repeat steps 2 and 3 to test the other canister.
5. Push the up and down arrow buttons that control the IV pole. Ensure the IV
pole functions correctly. If not, see Troubleshooting section.
6. Push the smoke evacuator button. From the smoke control screen, push the
buttons next to the arrow icons to adjust the smoke evacuator power. Ensure
smoke evacuation functions correctly. If not, see Troubleshooting section.
NOTE: See To Adjust System Settings to review the default settings and make
changes if required.

 Loading...


