Assembly & Installation
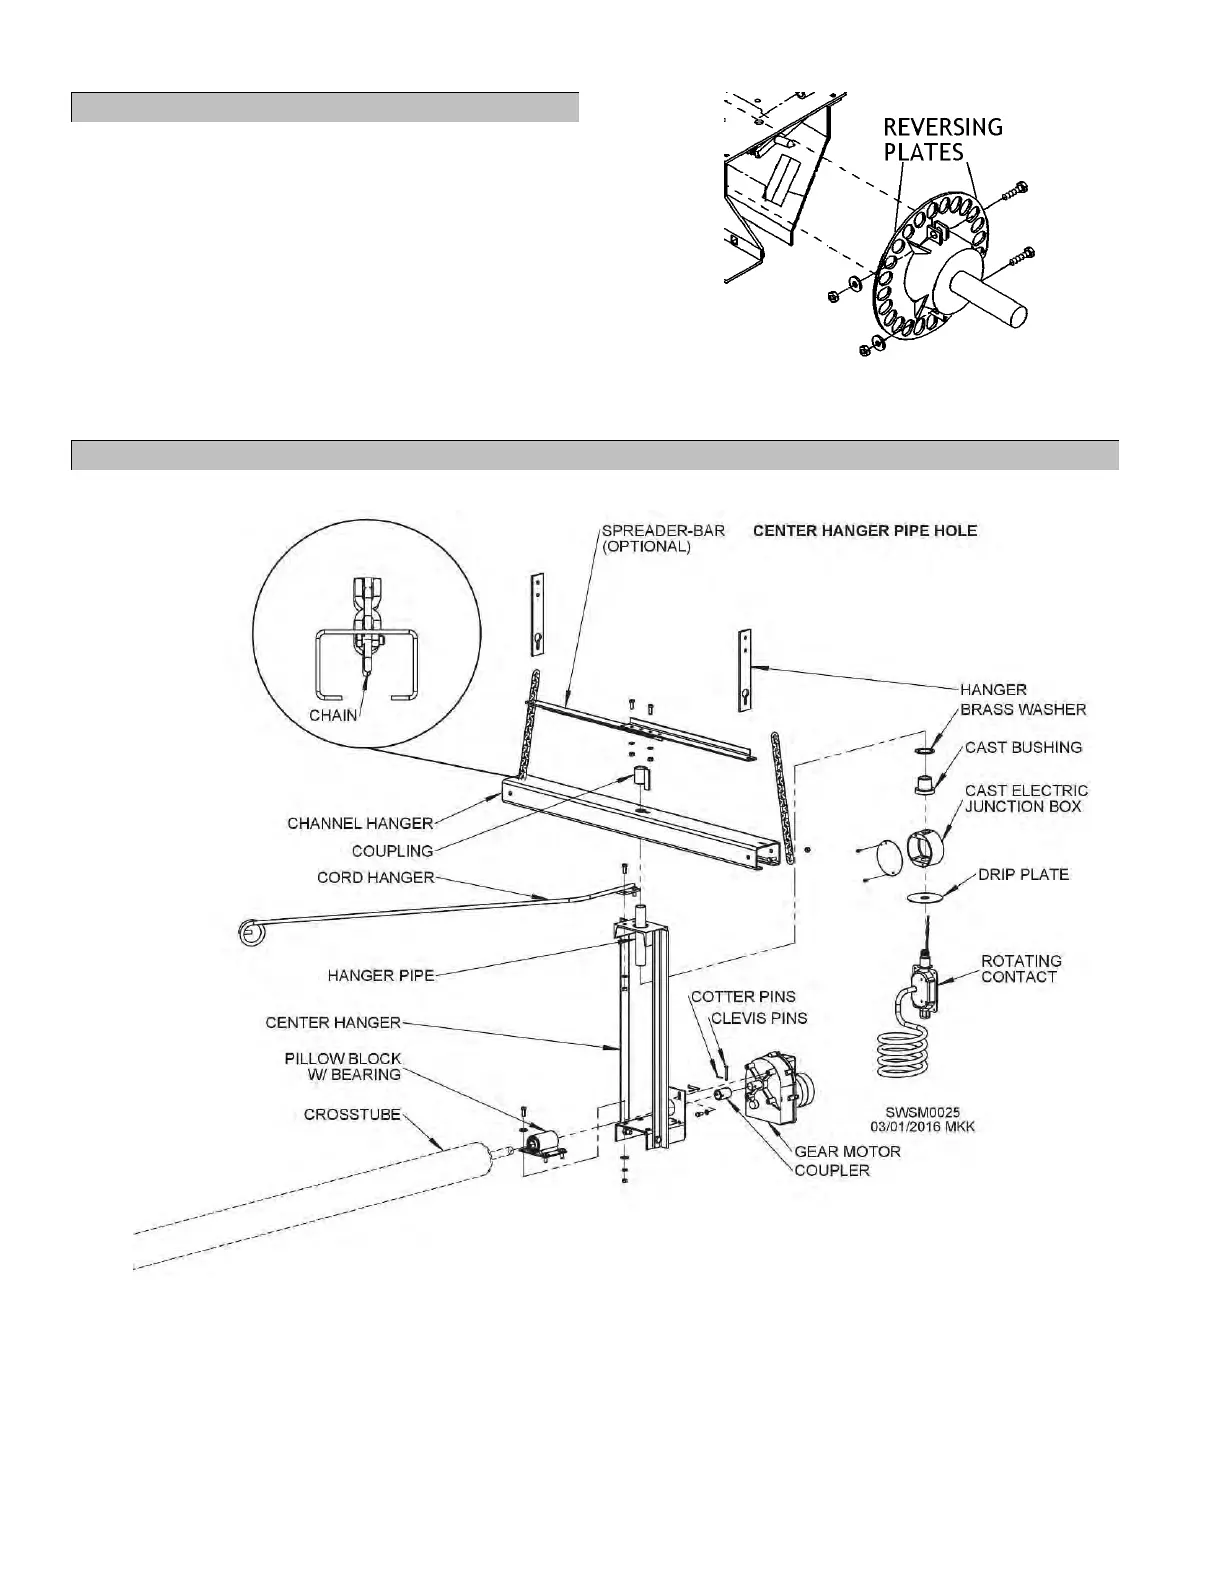
VI. Installing Reversing Plates
For part numbers and descriptions of parts
referenced in this section, see parts assembly
manual, page 53.
30 On both ends of crosstube, position reversing
plates vertically against weldment on each side
of crosstube. Figure 19.
30.1 On Fastir Plus, position reversing plates
on inside of stationary carriage.
See assembled view. Figure 14.
31 Bolt reversing plates together using 3/8” x 1-3/4”
bolts and 3/8” lockwashers and nuts. Tighten
using 9/16” wrench. Figure 19.
Figure 19 - Reversing Plate Installation
VII. Installing Center Hanger & Related Parts
For part numbers and descriptions of parts referenced in this section, see parts assembly manual, page 53.
Figure 20 - Center Hanger Assembly
*
Note: Center hanger will not hang straight up and down due to new pivoting hanger. This is normal and will not affect performance.
32 Slide pillow block with bearing onto crosstube
shaft. Do not tighten set screws at this time.
33 Bolt center hanger onto pillow block with 3/8” x
1” bolts and 3/8” flatwashers, lockwashers, and
nuts. Do not tighten until gear motor alignment is
correct (step 39). Figure 20.
34 Remove 5/16” x 3/4” bolts and 5/16” lockwashers
provided on gearmotor. Save hardware.