6-6
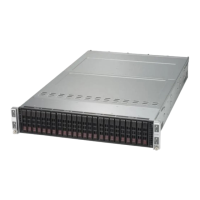
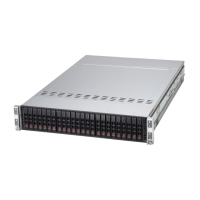
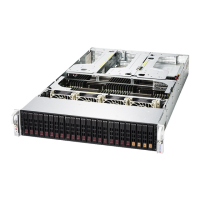
SUPERSERVER 2028R-TXR User's Manual
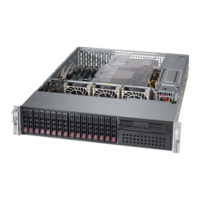
6-3 Peripheral Drive Installation
The chassis includes a 5.25' bay for a variety of peripheral drive options, including a
slim DVD drive or an additional hard disk drive. For a complete listing of peripheral
drive options, visit the Supermicro website.
Installing or Replacing a Peripheral Drive
1. Power down the system and remove the cover.
2. Unplug the power and data cables from the serverboard and/or backplane.
3. If you are adding a new drive: Remove the dummy tray from the drive bay
The mini-bezel can be removed by pulling out the hard drive beneath the drive
bay, then pulling the mini-bezel forward.
If you are replacing a drive: Locate the locking tab at the rear (left hand side
when viewed from the front) of the peripheral drive. Push the tab toward the
drive and push the drive unit out the front of the chassis.
4. Re-use the side rails or install the side rails onto the peripheral drive.
5. Insert the new drive unit in the slot until the tab locks in place.
6. Reconnect the data and power cables.
7. Replace the chassis cover and power up the system.
 Loading...