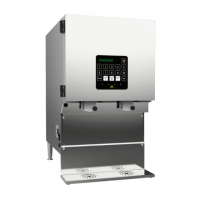
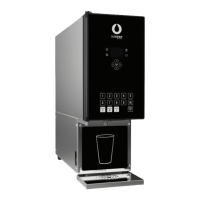
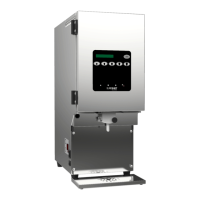
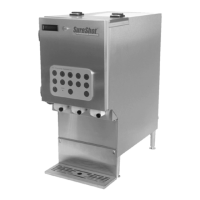
20
CLEANING:Remove&CleanDispensingValveAssembly–PortionControlDispensers
NOTES: Prepareacontainerofwarm,soapywaterbeforeyou
takethevalveapartforcleaning.
Becarefulnottodislodgethecableduringcleaning.
1. TurnthepowertothedispenserOFF.
2. Openthedispenserdoortotherefrigeratedproductcompartment.
3. Removetheproducttanksbyfollowingtheinstructionsonpage12.
4. Removethecatchtray(ifapplicable)byliftingitupandoff.
5. Removethe4panheadscrews(+)thatsecurethefrontsplashpanel
(valvecover)inplaceandcarefullyremovethepanel.Itislocated
belowthewhiteplasticvalvesthatholdtheproductdispensingtubes.
Itisheldinplaceby4Phillipsheadscrews(+).
Thoroughlywashthesplashpanel.
6. Openthevalvedoor:unscrewtheblackknobinacounterclockwise
motion.
7. RemovethePhillipsheadscrewatthetopofthemetalvalveinsert.
Donotmisplacethescrew. Wipeclean.
8. Removethe2Phillipsheadscrewsattheuppercornersofthevalve
block. Donotmisplacethescrews. Wipeclean.
9. Gentlyremovethewhitevalvebody,usinganevenforce. Holdthe
valvecarefullywithonehandsothatthethermistorwirewillnotbe
brokenordamaged.
Donotletthevalvedanglefreely.Holditinyourhands.
NOTE: Thevalvebodycanonlybemovedthelengthofthe
the rmistorwire,whichislocatedintheleftvalve.
10. Removetheplungerandspring. Wash,rinse,sanitize,andairdrythe
plungerandthespring
11. Wipethespringcupclean.
12. Cleanthewhiteplasticsectionsofthevalveblock,usingasmall
brushwithwarm,soapywater. Rinse,sanitize,andaird rythewhite
plasticsectionsofthevalveblockwiththeplungerandspring.
Airdrythoroughly.
13. Reassemblethespring,theplunger,andthevalvebody.
14. Alignthevalvebodywiththeplunger.Movebackintoplace.
15. Replacethe2Phillipsheadscrews.Tightenuntilsnug.
Donotovertightenthescrews.
16. ReplacePhillipsheadscrewatthetopofthemetalvalveinsert.This
screwmustfitsnuglytoensureproperoperationoftherefrigeration
system. Donotovertightenthescrew.
17. Closethevalvedoor.
18. Securethedoorbytighteningtheknobscrewinaclockwisemotion
untilthedoorissnug. Donotovertightenthescrew.
19. Reinstall4Phillipsheadscrewstosecurethefrontpanelinplace.
20. Wipetheproductcompartmentclean.
21. Closetherefrigeratedproductcompartmentdoor.
22. TurndispenserON.
23. Pushany“product”button,followedbyany“size”button. Listenfor
thevalvedooropenandclosetoensurethatthevalveisoperating
properly.
24. Loadnewproductanddispense.
Step5
Step6
Step7
Step9
Step10
Step13
 Loading...