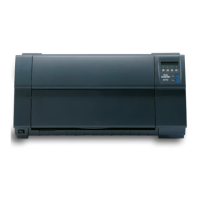
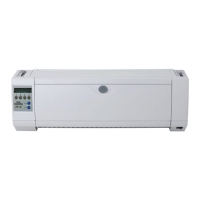
Tally Dascom 1140
4
2 Setting Up Printer
2.1 Install Ribbon
Take special caution: The print head may be hot!
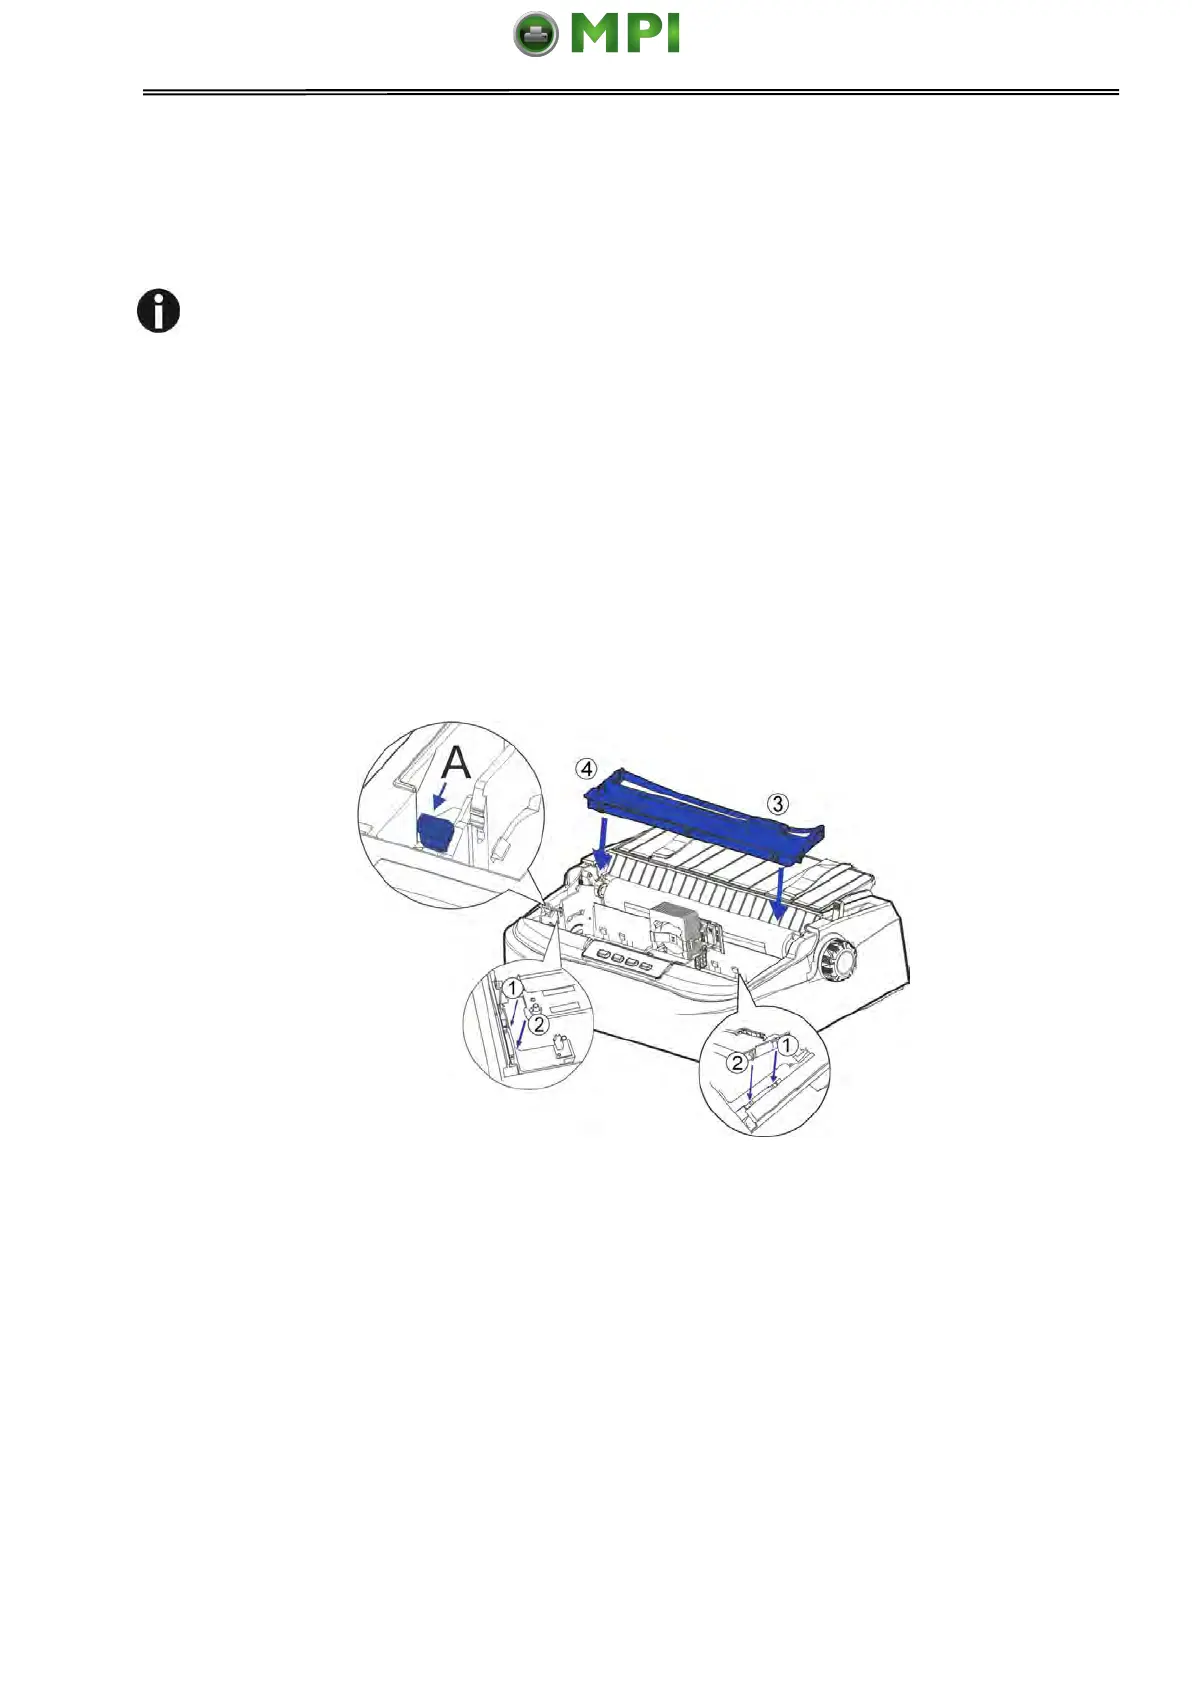
1. Ensure the power to the printer is off and the print gap lever “A” is set to the furthest
open position. Move the carriage to the center of the print platen.
2. Install the recess positions ①-② on the ribbon cassette into the printer mounting.
3. Press the ribbon frame ③ onto the print head.
4. Turn the ribbon knob ④ in clockwise direction until the ribbon fabric is taut. Move the
carriage left and right to ensure the carriage and ribbon fabric can move smoothly.
5. Ensure the print gap lever “A” is set to the original position.
6. Close the printer’s cover. When printer is in operation, ensure the printer’s cover is
closed to keep the noise level to a minimum.
Notes on Ribbon Cartridge Removal:
1. Eject any paper loaded in the printer.
2. Turn off the printer power.
3. Open and remove the cover.
4. Set the gap lever to the most open position labeled “RIBBON”.
5. Move the carriage to the middle. Be careful not to touch the print head if printing had
just been performed, as the print head may be hot.
6. Remove the ribbon frame from the print head.
7. Use fingers to take hold of the handle on the ribbon cartridge firmly, and lift the cartridge
upwards to unlatch it. Some force may be needed to unlatch the cartridge.
Mantenimiento Periféricos Informáticos SL C/Canteras, 15 28860 Paracuellos de Jarama Tel: 00 34 917481604 WEB: https://mpi.com.es