At the end of the calibration procedure, the SW signals a possible error but saves the calibration
anyway.
The error message is not blocking and the equipment can be used.
All Skillmills leave production after testing and without any calibration errors.
For details regarding the procedure to follow if calibration errors are detected, see paragraph
“6.7.3.1 what to do if a calibration error appears”.
6.7.3.1 WHAT TO DO IF A CALIBRATION ERROR APPEARS
6.7.3.1.1 VALUE > ±10% OF THE STANDARD VALUE
Ifcalibrationerrorappearsandthevalueshownonthedisplayis>±10%ofthestandardvalue
and therefore:
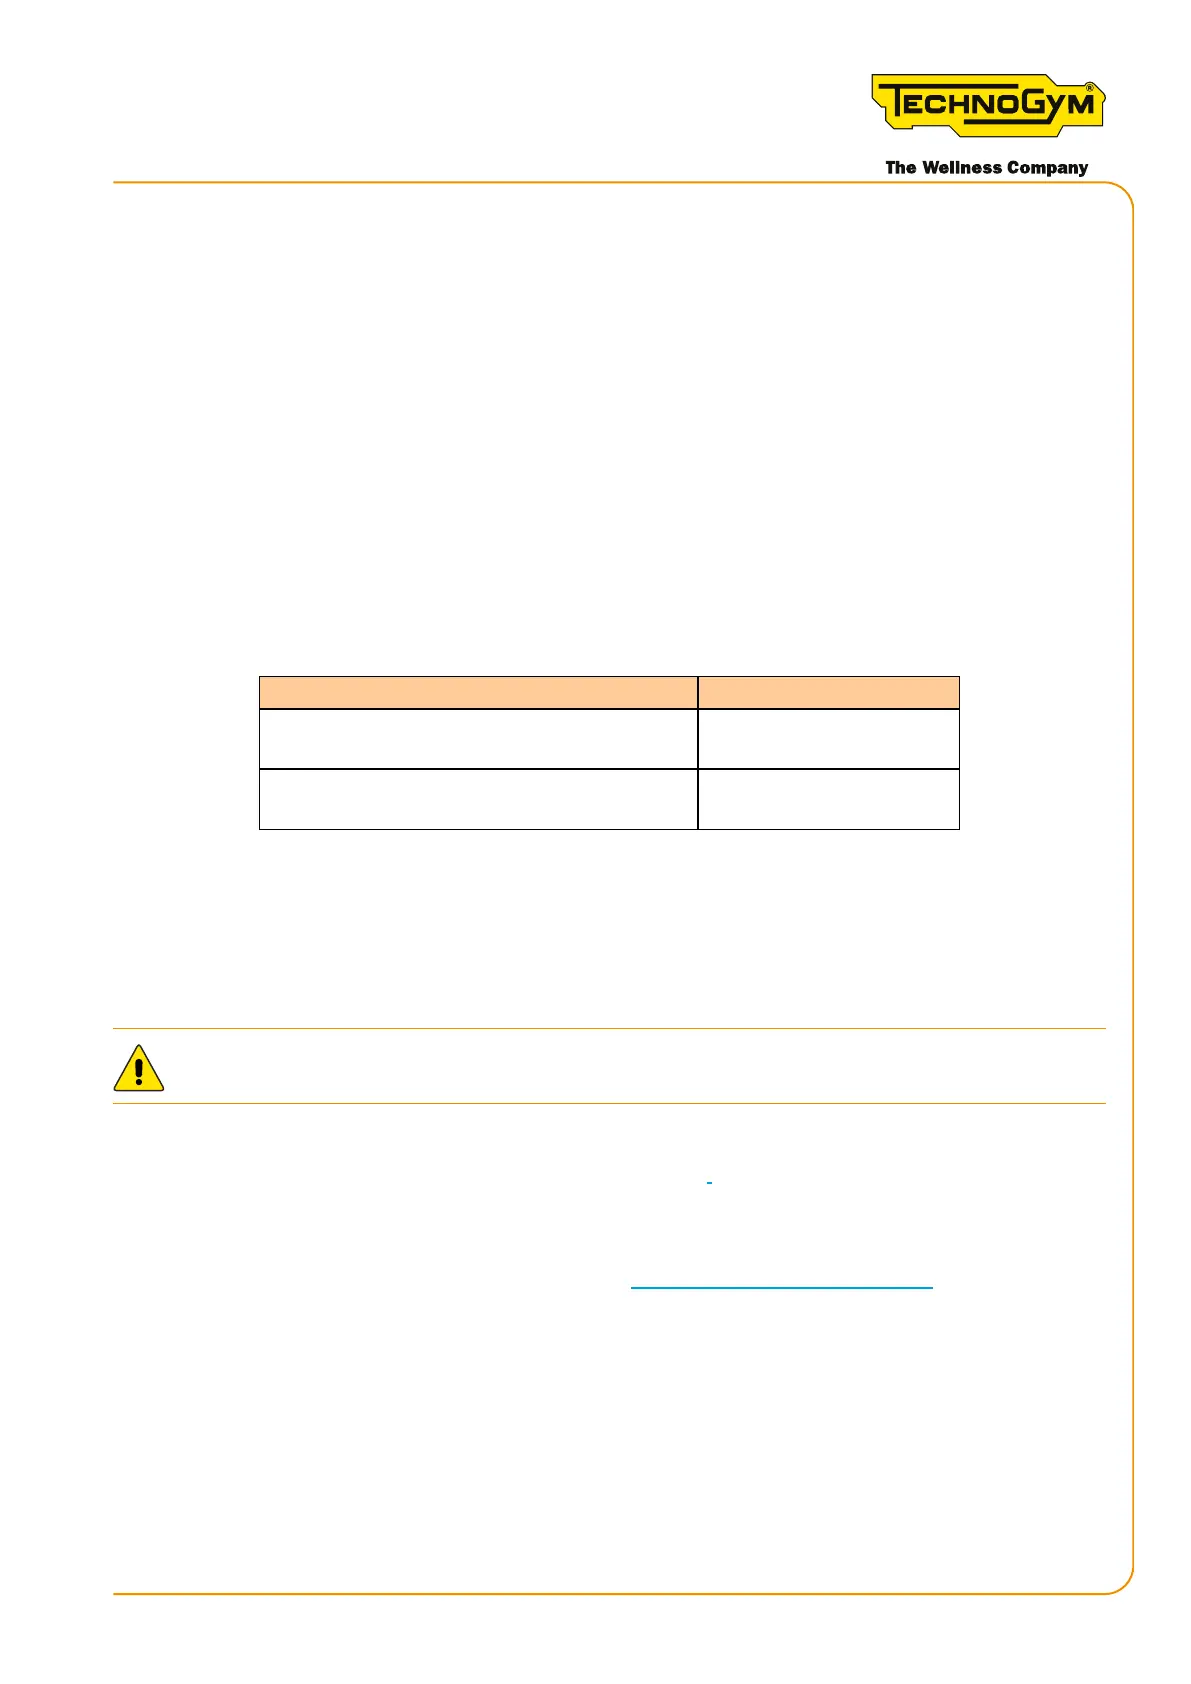
CALIBRATION RESULTS VALUE RANGE
DIFFERENCE BETWEEN TWO
ADJACENT LEVELS
x<90;x>242
DIFFERENCE BETWEEN EFFORT
LEVEL10ANDEFFORTLEVEL0
x<1350;x>2310
Table 61
- Repeat the calibration twice more.
- If the calibration error persists and the value shown on the display is within the range
shownin“Table61”,replacetheanglesensorboard.IfthemachineSNispriortoDJK03D17000505,
DJK13D17000058,DJK04D17000251,thepinmaybefaulty,soitshouldbereplaced.
WARNING: CAREFULLY FOLLOW THE PROCEDURES EXPLAINED BELOW.
REMOVING THE ANGLE SENSOR BOARD: carefully follow the procedure explained in
paragraph.
MOUNTING THE ANGLE SENSOR BOARD: Carefully follow the procedure explained in
paragraph “7.14.2 assembling the angle sensor board”.
REPLACING THE PIN: for the details, refer to “7.8.2 FITTING THE PIN”.
- Repeat the calibration.
- Ifthevalueshownonthedisplayis>±10%ofthestandardvalue,replacetheLowKit.
- Repeat the calibration.
Once calibration is complete, move the lever and check that no levels are skipped, that the levels
progress based on the movement of the lever, and that the values shown on the display are stable.
Skillmill:
Technical Service Guide - Rev. 3.5
Page93email: support@technogym.com