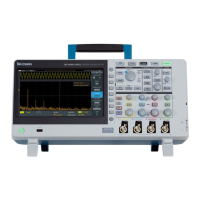
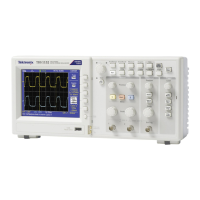
4. Triggering the Scope (1/2)
Although the square wave signal of the probe
compensation does not require pulse width triggering,
we will set it up for demonstration purposes.
1. Keep Channel 1 connected to the Probe Comp
output, as in demo 3.
2. Press Default Setup in Resources section of the
front panel
3. Adjust the Vertical Scale on Channel 1 to 2.00V
4. The default trigger type is Edge with a rising
slope. The default level is 0V. This is shown in
yellow in the lower right of the display.
5. Adjust the Trigger Level toward the center of
the waveform. The trigger level indicator
appears during the adjustment.
6. Press Menu in the Trigger section. Press the
Type side-bezel button (Figure 6). Note that the
LED under the multipurpose knob (MPK) is
lighted, prompting for a selection.
7. Scroll the MPK to highlight the Pulse Width
trigger type, and press the MPK to select it
Figure 6. The M logo in the Trigger Type menu indicates
that the Multipurpose Knob (MPK) should be used for
selection
12
 Loading...


