TCP303 and TCP404XL Performance Verification
Procedure
1. Do not clamp the
current probe around any conductor, but make sure the
jaws are locked shut.
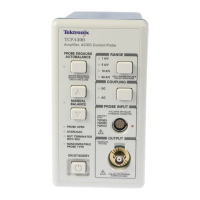
2. Press the ampl
ifier PROBE DEGAUSS AUTOBALANCE button. Wait for
the degauss/autobalance routine to complete before proceeding. The routine
is complete when the indicator light turns green.
3. Make the following connections:
a. If you are te
sting a TCP303, clamp the current probe around the HF
current loop. Verify that the arrow-shaped indicator on the probe points
away from the pulse generator.
b. If you are testing a TCP404XL, clamp the current probe around the built-in
current loop on the pulse generator. Verify that the arrow-shaped indicator
on the probe points away from the output terminal on the pulse generator.
4. Adjust the vertical gain and set the vertical position of the oscilloscope so that
the trace is at the bottom of the screen, and 5 to 8 divisions are displayed.
Press LEVEL to trigger the oscilloscope. (You may have to adjust the pulse
generator output to achieve this.)
5. Using the measurement capability of the oscilloscope, measure the rise time
of the displayed pulse from 10% to 90% amplitude.
6. Check that the rise time is less than the warranted specification listed in the
test record.
7. Record the results on the test record.
8. Disconnect the probe from the pulse generator.
38 TCPA300/400 Amplifiers and TCP300/400 Series Current Probes Service Manual
 Loading...