TMP4100-Series Installation/Maintenance
2-20 33480D01.DOC
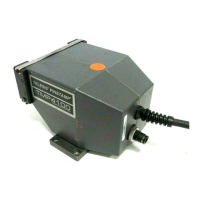
2.8.5 TMP4150 and TMP4155 Solenoid Valve
Perform the following procedure to replace the TMP4150 or TMP4155 solenoid valve.
Removal
1. Remove electrical power from the marking system.
2. Remove air pressure from the marking system.
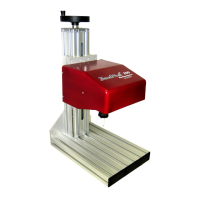
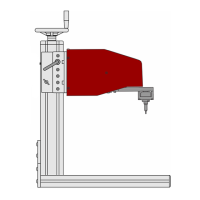
3. Remove the marking head cover:
a. Lift up on the tabs of the latches located on the sides of the marker.
b. Rotate the tabs counter-clockwise to loosen and disengage the latches.
c. Slide the protective boot over the end of the cartridge.
d. Slide the cover off the marker.
4. Remove the two solenoid wires lugs from J6 and J7 on the limit board
5. Using a 1.5mm hex key, remove two socket head cap screws from the solenoid valve and remove the
solenoid valve from the marking unit.
Installation
1. Install the new solenoid valve assembly. Ensure the gasket is properly positioned.
2. Route the solenoid wires toward the upper, backside of the X-axis motor and push the plugs onto limit
board connectors J6 and J7.
3. Install the marking head cover:
a. Slide the cover off the marker.
b. Engage the latches and rotate the tabs clockwise to tighten.
c. Push down on the tabs (so they lay flat against the sides of the marker.
d. Slide the protective boot up, onto the cartridge.