2 Quick Installation Guide
Step 3: Connect the PoE Injector
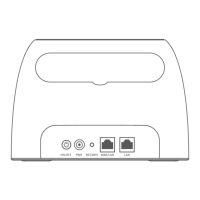
❶ Connect the Ethernet cable in Step 1 to the PoE port of the injector.
❷ Connect your computer to the LAN port of the injector with another Ethernet cable.
❸ Power on the AP by plugging the included power adapter into the DC jack on the injector, and
the other end into a standard power outlet.
Step 4: Quick Setup the AP
1. Verify that your PC is set to Obtain an IP address automatically.
Tip
As the DHCP server of this AP is enabled by default, the first time you log in to this device from
your PC, you only need to set your PC to Obtain an IP address automatically. Once you
finished settings on Quick Setup page, the DHCP server will be disabled. At this time, if you
want to log in to its web UI, you need to specify an IP address manually to your PC. For specific
steps, see Appendix 1 Configure PC.

 Loading...